Recipe: Pear chutney and how to preserve pears

Turn some of the healthiest fruits in your garden into something a little different.
Words: Kristina Jensen
The very first dessert I was allowed to make all by myself, around age 10, was a simple but scrumptious dish involving preserved pears.
Mum made it with me the first couple of times, and then obviously felt that I had acquitted myself well enough to be left unsupervised. First, I had to strain off all the juice from the pears into a saucepan. The pears were then arranged into special dessert glasses and kept in the fridge.
To the syrup in the saucepan, I added a knob of butter and two tablespoons of cornflour shaken up in a quarter of a cup of water. I then had to stand over the stove and stir until the syrup had thickened into a wonderfully tasty sauce. This then joined the pears in the fridge in a little jug, waiting for the final moment when it all got put together, just before pudding time.
All this usually took place when my parents were in the shed milking. When I think about it now, Mum must have been pretty happy with my abilities in the kitchen to let me cook alone.
Thirty to 40 big jars of pears always graced my mother’s pantry shelves each season, along with all the fruit cousins. We were fans of stewed fruit with breakfast, and Mum always made pudding.
Stewed fruit was just the ticket after dinner, a ticket I thought everyone bought. But no, I embarrassed myself a couple of times staying with friends by sitting at the dinner table after everyone else had left, waiting for a pudding that never arrived.
Lately, I’ve moved away from sweet sugary pear desserts into pear chutneys. I can’t decide which one I like best so maybe you, like me, will just have to make a bit of both.
RECIPE: PEAR-THAT-WAS-MANGO CHUTNEY
The original recipe used four large ripe mangoes. It really needs the tart apples and the pears to be firm, otherwise it tends to be a bit runny.

INGREDIENTS
2 onions, peeled and chopped
3-4 big cloves garlic, peeled and finely chopped
1 red chilli, de-seeded and finely chopped
4cm piece of ginger, peeled and grated
1 tart apple, peeled, cored and chopped into cubes
5 large firm pears, peeled and chopped into cubes
4 cardamom pods
1 tsp fenugreek seeds
1 tsp cumin seeds
½ tsp coriander seeds
2 tsp black mustard seeds
1 cinnamon stick
½ tsp turmeric
350ml white wine vinegar
400g soft light brown sugar
1 tsp black onion seeds
1 tsp salt
juice of 1 lime
METHOD
Crack the cardamom pods and grind the seeds with a mortar and pestle. If you don’t have one, a small grinder-type appliance (like one for coffee beans) is fine.
Toast these along with the fenugreek, cumin and coriander seeds in a dry frying pan until toasted and fragrant. Lightly grind this mix in the mortar and pestle or grinder. Toast the mustard seeds in the same pan.
Place all ingredients in a large, heavy-bottomed pot and bring slowly to the boil. Continue to cook for 30-40 minutes by which time the chutney should be thickening up nicely – stir regularly to prevent sticking.
Remove the cinnamon stick, spoon into sterilised jars and seal immediately. Leave for at least four weeks before opening.
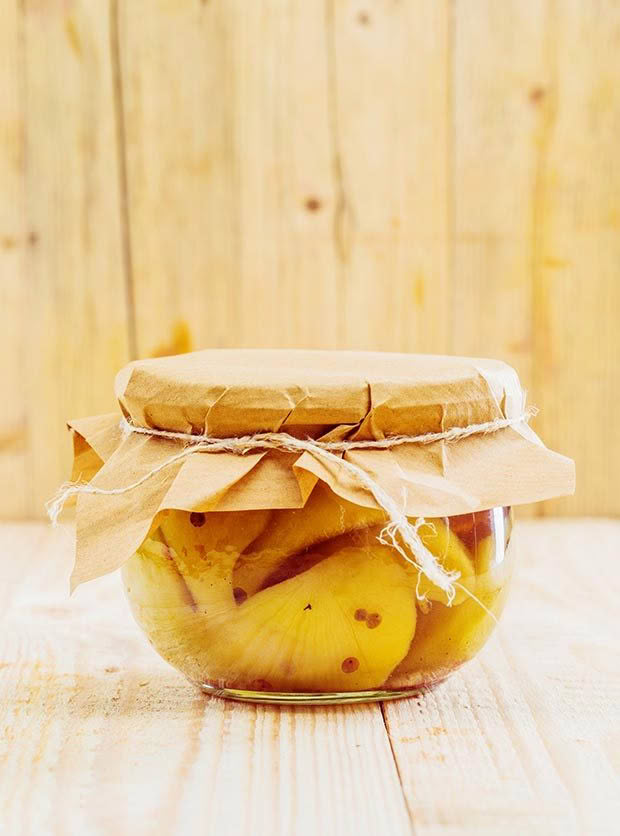
6 STEPS TO BOTTLING YOUR OWN PEARS

1. Sterilise your jars
Making your own home-made bottled pears is surprisingly simple and the golden rule is to make sure that your jars are clean and sterilised before you start. There are various methods. I like to use traditional Agee jars that have a wide mouth. Make sure that the lids have no dents in the sides as they will not seal properly if they do. Run your jars and lids through the dishwasher on a hot setting, or put the jars and lids into a large pot, cover with cold water and slowly bring to the boil, then boil for 10 minutes. Pour off the water and turn jars and lids upside down in a dish drainer to dry.
2. Prepare the fruit
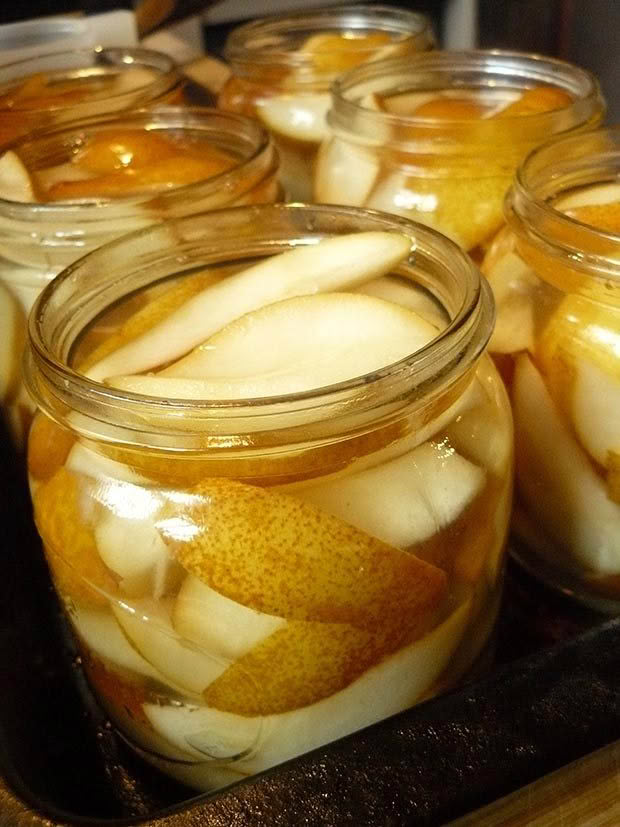
Halve your pears, core and peel them if you want to (I don’t), and cut out any blemishes or spots. Pop them in a bowl of cold water to stop them going brown until you are ready to put them into the syrup.
3. Prepare the syrup
In order to preserve pears, you need to make a sugar syrup. The ratio is 1 cup of sugar to every 3 cups of water.It is apparently possible to use fruit juice although I haven’t tried this. Bring your syrup gently to the boil, then turn down to a simmer. I add star anise and cinnamon quills to my syrup, to give the pears a delicious spicy flavour.
4. Heat the jars and seals
While you’re making the syrup, have your now-dry jars heating up in the oven, set at 180˚C. You can’t put boiling liquid into a cold jar as it will crack or shatter so the jars need to be piping hot. Place your seals or lids into a heat-proof bowl and pour boiling water over them to sterilise them and get them hot.
5. Add the pears to the syrup
Drain the prepared pears and carefully place them into the hot syrup using a slotted spoon. As soon as the liquid is simmering again, turn the heat off.
6. Bottle the pears
Be careful. The next steps all involve HOT temperatures. Spoon your pears into the hot jars with the slotted spoon. Use a towel to handle the jars and a wide-mouthed funnel to slide the pears in, taking care with the hot liquid. Pack the pears in, pushing them down with the spoon and then fill each jar almost to overflowing with the syrup.
RECIPE: CHRISTMAS PEAR CHUTNEY
I named this one Christmas pear chutney because of its high content of dried fruit. It is a perfect chutney to make now and then squirrel away for gift-giving later in the year. It’s really good with strong cheese and grapes. Add more chilli if you like it hot.

INGREDIENTS
150g chopped assorted dried fruit
¾ cup red wine vinegar
2kg firm pears, peeled, cored and chopped into cubes (roughly 10 cups in total)
2 chopped onions
500g brown sugar
4 tsp salt
6 cloves crushed garlic
½ tsp white pepper
1 tsp mustard powder
2 tsp chilli flakes
(or more)
1 tsp coriander powder
METHOD
I prefer to use my own home-dried figs for this recipe, plus a few raisins and dates, and a bit of crystallised ginger. Pour the wine into a shallow dish and add your dried fruit – you want it to get a good soaking over 2-3 hours.
Then, pop everything into a heavy-bottomed saucepan and slowly bring up to a simmer. The pears have plenty of liquid in them, so there’s no added liquid, apart from the vinegar.
Cook until nice and thick, stirring often to prevent sticking. Spoon carefully into sterilised jars, seal, label, then quickly hide it away before you feel tempted to eat it. This chutney needs 2-3 months to mature so be strong.
OTHER PEAR RECIPES:
Love this story? Subscribe now!
 This article first appeared in NZ Lifestyle Block Magazine.
