Recipe: How to create and nurture a sourdough starter

A beginner’s guide to getting start-ed with sourdough — how to create, feed and nurture the starter.
Words and recipes: Nicola Galloway
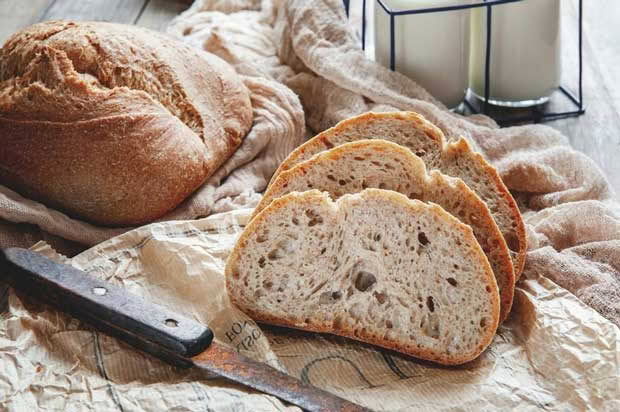
The term “sourdough” refers to both the delicious slightly sour bread as well as the starter, the culture that is used to kickstart the chemical reaction in breadmaking.
The starter (sometimes called a “pre-ferment” or a “mother”) is the product of the relationship between lactobacilli bacteria and yeast. Without an active starter, the bread won’t rise well.
The natural wild yeast needed to make a sourdough starter is predominantly found on flour, although it can be captured from the air. Use quality flour, preferably organic, as it contains more natural yeasts than non-organic flour. The more yeasts the better rise in the bread. A healthy starter contains wild yeast (for rising) and lactic-acid-producing bacteria (for flavour and starch conversion).
Stoneground wholemeal wheat flour is a good option or use a combination of 50 per cent wholemeal rye flour and 50 per cent organic white wheat flour.
TIP:
Rye can create a starter that is very active (which is a good thing). However, it’s more difficult for beginners as the yeasts expire more quickly than when using wheat flour and the starter is harder to keep alive.

How to make a sourdough starter
YOU WILL NEED
organic wholemeal wheat flour
warm non-chlorinated water at about 40°C (see tip)
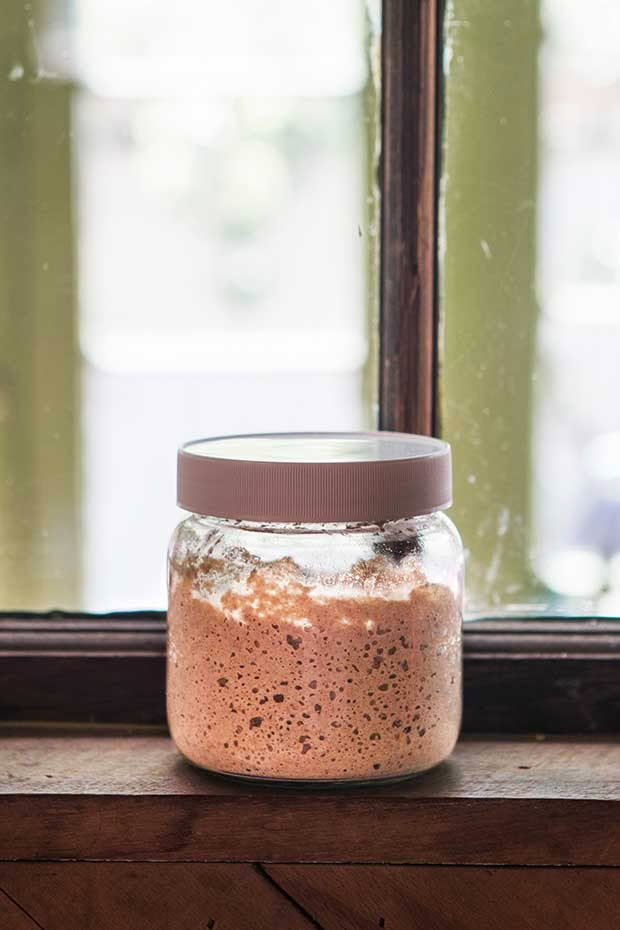
Day 1: In a clean 400ml glass jar, combine 1 rounded tablespoon of flour with 1 tablespoon of warm water. Stir well to aerate. This incorporates oxygen into the mixture to assist with the fermentation.
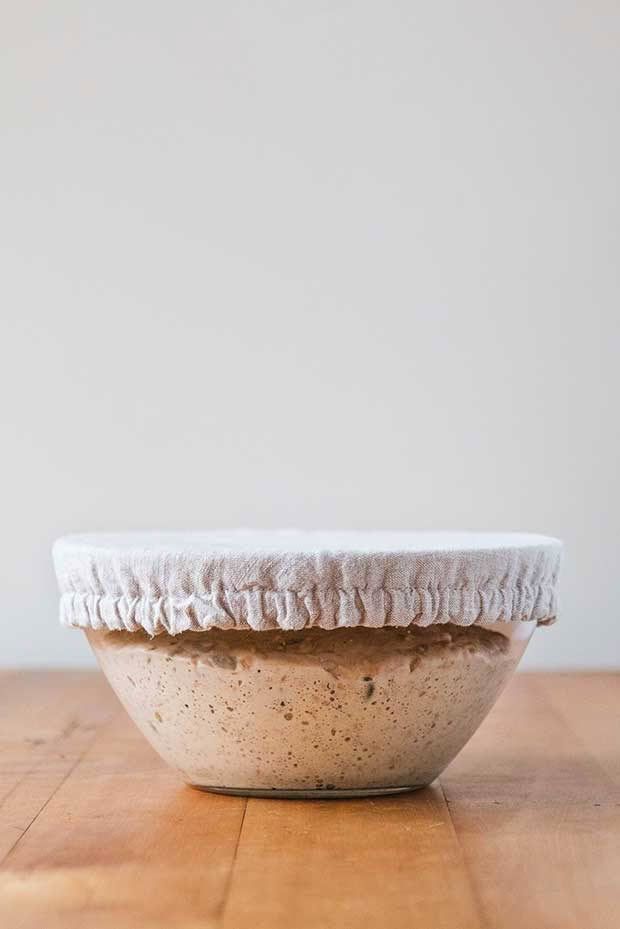
Cover loosely with the lid – don’t screw on – to allow the starter to breathe while not forming a crust on the surface. Leave in a warm place – during summer the kitchen bench will be fine; in winter position the jar somewhere warm such as a sunny table, on top of the fridge or by the heater/ fire.
Days 2 and 4: For the next 3 days, feed the starter once every 24 hours (ideally at about the same time each day) with 1 rounded tablespoon of flour and 1 tablespoon water. Mix well with each addition and continue to sit in a warm position. During this time you will notice the starter will begin to “breathe” – rise and fall in the jar.
There should be small bubbles throughout and the starter should smell sweetly sour and yeasty (but not at all offensive). In cooler months, it may take 1 to 2 days extra to start bubbling. The starter is ready to use once it noticeably rises in the jar, doubling in height after 5 to 6 hours (make a mark on the jar after feeding to compare), with small bubbles visible throughout the mix.
TIP:
It’s important to use non-chlorinated water as the antibacterial quality of chlorine can create an imbalance in the microbes. Either use water through a carbon filter, boiled and cooled water, rainwater, or bottled water.
READ MORE Recipe: Everyday Multigrain Sourdough Sandwich Bread
READ MORE Recipe: Sourdough Skillet Focaccia
READ MORE Recipe: Wheat-free 5 Seed Sourdough
BE A GOOD MOTHER: LOOKING AFTER THE STARTER
1. Baking bread most days
Keep the starter at room temperature in a place where the temperature is relatively consistent – between 18 and 22°C is ideal. Continue to feed the starter every 12 to 24 hours with equal quantities of flour and water and keep covered loosely with a lid.
The amount of flour and water will depend on how often bread is made and how much starter is required. If baking bread daily, a good quantity for feeding is ¼ cup flour and 3 tablespoons water every 12 hours.
When baking every 1 to 2 days, feed with these quantities every 24 hours. It is better to keep the starter minimal so it is refreshed after each use, rather than have a large quantity where the yeast can be starved of food (flour). Always remember that the last preparatory feed needs to be 6 to 8 hours before preparing the dough.
2. Baking bread once or twice a week
Keep the starter in the fridge. This method will keep the starter “dormant” in between feeds so it only needs to be fed with equal quantities of flour and water at a maximum of every 7 days to keep it active.
After preparing bread dough, there should ideally be 1 to 2 tablespoons of starter remaining in the jar. Feed the starter with ¼ cup flour and 3 tablespoons water.Leave at room temperature for 2 to 3 hours until small bubbles appear. Loosely screw on the lid and place in the fridge.
When planning to prepare bread dough, take the starter out of the fridge 8 to 10 hours beforehand (allowing for 1 to 2 hours to come to room temperature) and feed straight from the fridge with ¼ cup flour and 3 tablespoons water, and stir. This will ensure the starter is active to use for making the dough.
SOURDOUGH RESCUE
If the starter becomes very sour and offensive smelling (this can happen if it is left on the bench unfed for several days), discard all but 1 to 2 tablespoons and scoop this into a new jar.

Feed with ¼ cup flour and 3 tablespoons water every 12 to 24 hours. After two feeds there will be about 200g starter in the jar ready to make bread plus some remaining in the jar. Making a batch of crumpets (see recipe below) will give the starter an extra boost if it is not doubling in height after each feed.
The same method can be used if the starter is non-responsive and not rising and bubbling after a feed. This can be due to a sudden drop in temperature (change of season) or even a new source of flour.
Using and maintaining the starter
The starter is ready to use once it is bubbling and doubling in size after each feed. At this stage the starter is young and the first 2 to 3 loaves won’t result in a great rise.
I recommend refreshing it now to give it a boost. You can either discard all but 1 to 2 tablespoons, scoop this into a new jar and feed with ¼ cup flour and 3 tablespoons water every 12 to 24 hours.
To avoid the waste, I use the new starter to make Sourdough Crumpets.
SOURDOUGH CRUMPETS

In a bowl combine about ¾ cup starter with ¼ teaspoon baking soda and a pinch of salt and a pinch of sugar. Mix well and cook immediately while the soda is active.
Drop spoonfuls of the batter into a hot skillet and cook until golden on both sides. Makes 5 to 6 crumpets
SOURDOUGH RECIPES
This is an extract from our special edition In Your Backyard: Living Lightly. The next edition In Your Backyard: Sustainability Through the Seasons is filled with practical advice on self sufficiency making small steps to a lighter footprint. Order online here.


