Ever heard of a chook tractor? The functional time-saver on your block
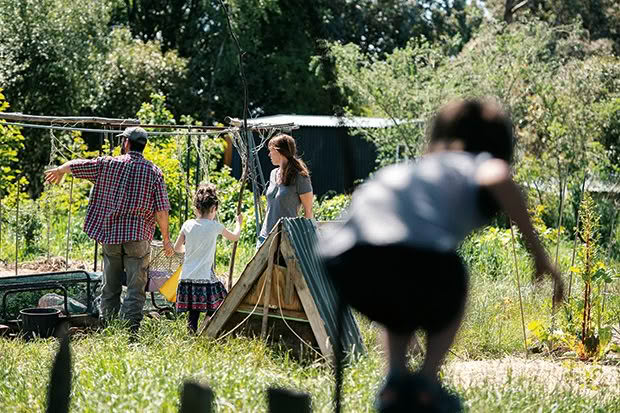
Chickens and gardens don’t normally mix, so it often comes down to a choice: do you fence the garden, fence the chooks, or allow them to thrive together?
Words: Nelson Lebo Photos: Brad Hanson
The first time I saw chicken tractors was around the year 2000. I thought they were weird and a bit ugly. Not only that, but the structures I saw that day housed turkeys so technically they would have been turkey tractors. Nonetheless, they weren’t my cup of tea at the time. It took a while for me to come around to appreciate their functionality and beauty.
In 2010 we bought our beachside home in Castlecliff, Whanganui for less than the cost of a decent double-cab ute. As you can imagine, at that price it needed lots of work. But, with a weed-infested section, a pile of scrap wood from the major renovation required of the abandoned villa, and a desire to turn our garden into a low-maintenance, high-productivity foodscape, it turned out to be the perfect opportunity to build chicken tractors.
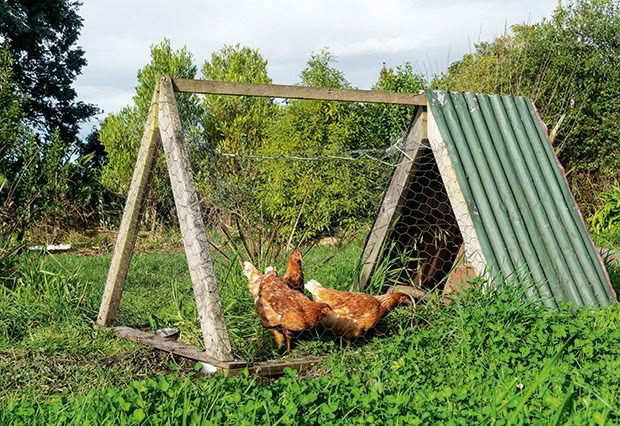
We built our first tractor to the dimensions of the scraps of wood and roofing iron on hand, and added an off-cut roll of mesh from Haywards – the local auction house. Our first eco-design interns, John and Amy, built the tractor as an independent project. They did a great job – the tractor has stood the test of time even though it’s framed with untreated pine. We still use it on our farm today.
While we made more tractors out of scraps and off-cuts available at any given time, when we moved to a larger property in the country we needed to scale up.
This is when we got serious about designing a simple, strong, practical and replicable model that could be built with affordable materials.
FORM FOLLOWS FUNCTION
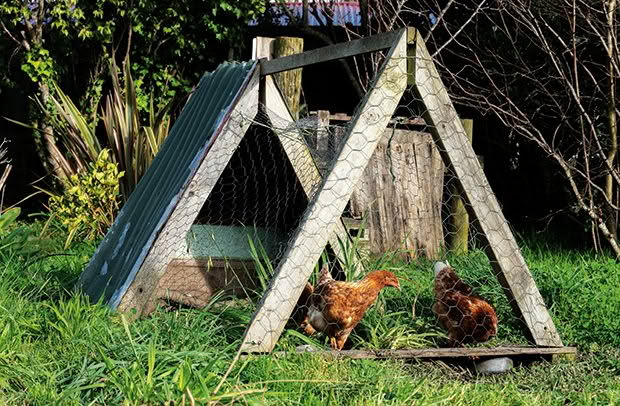
When building our chicken tractors, our method adhered to “form follows function” – a principle of design which holds that the way an object looks should be determined by its purpose. Our adoption of this principle occurred several years ago when I first began working at the Palmerston North City Council as an eco-design advisor. During winter I was kept busy visiting people in their cold, damp and often mouldy homes. But in summer I was bored. Bored, bored, bored. No one rang in January for advice on weeping windows or excessive subfloor moisture.
I kept busy offering workshops on composting, gardening and fruit tree pruning, but then had the good fortune to meet Robert and Adrienne Scott of Reclaimed Timber Traders, a social enterprise diverting construction waste from landfill.
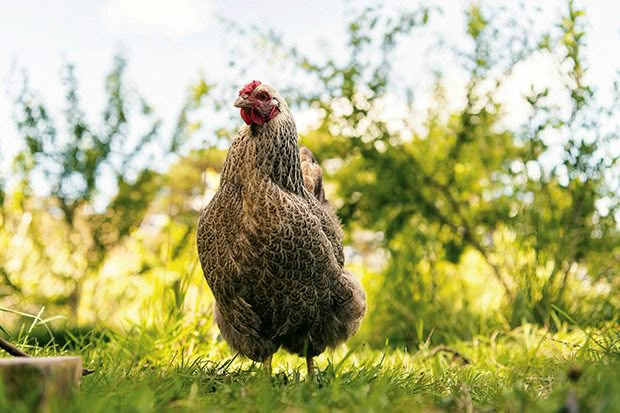
At that time – before supply chain issues and material shortages – renovations were popular and developers were tearing down many old homes to build new ones. Reclaimed Timber Traders’ yard was therefore bulging with dimensional lumber looking for a second life.
The RTT team were on a mission to save as many doors, windows and sticks of timber that they possibly could. Although there was demand for 4x2s over two metres in length, no one was touching the shorter 1.2m pieces. So we started buying them and putting them to good use in the construction of chicken tractors.
THE LUCKY NUMBER
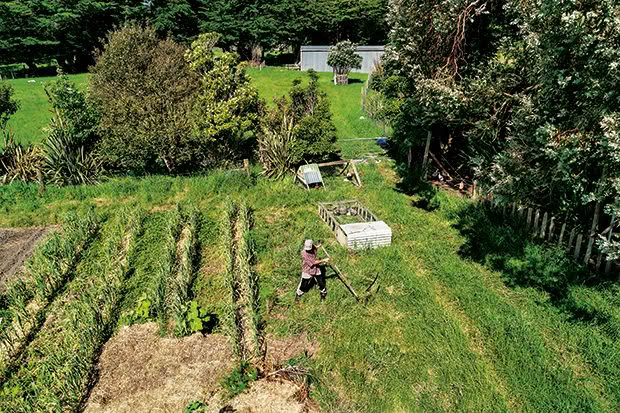
In building and gardening, 1.2 metres is an important number. It is the width of most plasterboard and plywood, and is often the width of a no-dig garden bed. By setting our new tractor design at 1.2m, we could take advantage of the abundance of unwanted timber at our disposal while also seamlessly integrating with our existing garden setup – form follows function.
For the vertical dimension, we went with a triangle to provide more stability while using fewer materials. Chooks are relatively short and can make use of the full footprint of the tractor during the day, which they spend eating grass and scratching the earth. But they don’t need much height to roost off the ground at night.
At one end of the tractor, the 1.2m lengths of roofing iron do double duty: providing both shelter from wind and rain as well as longitudinal bracing.
Together with the team from Reclaimed Timber Traders, I hosted a workshop at their yard and built an additional half dozen low-cost, high performance tractors that could be dragged around a paddock in all weather conditions while keeping the feathered ladies sheltered and contained. Within months we had cleared the yard of 1.2m lengths of 4x2s.
TRACTORS AS A HOLISTIC DESIGN TOOL
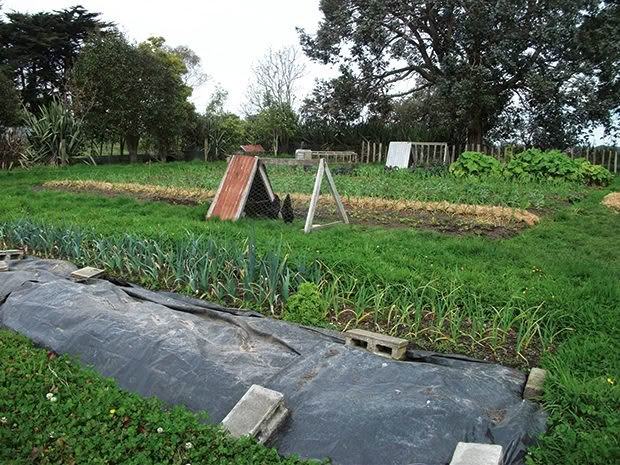
Left in one place, the chickens will mow the grass until the tractor is moved elsewhere.
Our view of the chicken tractor is as a land management tool with the chooks as co-workers. The birds cut the grass, fertilise it for regrowth, and even do a bit of cultivating and insect pest management. At the same time, our feed bill is reduced by shifting them onto fresh grass twice daily.
Equally important, they are now forced to stay in one or two locations where their manure is allowed to pile up and concentrate. I’ve seen plenty of chook runs without a blade of grass but with kilos and kilos of stinky poo. This isn’t good for the health of the birds or the land.
Joel Salatin is widely regarded as the farmer who popularised tractoring birds with the publication of his 1993 book, Pastured Poultry Profits. His farming philosophy is based on active pasture management that improves both the health of his animals and the land. In his system, the chicken tractors follow grazing cattle, allowing the birds to find protein-rich larvae in the cow dung while scattering the manure across the land to be absorbed by grass as fertiliser.
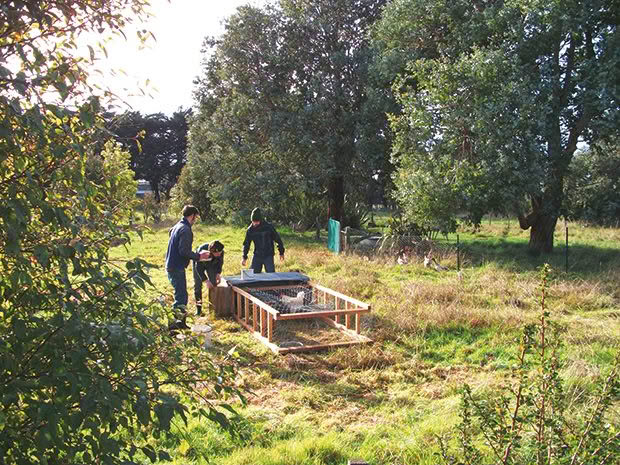
Salatin, as some readers may remember, was the “star” of Michael Pollan’s 2006 book, The Omnivore’s Dilemma. Pollan describes the systems adopted on Polyface Farm and how each part of the farm directly benefits others: “The sun feeds the grass, the grass feed the cows, the larvae in the cow manure feed the chickens, and the chickens feed the grass with nitrogen. As a result of the various cyclical processes, the farm requires no injection of fossil fuel.”
Our system is a variation on this theme, using tractors to manage the wide paths around our annual beds in summer, autumn and winter. In spring, when the grass grows too fast for the birds to keep down, we let it grow to the point just before it goes to seed and then cut it with a scythe. This grass is then placed directly on the adjoining gardens as mulch for the coming dry summer. The timing of it all is perfect for a low-input, high-output integrated system, inspired by Salatin’s but unique in itself.
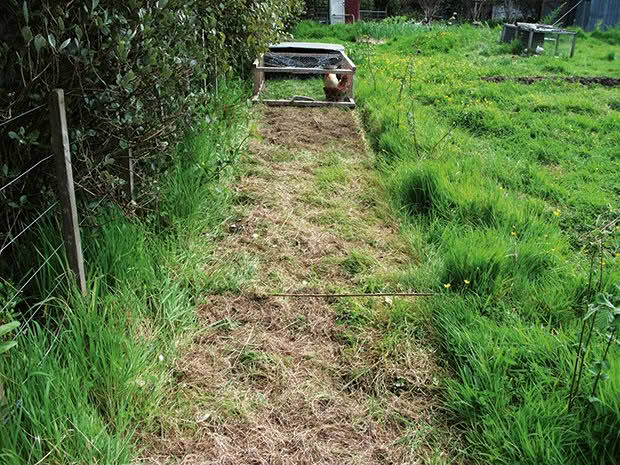
In late autumn as grass growth slows dramatically, we usually cull or rehome older birds as well as shift some into the orchards – halving the number of occupied tractors. The empty tractors are then placed on bricks to keep the timber skids off the ground during the wetter winter months. In previous articles, I’ve described this as a small example of holistic management or rotational grazing that allows the soil and grass to thrive.
DIY Chicken Tractor
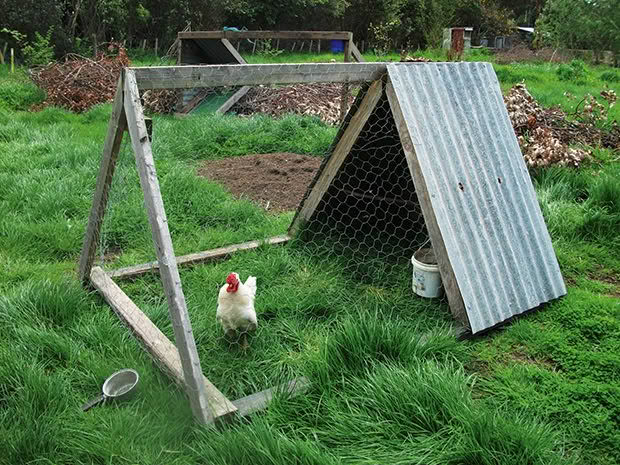
These instructions suit an advanced beginner or more experienced DIYer who is confidently able to:
1. Measure and cut a 4×2 on an acute angle;
2. Cut corrugated roofing iron with tin snips; and
3. Hammer fence staples evenly. Any other nailing can be pre-drilled to improve accuracy.
Many of these materials are typically tucked away somewhere on a lifestyle block. Otherwise they can be purchased locally, either new or used. Substitutions and additions can be made based on your own creativity or other suitable materials you may have on hand.
MATERIALS
8x 1.2m-long 4x2s
3x 2m-long 4x1s (treated H3.2 or higher)
2x 1.2m-long roofing iron: (buy 2.4m new and cut in half or visit a scrap yard)
Chicken mesh, 5m lengths
+/-20 galvanised nails 90mm and 50mm for the frame
+/-40 batten staples for attaching mesh, 19mm
16 roofing screws or nails, 50mm or 60mm
Hinge(s): 1 large or 2 small (as shown)
DIY latch (as shown)
Treated plywood for door
Off-cut 4×2 or 6×2 to support door
TOOLS
Circular saw, screw gun, hammer, tin snips, wire snips
INSTRUCTIONS
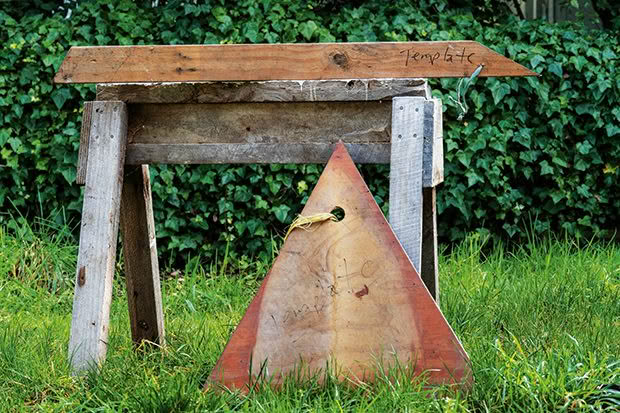
Image One.
1. Cut six of the 4x2s at angles of 62 degrees and 28 degrees (image 1).
2. With the remaining 4x2s, make a rectangle on the ground with two of the treated 4x1s overlapping the top. This is the base of the tractor. Hammer 50mm nails through the 4×1 skids into the 4×2 cross pieces.
3. Turn the rectangle base over so the treated 4×1 skids are touching the ground. Erect a triangle at each end using two of the angled 4x2s, and use the remaining 4×1 as the ridge board that will run along the top of the frame. Having a second person hold the ridge board and pre-drilling some of the nail holes is helpful.
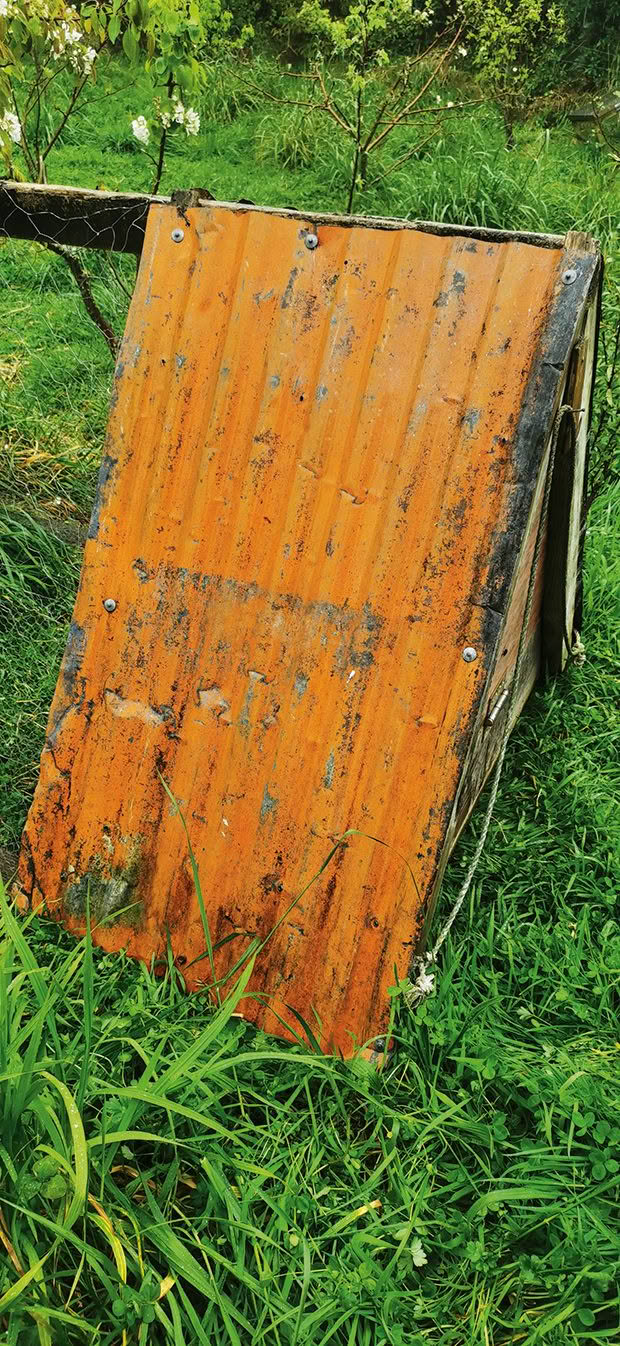
Image Two.
4. Measure the width of roofing iron against the back half of the tractor. Fix the final two 4x2s so that both they and an end pair will be covered by the iron to keep dry in wet weather (image 2).
5. Fix the iron in place with three screws or nails on each side (image 2).
6. Staple the mesh on the remaining length of the tractor that won’t be covered in iron, including the end.
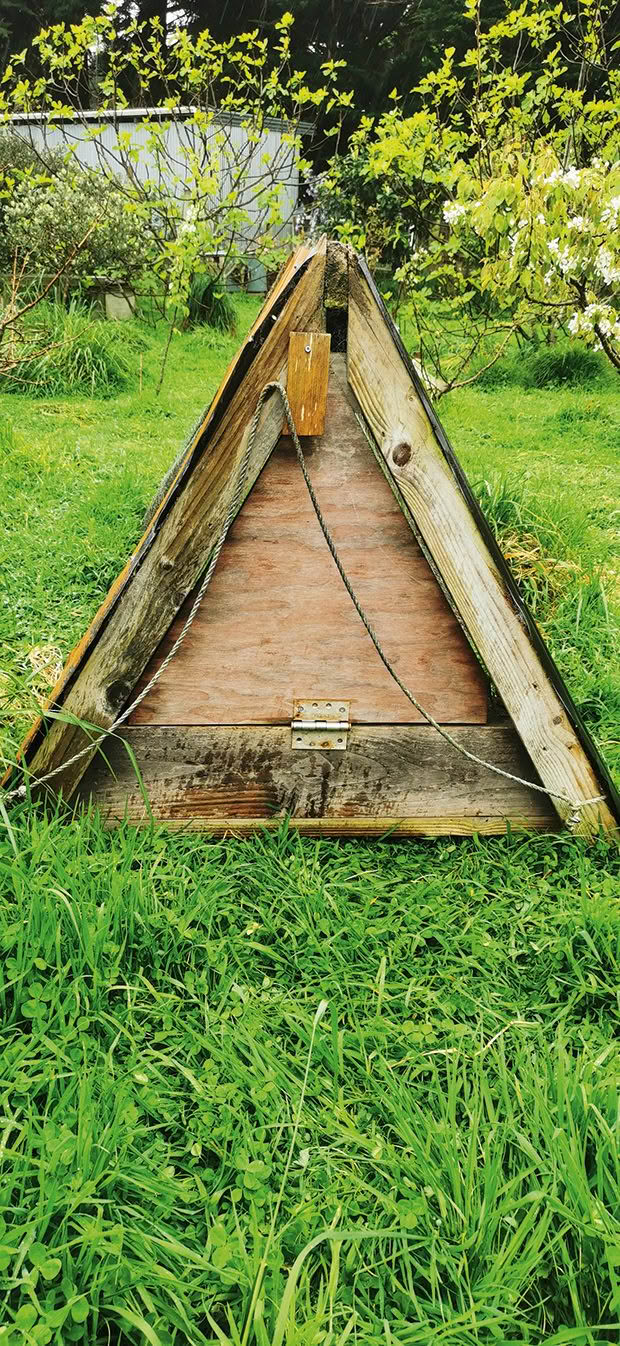
Image Three.
7. Cut plywood into a triangle to fit as a door (image 3).
8. Fix the final stick of timber to support the door from below (Image 3).
9. Install the door with hinge(s) and a simple DIY gravity latch (image 3). We also add a strong rope for pulling the tractors along.
Love this story? Subscribe now!
 This article first appeared in NZ Lifestyle Block Magazine.
