How to keep your worm farm healthy

Worm farming is one of the most rewarding ways of creating soil from food scraps and garden waste. It’s easy, too, if a few simple steps are followed.
Words: Kate Coughlan
Compost worms are not the same as earthworms. In their natural habitat, they are forest floor dwellers wriggling away in the top layer of leaf litter. Unlike earthworms, they do not burrow deeply into the soil.
The three most common types in home worm-farming systems (tiger, red and Indian blue worms) are smaller than earthworms. These useful little critters need only a modicum of care and they’ll thrive and chew their way through their own body weight in waste each day.
A useful rule is to remember that the worm farm is not a rubbish bin. It is home to thousands of squirming critters of great use to the home gardener and the environmentally conscious householder.
1. A balancing act between air and water
Worms need air to survive so keep an eye on ventilation. Rotting food is anaerobic (without oxygen) and can drown the worms if it overwhelms their environment. Add fibrous material such as shredded newspapers, cardboard or vegetable stalks if it is looking gluggy or beginning to smell.
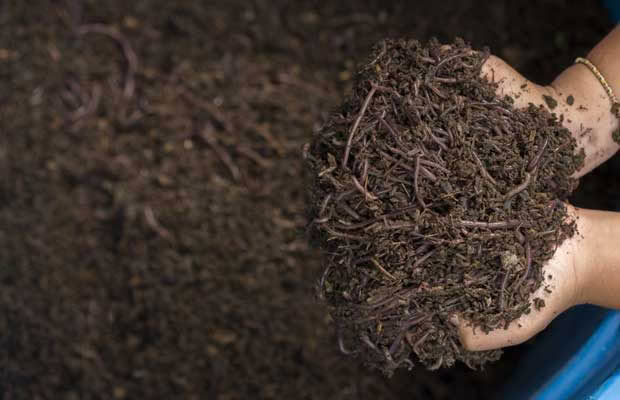
Dryness can also pose a threat to the worms so keep the environment moist but not running with water. This might mean you will need to dampen the fibrous material when adding it to the farm. Squeezing a handful of worm casting should show the casting sticking together, not running with moisture.
2. Make a nice bed
Avoid using materials such as sawdust, thick layers of unshredded newspaper, or hay as they can cause the worms to overheat and die. They might also be treated and might poison the worms. Instead, use materials such as coconut coir, peat moss, or shredded cardboard and newspaper.

3. The Goldilocks approach
Providing enough of the right food is all about a steady supply without overfeeding. Tiger worms do not thrive on citrus or any fruit with acidic skins, nor do they like any member of the allium family (garlic, onion, spring onion, leek and capsicum), processed wheat products (bread and pasta) or any coated paper. Fats and oils should also be avoided.
Don’t put dog or cat droppings into the worm farm. If using sheep, horse or cattle manures, these should be well-rotted and, ideally, come from undrenched animals.
4. Temperature
Worms prefer temperatures between 12-22°C but will survive (if not thrive) in circumstances where the temperatures exceed these by a few degrees. If the climate is extreme, wrap the worm farm with a blanket to protect against freezing or boiling temperatures.
Even in temperate areas, it is best to shade it from midday sun. In very cold conditions, the worms may go into hibernation and not process scraps. If the temperature gets too hot and the worms dry out, they may die as they breathe through their skin.
5. Housekeeping
Clearing out the castings regularly is important to keep it healthy. Don’t overload it with grass clippings or green matter all at once. The ratio of carbon to nitrogen should be at least 20:1 (carbon + shredded paper, cardboard or other dry material and nitrogen = green) and keep adding shredded uncoated paper to achieve this balance.
Crush egg shells before adding to the worm farm and chop up large pieces of green material to speed up the process. Dry leaves are great for aeration. If more is needed, use a sturdy stick and lever air holes into the waste.
Remove problem visitors such as slugs and centipedes by hand. They tend to stick to the underside of the lid or stay near the top of the pile.
6. Going on holiday
One of the great aspects of worm farming is that they are low maintenance and can be left for weeks at a time so long as there is no risk of them baking or freezing in the interim.
DIY: Build an underground worm farm suitable for a cold climate

