Make your own ‘Chick Inn’ coop sign
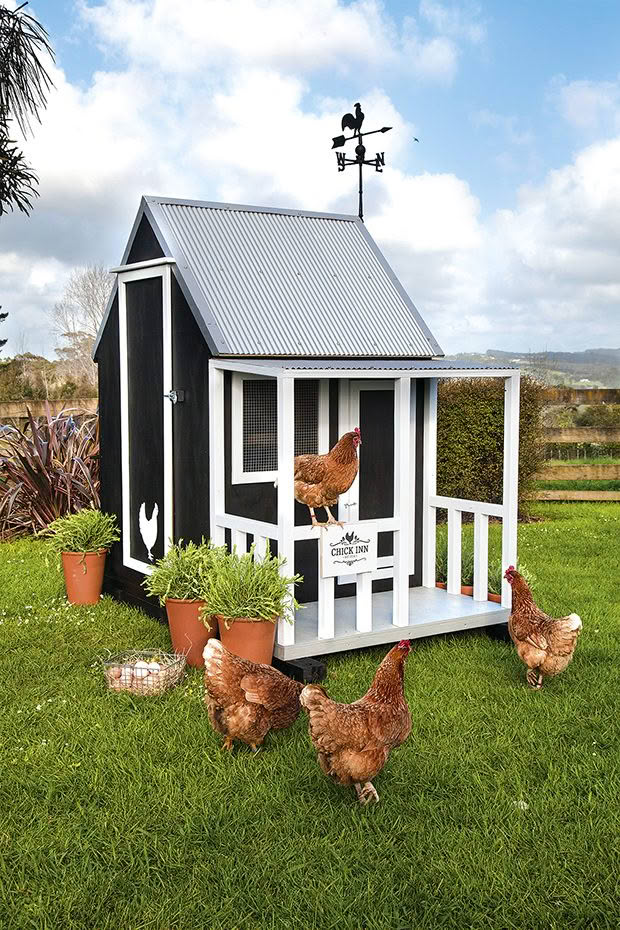
Follow these step-by-step instructions to create a Chick Inn Coop Sign.
Words Rebecca Needham
MATERIALS
– printed template
DOWNLOAD HERE: chick-inn-sign-template_a4-paper
– a piece of treated wood, 26.5cm wide x 19.5cm high
– sandpaper, to tidy the edges of the wood if required
– scalpel
– ruler
– pencil
– ballpoint pen
– white paint (I used Resene Lumbersider)
– small test pot of dark paint (I used Resene ‘Nocturnal’)
– very small tipped paint brush
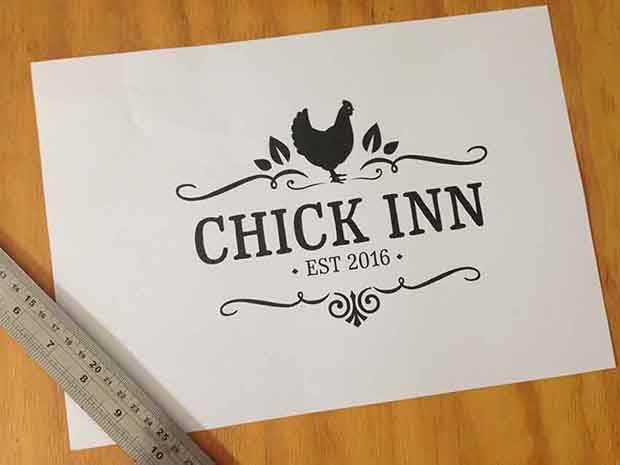
1. Print out the pdf template.
2. Trim the template down to the crop marks shown on the paper.
3. Paint the wood with white paint, front and back. Apply two coats.
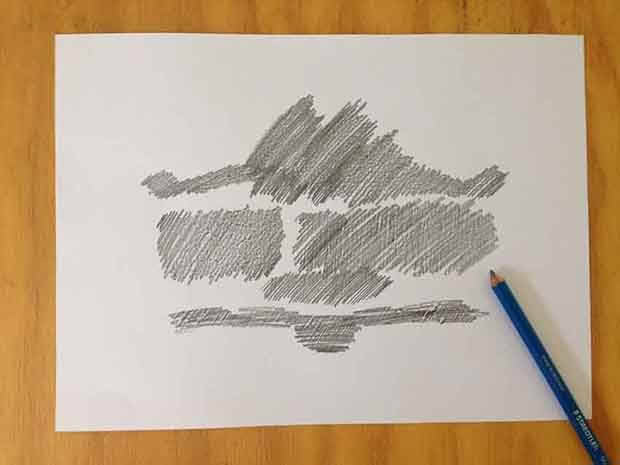
4. With the template facing down, rub a pencil over the silhouette so that it is covered completely.
5. Turn over the template and carefully place it on top of your wood. Secure in place with tape or Blu-Tack.
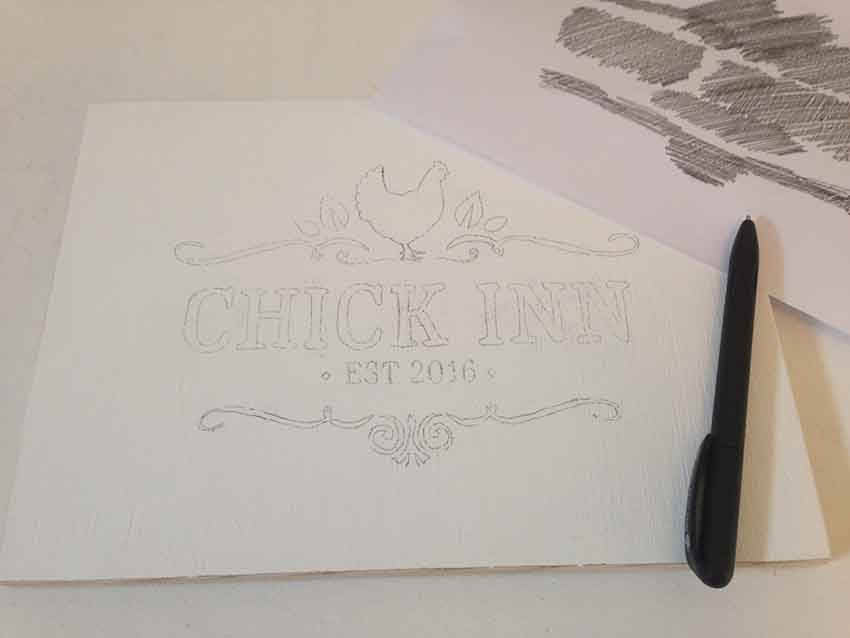
6. Making sure the template doesn’t move, use the pen to draw over the outline of the silhouette until you’ve traced around the whole image/words. Once completed, carefully remove the template and you should see the outline of the sign made with the rubbings of the pencil.
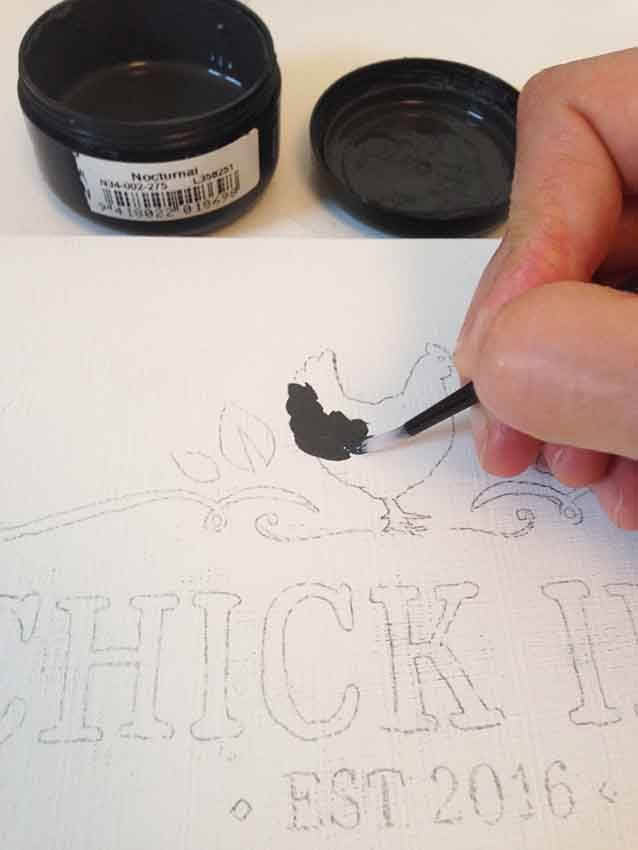
7. Use a very fine tipped paint brush to paint within the outlines. You will need to have very steady hands and work from left to right, to avoid smudging the paint. If necessary, once the first coat is dry, apply a second coat or touch up where any white is showing through.
8. Once completely dry, use an eraser to rub out any pencil marks and touch up any dirty marks by covering with a coat of white paint.
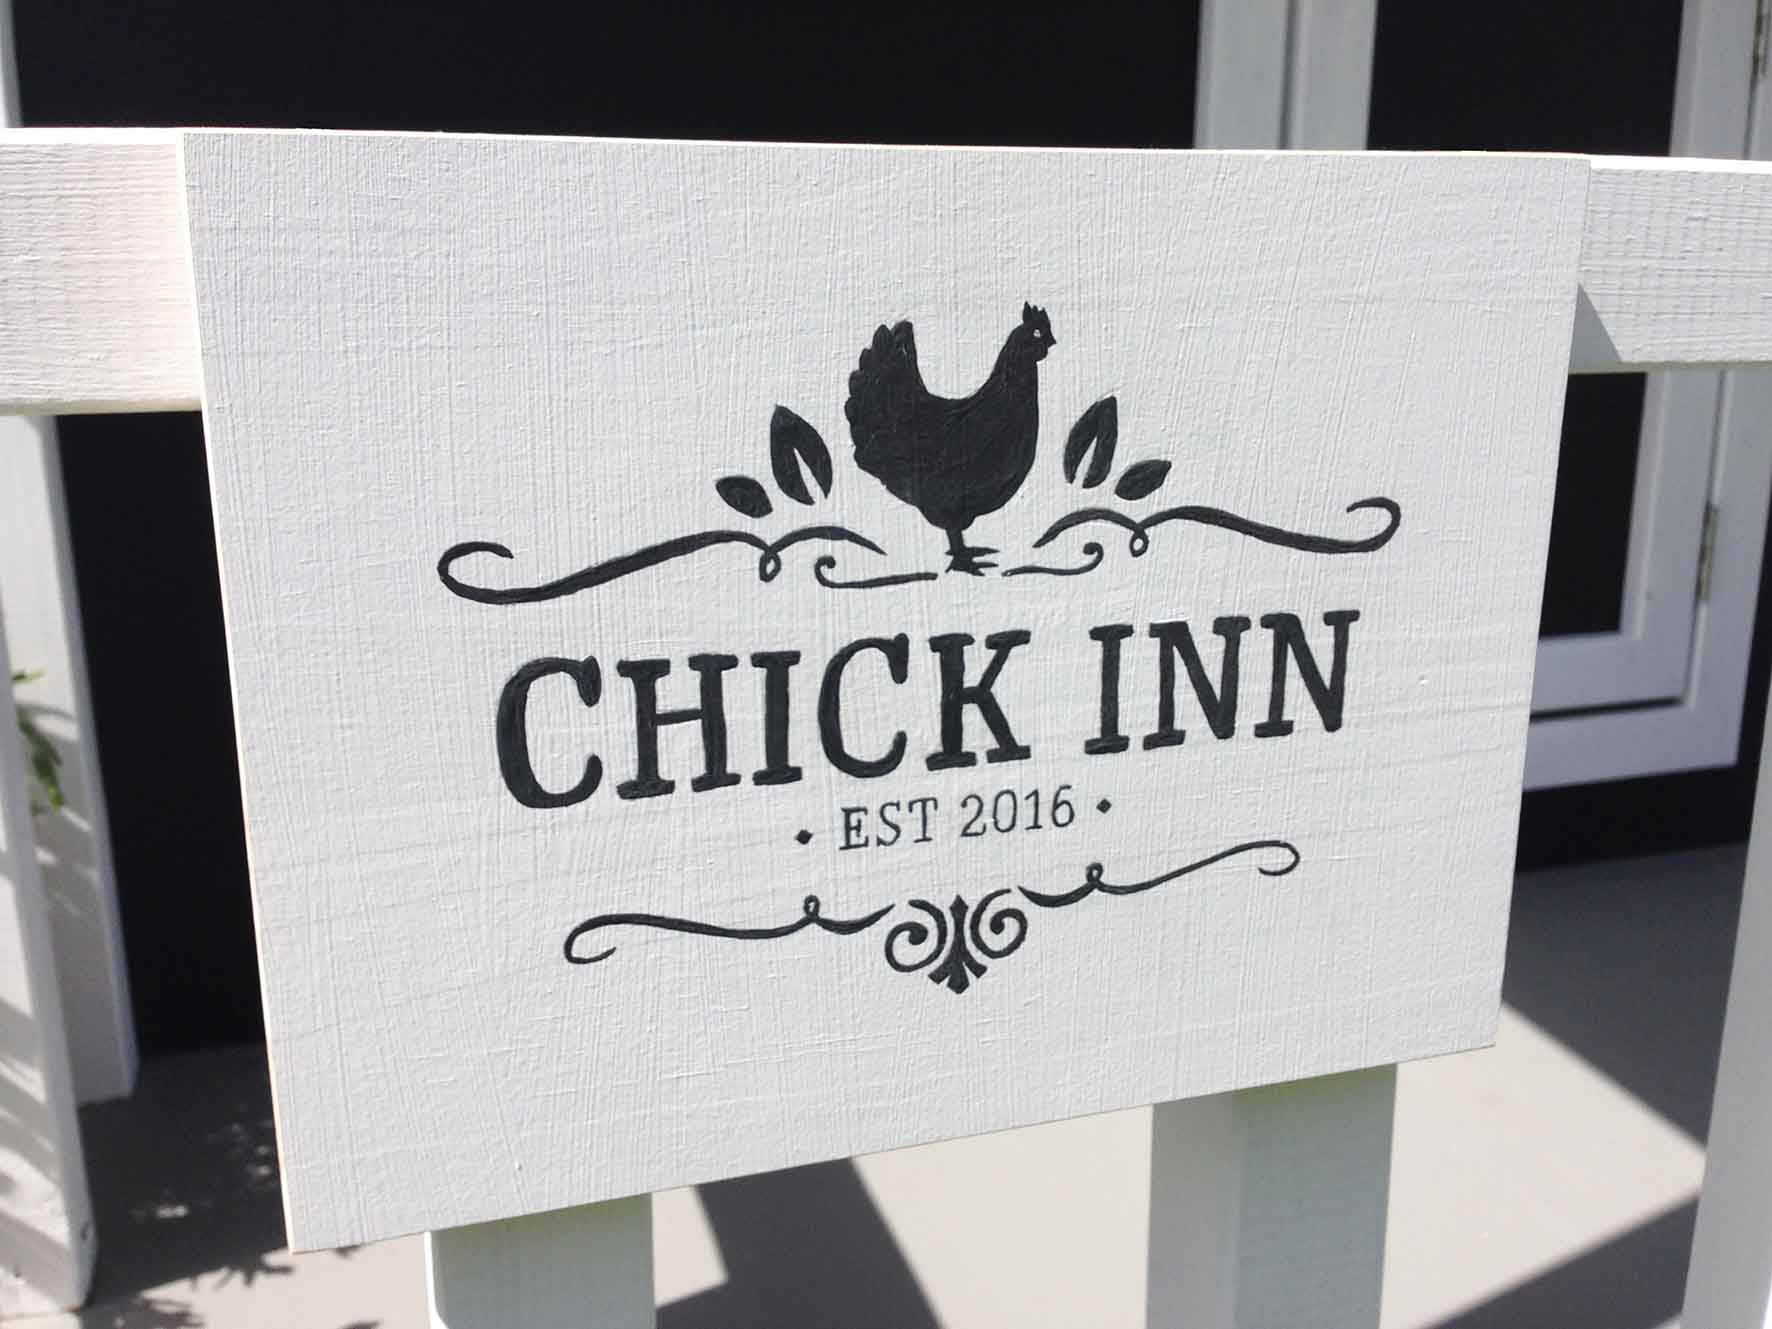
9. Attached the sign to the coop as you like. One attachment method is to drill two holes on the top of your sign and add eyelets, then hang with a chain.
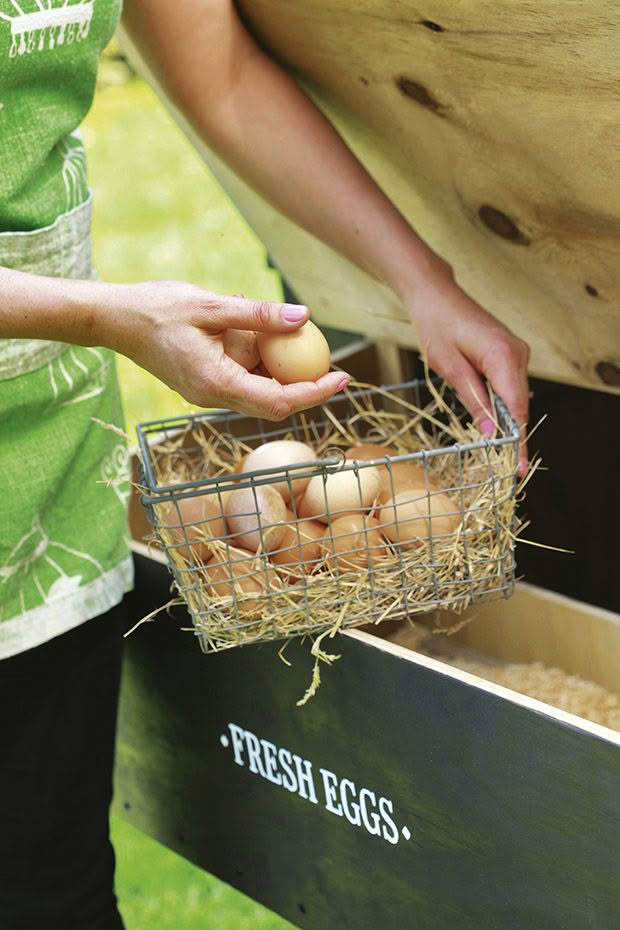
Also available for free download is the ‘Fresh Eggs’ and the Chicken silhouette templates we used on the coop pictured in the Summer issue of NZ Lifestyle Block. These can be copied onto your coop with the same method used as above.
Click here to download:

