DIY project: Make your own egg carrier
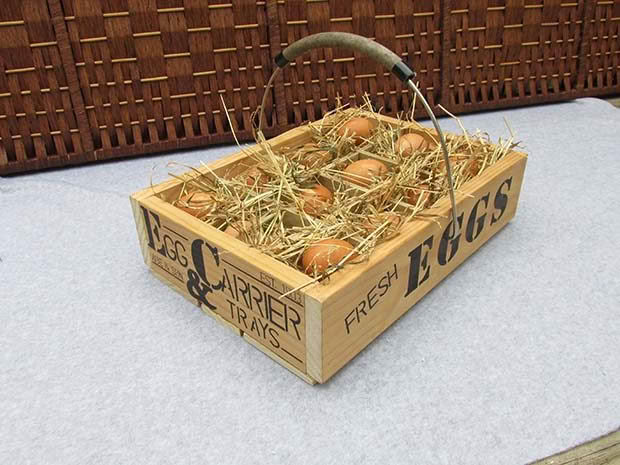
Make sure your eggs stay intact when carrying them from chook house or farmer’s market with this easy-to-make DIY egg carrier. We’ve used pine and plywood for this project, but you can use any scrap wood you have lying around.
Words and photos: Jane Wrigglesworth
MATERIALS
Timber offcuts
600mm x 90mm x 19mm dressed pine
1200mm x 90mm x 9mm dressed pine
Sheet of 560mm x 75mm x 7mm plywood
1 recycled handle (one from an old bucket works well)
20 nails or screws
Router (or jigsaw)
Alphabet stencils (optional)
Paint or permanent markers
Cut:
2 x 215mm x 90mm x 12mm dressed pine (box ends)
2 x 380mm x 90mm x 12mm dressed pine (box sides)
2 x 380mm x 90mm x 9mm dressed pine (slats)
1 x 380mm x 60mm x 9mm dressed pine (slat)
2 x 340mm x 75mm x 7mm plywood
3 x 220mm x 75mm x 7mm plywood
Step 1
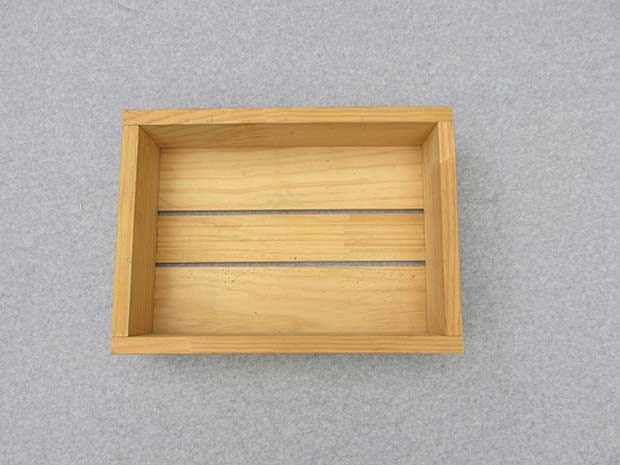
Build the box. Assemble the sides and ends and nail together, using two nails on each end. The shorter ends go on the inside. Nail the slats to the bottom of the box, using two nails on each end of each slat.
Step 2
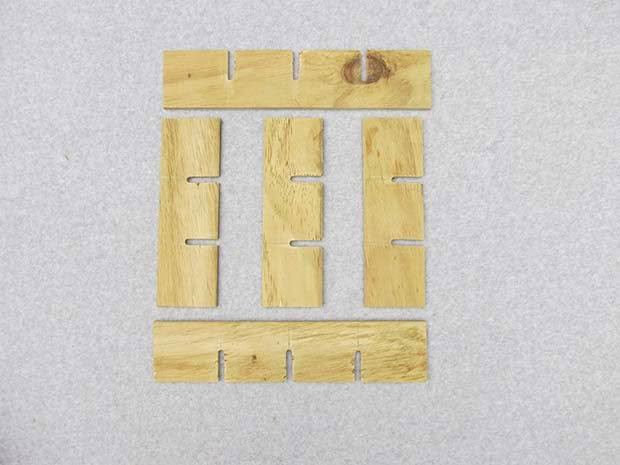
Cut slots in the plywood pieces. On the two 340mm lengths, mark lines from one end at 85mm, 170mm and 250mm. Using a router or jigsaw, cut 7mm wide slots (40mm deep) at the marked lines. On the two smaller plywood pieces, mark lines at 80mm and 160mm. Cut slots 7mm wide and 40mm deep.
Step 3
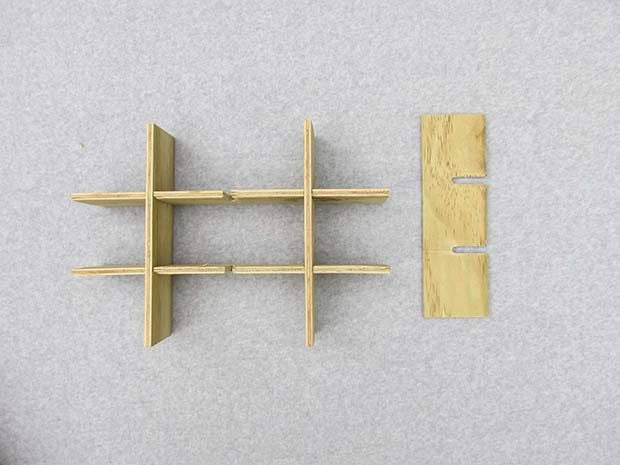
Slot the plywood pieces together to form a grid. Insert the grid into the box.
Step 4
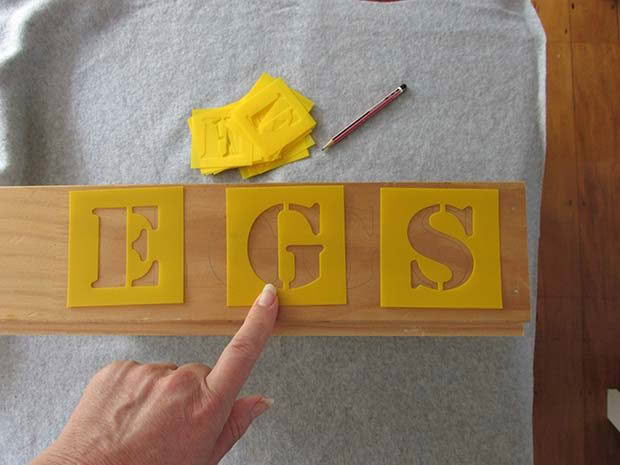
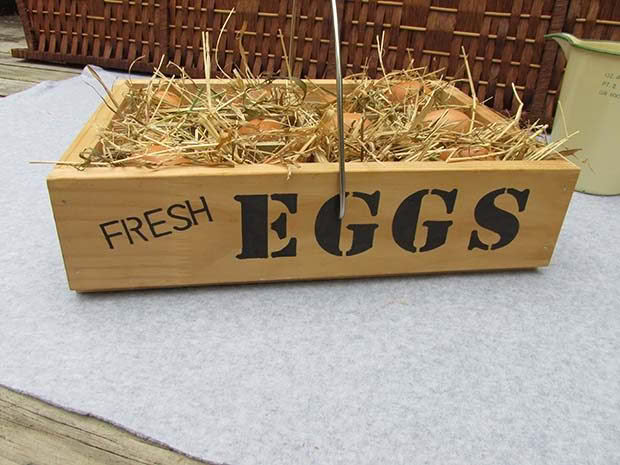
Decorate your box with stencils and paint or permanent markers.
Step 5
Drill a hole in the centre of the box sides big enough to insert the ends of the handle.

