Upcycling 101: How to give old furniture a fresh new life
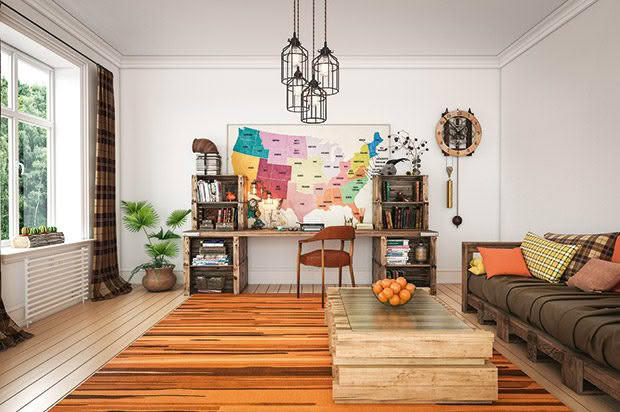
Transforming a pre-loved item destined for landfill takes patience. But breathing new life into a tired object can be immensely satisfying.
Words & photos: Jane Wrigglesworth
Upcycling involves training the eye to see the potential of an item, says Raglan upcycler Sarah Lancaster. Before throwing out a household object, look past its surface appearance to consider:
• What the object is made of (native timber, fabric, metal)?
• Can it be recovered (painted, reupholstered, lined with paper or wallpaper)?
• The shape of the object (round, square)?
MATERIALS TO LOOK OUT FOR
• Old mirrors and frames can come back to life with a lick of paint.
• Pallets can be made into beds, vertical gardens and furniture.
• Old tyres make flower planters, backyard swings or even a seat.
• Wine barrels are highly coveted by upcyclers (ask any winery) and can be made into everything from bar stools to tables or a fish smoker.
• Use old suitcases and trunks as sidetables.
How to revive and refresh a piece of furniture
Unless a museum-quality piece of furniture is the goal, a rustic revival does not require perfection. Make a mistake and simply wipe off the paint with a damp cloth or re-sand it. For an aged look, that’s great news. If new to refurbishing furniture, start with a smaller piece: tray tables, side tables and bedside cabinets are sized for beginners.
PREPPING THE FURNITURE
The key to a successful makeover is preparation. A little effort in the initial stages ensures a quality result. Ensure the surface is clean and free from dirt, dust, oil and mould. If covered in grease or oil, wipe down with trisodium phosphate (a degreaser).
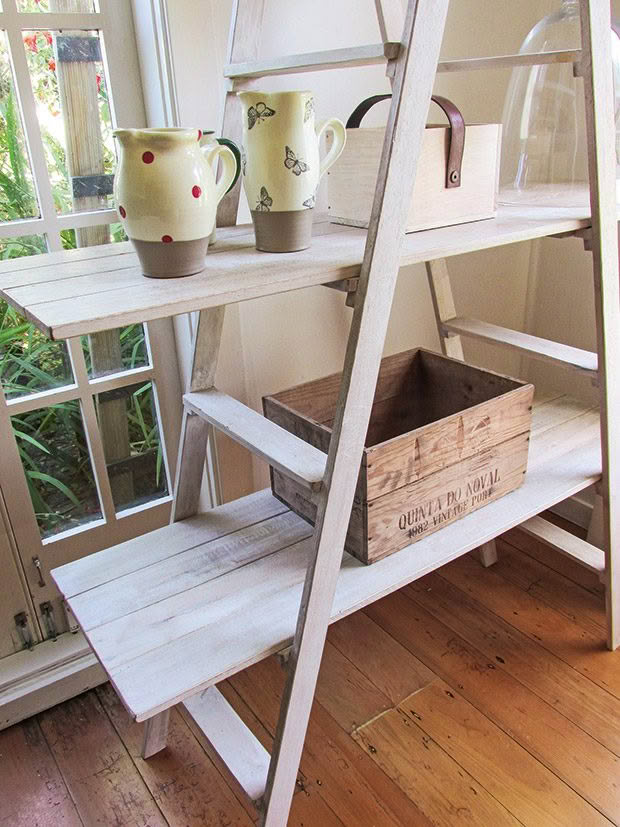
A whitewashed ladder is transformed into shelving with wooden boards.
Alternatively, use a mix of vinegar and water. If covered in wax, use rubbing alcohol (isopropyl alcohol) and a rag to remove it. If the piece is mouldy, use a commercial mould-removing product, or try a mix of 5 cups water, ½ cup vinegar and 3 drops oil of cloves. Rub this over the furniture with a soft brush.
For all processes, wipe down with water to finish. After cleaning the surfaces, sand back the wood. Do this by hand with sandpaper or use an orbital sander, remembering to sand with the grain. If the surface is already painted, give it a light sand using a fine grit sandpaper, such as #180, to remove any chipped paint and to smooth out imperfections.
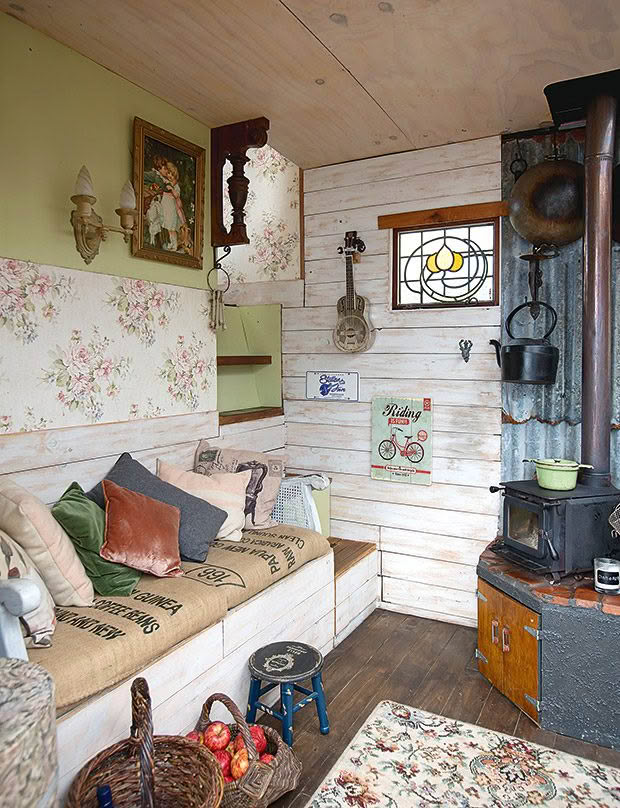
The walls of this small caravan are made of whitewashed timber, decorated with strips of wallpaper. Coffee bags are upcycled into swab covers. A carpet offcut makes an inexpensive rug.
It’s not necessary to strip the piece entirely, but there must be enough porosity so that the paint will properly adhere to the surface. Unpainted surfaces also can be given a light sand. If a piece is varnished, or the varnish is damaged, use a coarse-grit sandpaper to remove it. Once it’s stripped back to bare wood, change the sandpaper to a finer grit, such as #240, to provide a smooth surface for re-varnishing — or repainting.
After sanding, remove all dust with a vacuum cleaner, then wipe down with a damp cloth. When dry, the piece is ready to paint. It’s worth spending a few extra dollars on good paintbrushes. Cheap ones provide poor coverage and leave bristles in your paint job.
Remove handles or knobs to protect from paint. Cover hinges with masking tape.
WORKING WITH METAL
Timber furniture is the easiest to work with, but metal pieces can be spruced up as well. Clean the piece first, then prepare any rusted areas with 3M paint and a rust-stripping removal disc (which attaches to an angle grinder) or a wire brush.
Dust off and prime with a product such as Resene Rust Arrest. Then paint. If the corrosion is extreme or you live near the sea, apply an additional coat of Rust Arrest before applying your topcoats. This is particularly important for outdoor furniture.
POLISHING FURNITURE
Rags or old socks (cleaned, of course) are ideal for applying polish and bringing the sheen back to furniture. Unfinished wood can easily crack and is prone to staining, so it’s best polished about four times a year to keep it in prime condition. A natural creamed beeswax product is a
good option.
Apply a small amount of polish with a clean cloth, rubbing in the direction of the grain. Work through small areas at a time rather than covering the whole piece at once. Once applied, use a fresh cloth and buff the surface to a shine, again following the grain of the wood.
TWO PAINTING TECHNIQUES TO TRY
1. Whitewashing
Whitewashing gives walls and furniture a “translucent” look with the wood grain partially showing. It retains the character of wood without completely hiding its natural beauty.
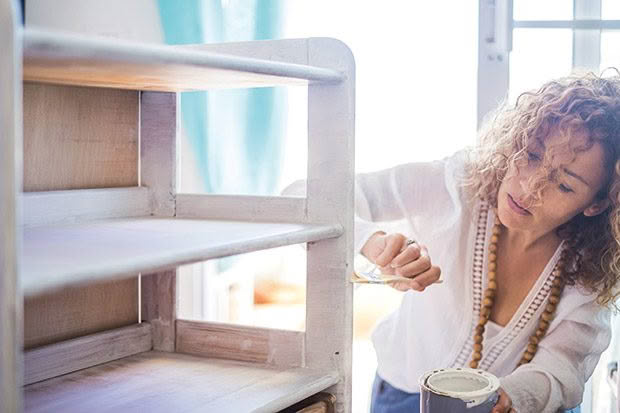
When whitewashing, make sure to paint the wood in the direction of the grain.
Products such as Resene Colorwood Whitewash can help achieve the look with minimal effort, or use diluted water-based enamel paint. While the traditional colour for whitewashing is white, it’s possible to use any colour, although darker shades may need to be watered down a bit more to get the same effect. Experiment with the chosen colour on a piece of scrap wood first to ensure you get the look right.
Step 1: To begin, make sure the piece you are working on is paint- or stain-free. Sand back to bare wood. Clean off any dust or dirt.
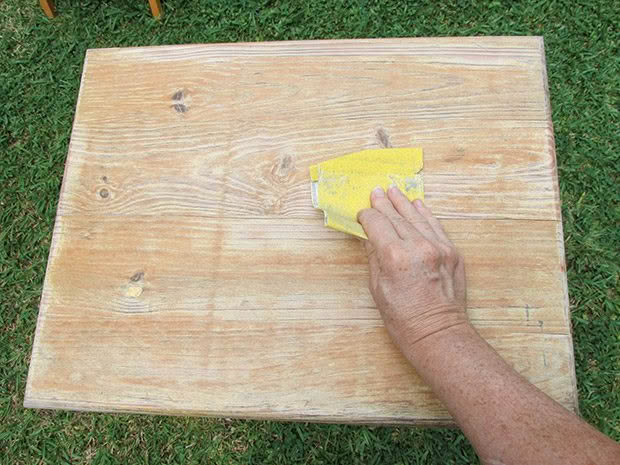
Step 2: In a separate container, mix one-part water to two-parts paint, ensuring it’s mixed well. We used Resene SpaceCote Low Sheen Waterborne Enamel in White, although any water-based paint will do. Paint onto the wood in the direction of the grain. (Perfect coverage isn’t necessary.) Take a damp piece of cloth and immediately wipe away the paint — again, in the direction of the grain.
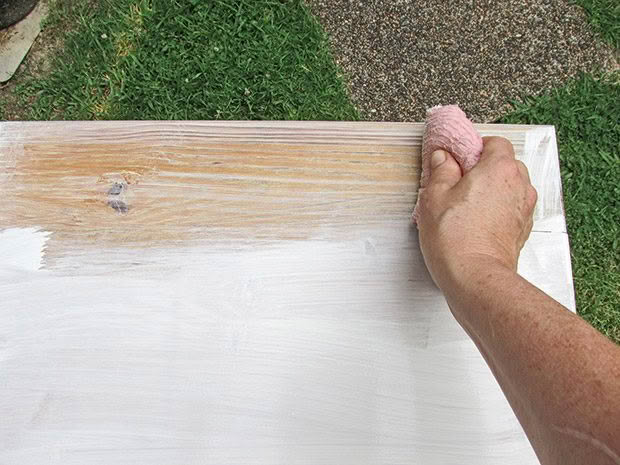
If too much paint has been wiped away, simply paint it again.
2. Distressing
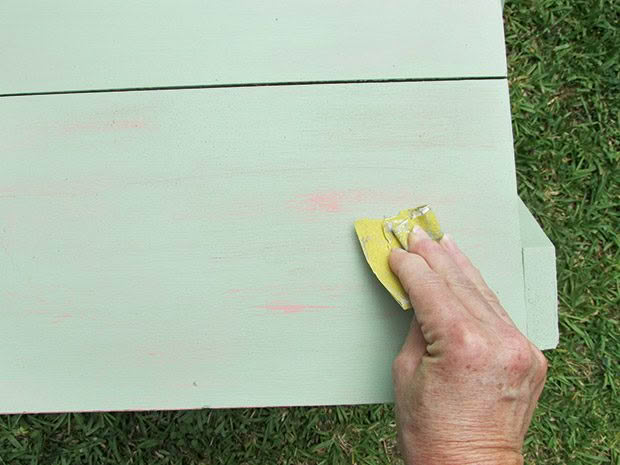
Try distressing for a weathered look. The easiest way is to sand off some paint. Another method is to use wire wool or a wire brush, which results in a slightly different look.
Step 1: Apply a full coat of paint to the piece. We used Resene Just Dance.
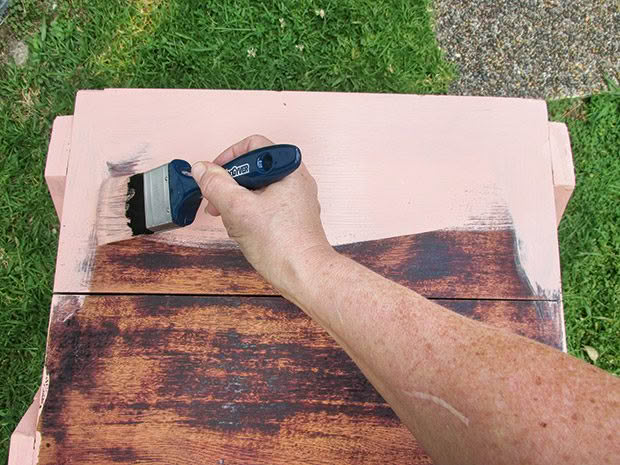
Step 2: When completely dry, apply a topcoat in a contrasting colour. We used Resene Nourish.
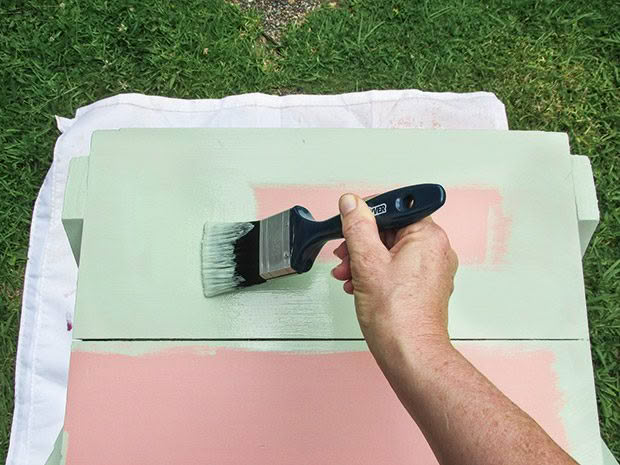
Step 3: Once the topcoat has lost its shine but before it is totally dry, rub the paint with sandpaper in the same direction as the grain. Rub until the paint underneath appears. Edges and corners are often the first to wear on older furniture, so make sure to rub the paint off these areas as well.
