The homegrown flour trials: How to make your own chestnut flour, walnut flour, hazelnut flour and courgette flour
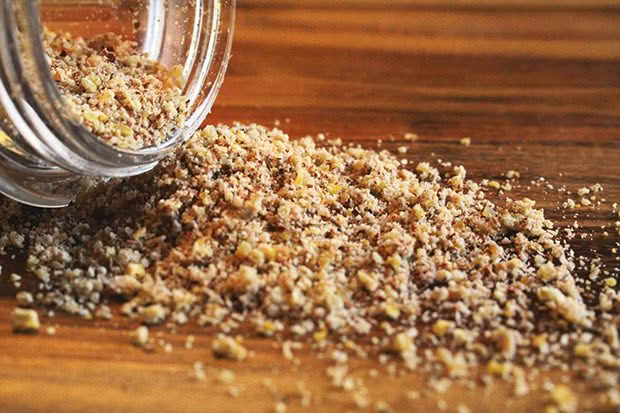
Chestnut flour has a mild flavour, is easy to freeze, and good for bread and other baked goods.
Can you grow and process good alternatives to wheat flour? Homesteader Rebecca Stewart shares the results of her tests, using only homegrown and foraged ingredients.
Words & recipes: Rebecca Stewart
Thanks to the popularity of paleo and keto diets, there’s been a big rise in interest in alternative baking flours. Baking without wheat flour used to be a culinary challenge for those who are gluten-free, but now almond meal, coconut flour, and LSA (ground linseed, sunflower, almond meal) are staples on supermarket shelves.
It’s also possible to use homegrown nuts and seeds to make flour. We harvested and trialed several homegrown and foraged crops to find which ones passed muster as a wheat flour substitute, testing their ease of processing and how they worked in our baking.
STODGE-FREE, GLUTEN-FREE BAKING
The key to good gluten-free bread is the ratio of dry ingredients to liquid. Most gluten-free flours absorb more liquid than their gluten counterparts. If you make a standard recipe that uses gluten flours (eg, oat, barley, wheat, or rye) with gluten-free flours, you need to add more liquid to avoid it being stodgy or crumbly. Unfortunately, there’s no perfect quantity or rule. It’s all a matter of experimentation. If you get a good outcome, make a note on your recipe so you remember for next time.
Chestnut flour
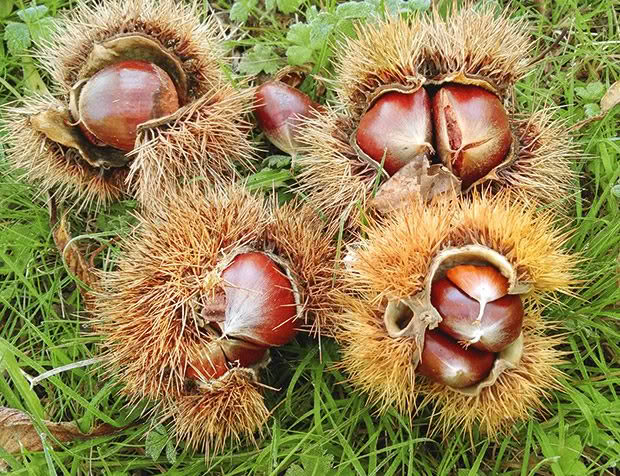
Nutritional data per 100g: 28g carbohydrates, 2g protein, 1.4g fat
Processing: roasting
Fresh chestnuts have a limited shelf-life of about a week in a cool, dry place or a month in the fridge. Their high-water content makes them prone to growing mould or rotting. Most other nuts have a higher fat content and are more likely to go rancid as they age.
To peel chestnuts, score the shell either across the base or around the side, otherwise the insides explode as you heat them. Heating methods include microwaving, roasting, or boiling. Roasting sounded good to me. However, I found that while the outer shell came away easily, the inner skin dried out and was very hard to remove. Immersing them in boiling water for a couple of minutes helped. Some of the inner skins peeled well, but it was a time-consuming, tedious task for most of them.
For this batch, I processed 300g of fresh chestnuts, roasted them for 15 minutes, and got a yield of 200g of peeled nuts. These were then dehydrated and ground.
RESULT
This method produced 94g of flour. For me, it was too dry, and some pieces developed hard edges, which were a bit tough on the grinder.
Processing: boiling
We chose to boil the next lot of chestnuts for the recommended eight minutes to make peeling easier. We then tried different scoring methods. The nuts with the cross cut across the base, right through the shell and skin, were the easiest to peel. A single cut on the base or side didn’t seem to let enough boiling water in to satisfactorily soften the shell.
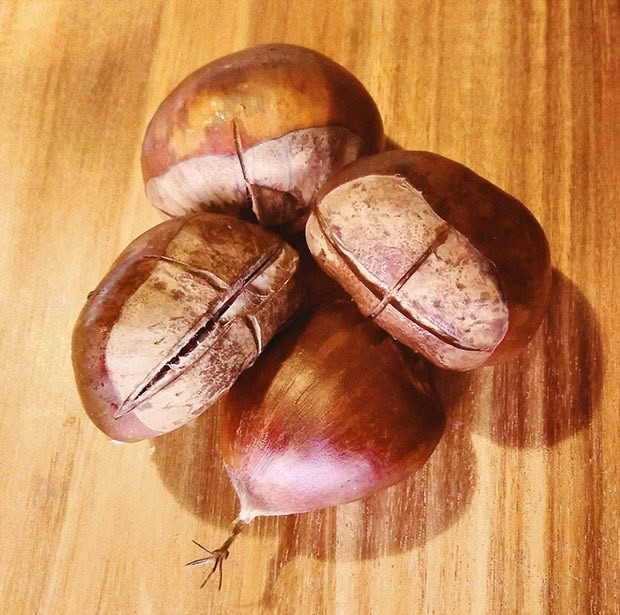
Score the bottoms before cooking.
We found it was best to leave the chestnuts in the water, removing just a few at a time to peel. They were harder to peel as they dried out. Peeling a large number of chestnuts was somewhat drying on the hands, and you need a sharp and comfortable-to-hold knife if you’re doing a lot.
The nuts were sliced, spread on dehydrator trays in a single layer, and dried for a few hours. I decided not to fully dehydrate this batch to prevent the edges from drying, as I didn’t want hard bits in the flour. Since the flour was to be frozen for storage, a slightly higher moisture content was acceptable.
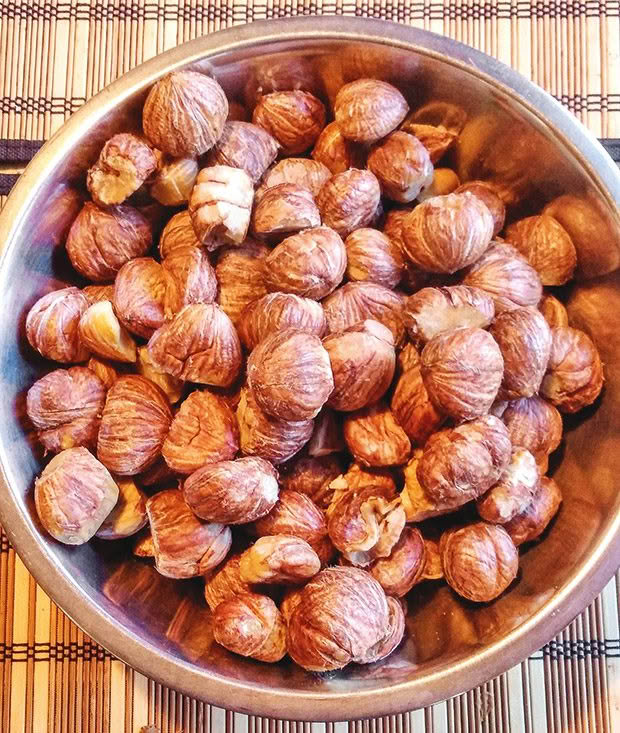
Boiled, deshelled chestnuts, ready for drying.
From a 1kg batch of fresh chestnuts (deshelled, skin on), we got 903g. These were partially dehydrated, which gave us 648g to grind into flour. One cup of chestnut flour equaled 120g.
RESULT
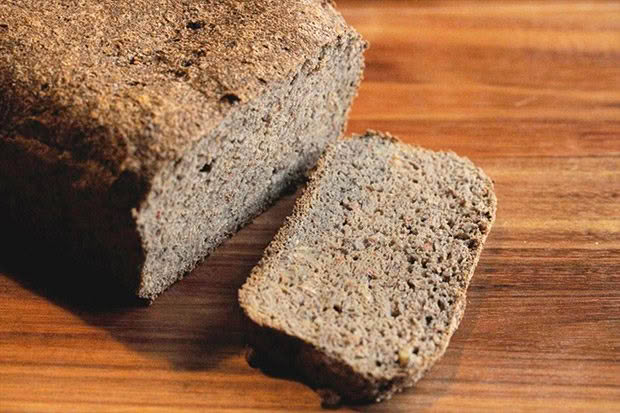
Rebecca’s keto chestnut flour bread.
I used this flour in our keto bread recipe and found it worked well. It produced a slightly moister loaf than the other flours, and the flavour was quite nice. In the biscuit recipe, I noticed that if the chestnut wasn’t finely ground, the firmer lumps of the skin tasted slightly bitter.
Overall, I found chestnuts rather labour intensive. They also have to be dealt with quite promptly after harvest, unlike other nuts. But the flour has a mild flavour, is easy to freeze, and good for bread and other baked goods.
NOTES
■ Store chestnut flour in the fridge for up to a week. In the freezer, it will last for up to a year.
■ Always process chestnuts. Raw nuts contain high levels of tannic acids, which make them taste bitter. Tannic acid can cause digestive pain, nausea and potentially damage the liver and kidneys.
■ The inner skin tastes bitter if left on, so most recipes will tell you to remove it, but some choose to keep it (as it’s non-digestible fibre, which is helpful for the intestines). One method blends the dried nut (and skin) into chestnut flour. This would save you a lot of time, and our taste tests showed no strong bitterness.
Walnut flour
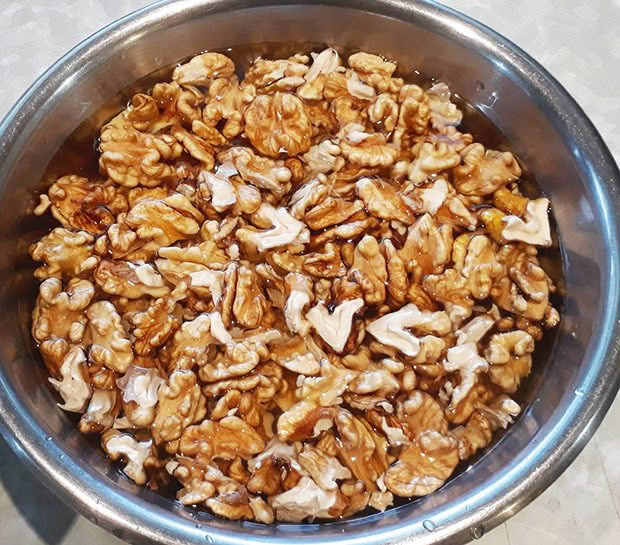
Nutritional data per 100g: 65g fat, 15g protein, 14g carbohydrates
The high fat content is primarily linoleic acid (omega-6), and omega-3 fatty acids. Research shows they’re linked to lower cholesterol, and have anti-inflammatory properties
Processing: Usually, walnuts are dried before eating. Drying time varies depending on your climate’s moisture levels. Leave nuts in a warm, dry spot out of the sun until the nut texture is more crunchy than rubbery. Once dried, you should be able to store them for at least a year in their shells in a cool, dry place – make sure it’s rodent-proof.
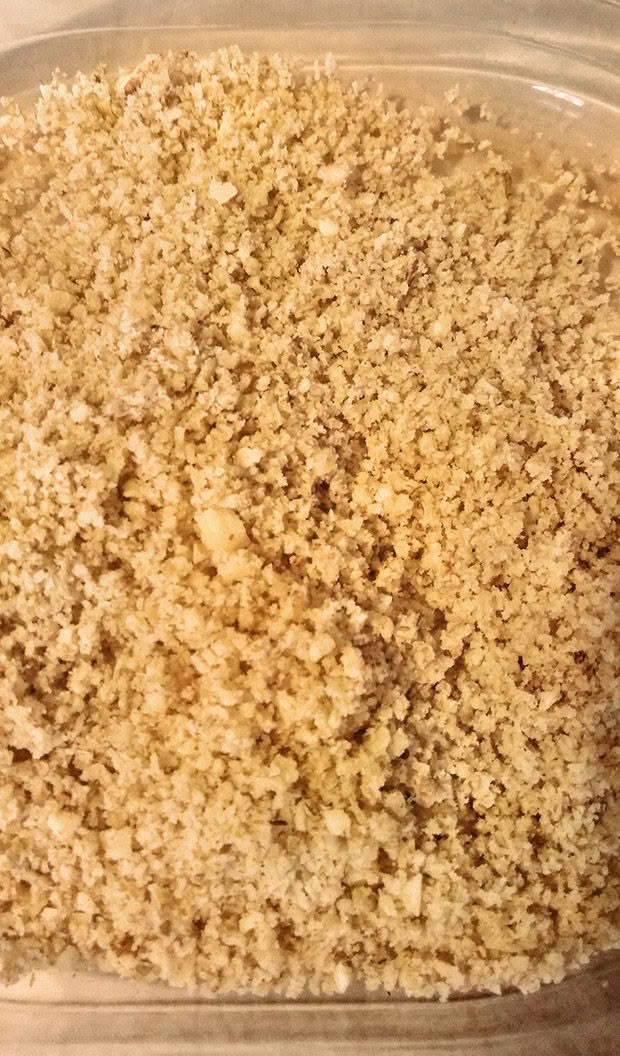
Dried nuts were easy to grind by hand.
We hand-cracked 500g of walnuts which yielded 113g of flesh. However, they weren’t the best quality nuts or very plump. Higher quality walnuts would have given us a much better yield. Once dried, they ground well in our manual grinder.
RESULT
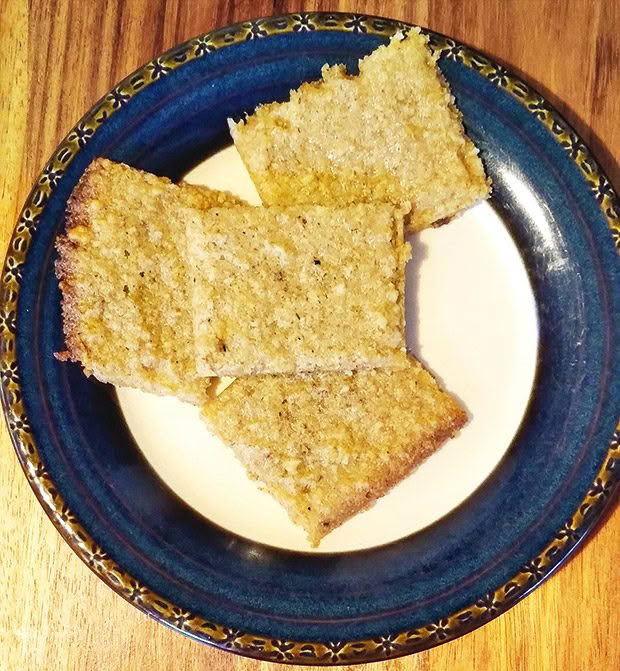
Walnut flour butter biscuits.
The result was a fine walnut flour. Walnuts have a distinctive flavour that comes through in the final baked product. It’s great in carrot cakes and as a walnut biscuit or bread. However, it can add a slight bitterness depending on the nuts used.
NOTES
■ There’s a vast difference in the size and quality of nuts from various trees. Larger nuts are easier to process, but we found that sometimes the smaller nuts are much tastier.
■ It’s important to find walnuts with a taste you like – some are sweet, and others can be quite bitter. Interestingly, I have read that the longer the outer husk stays on the shell, the more bitter the nut will be, but we haven’t tested this theory.
Hazelnut flour
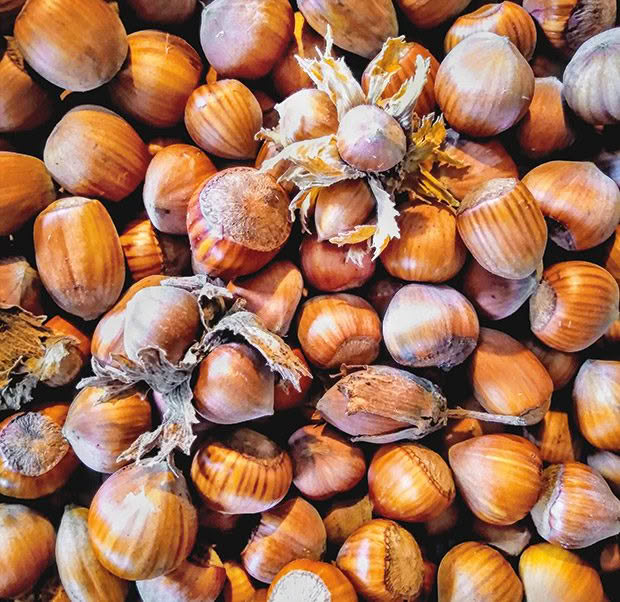
Nutritional data per 100g: 60g fat, 17g carbohydrates, 14g protein. Good source of vitamin E, manganese, copper, omega-6 and omega-9 fatty acids
Processing: We put the hazelnuts in our drying cupboard for a couple of weeks before using them in the flour trial. Cracking shells by hand proved tedious. To speed things up, I put the nuts on an old towel on a concrete floor. I folded the towel over the top of the nuts (to prevent flying shards) and tapped them firmly with a hammer, enough to crack the shell. This was very successful, with half a kilogram cracked and sorted much faster than the handheld nutcracker.
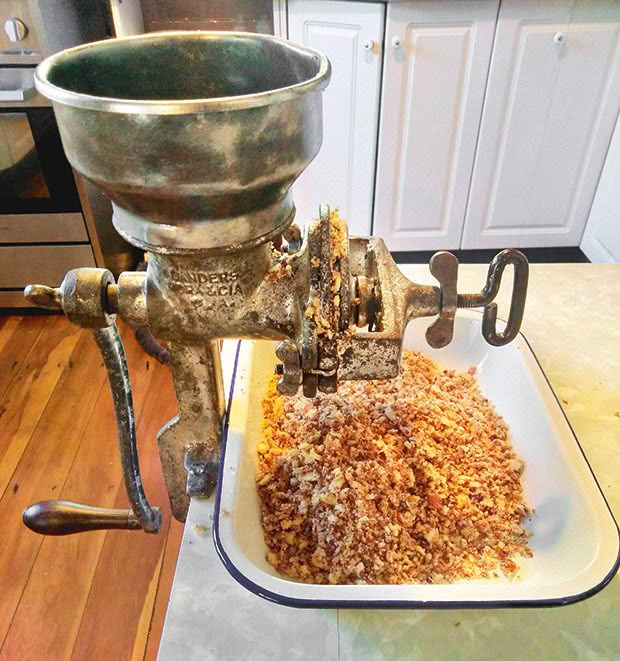
The old hand grinder worked well…
From 500g of nuts, we got 185g of hazelnut flesh. You can blanch the nuts to remove the inner skin, but we didn’t as we wanted to retain their extra indigestible fibre (good for keeping you regular!). I used our old, hand-turned steel flour grinder to process most of the nut flesh into a coarse meal.
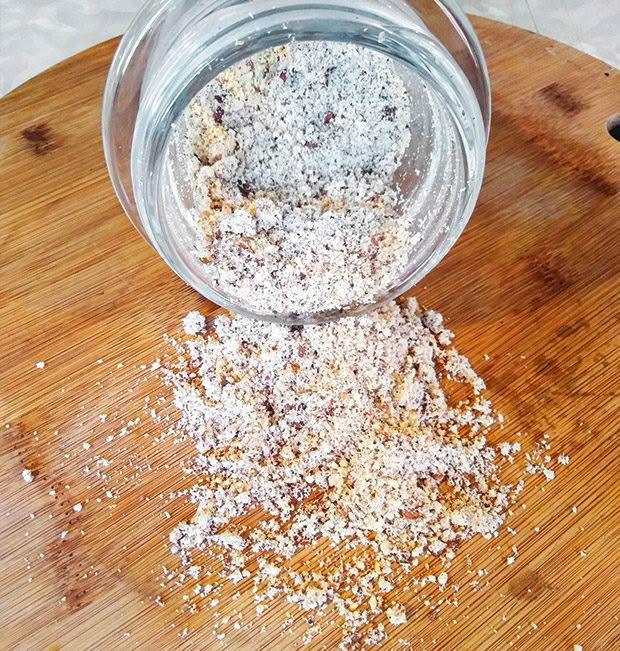
… but the food processor was much faster, and ground it more finely.
I did the rest in our food processor using a grinding attachment. This resulted in a much finer flour and only took 30 seconds.
RESULT
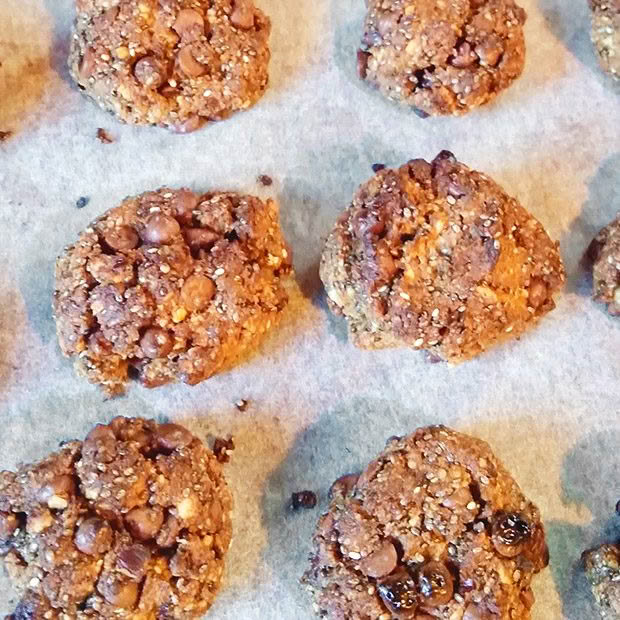
Both flours were blended and used to make a low-carb cookie recipe and added to a keto bread mix. The flour worked well, although I had to add a bit more liquid to the cookie dough. Most nut and seed flours are interchangeable in recipes. A mix adds different flavours and possibly a colour change.
NOTES
■ The fats in nuts go rancid over time, so this flour stores best in the fridge or freezer.
■ If you want nuts to last longer, leave them in their shell and only process flour as you need it, e.g. what you will use in a week.
■ Make sure to remove all the shells, as biting into them in a cookie isn’t a nice experience.
Pumpkin seed flour
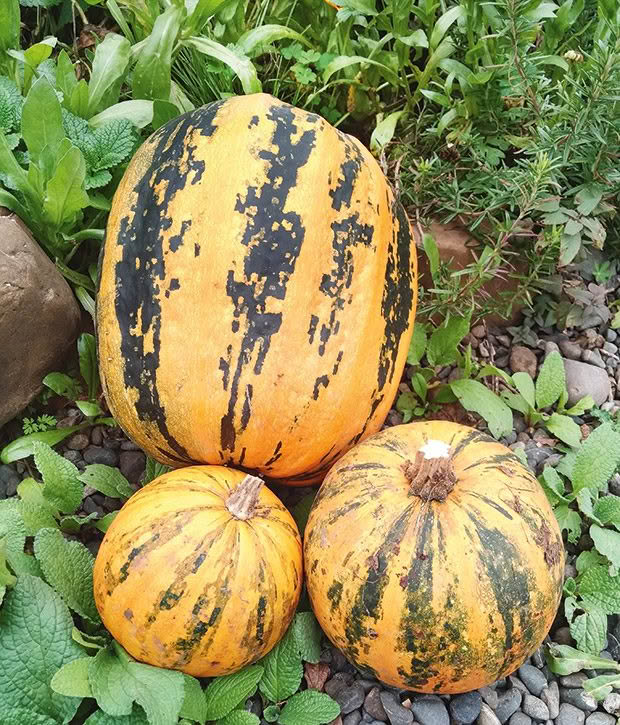
The best pumpkin variety for seeds is the Austrian oilseed (also known as the Austrian hulless).
Nutritional data per 100g: 49g fat, 30g protein, 15g carbohydrates. High in magnesium and zinc.
Processing: Harvest pumpkins and store them in a dry airy place out of the sun. Leave to finish maturing for a couple of weeks before removing the seeds for better taste. Seeds in our Austrian oilseed variety are easy to remove: cut the pumpkin in half and pull on the seeds – they should come away quite cleanly from the flesh.
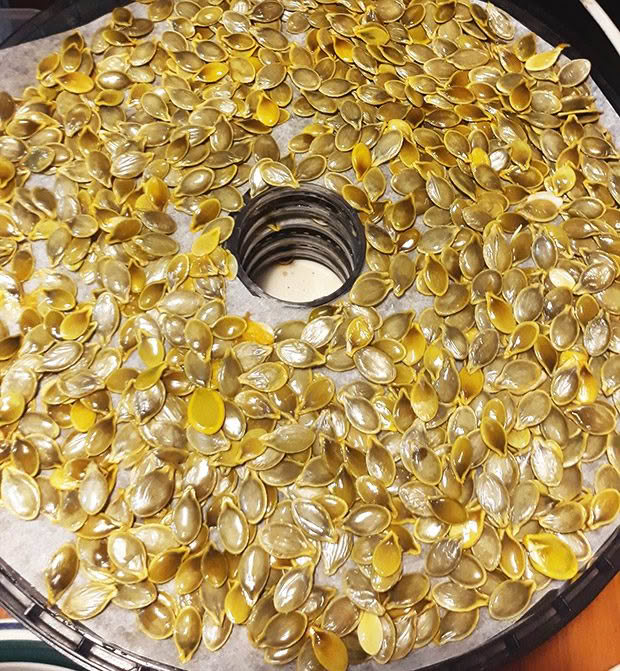
Drying pumpkin seeds in the dehydrator.
Dry in the sun on a tray, in a dehydrator, or in the oven on the lowest setting. It should only take a couple of hours in the oven, depending on the temperature. If it’s too high, you get roasted (very tasty) pumpkin seeds. Once fully dry, store in an airtight container in a cool dark place or the fridge if necessary. Grind flour fresh and use it within the week.
RESULTS
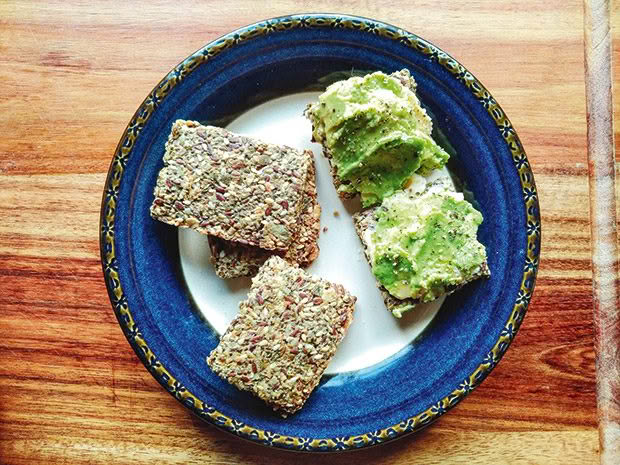
Pumpkin seed crackers.
We use it in seed crackers and for crumbing schnitzel. Pumpkin seeds have quite a strong flavour, especially when ground, so I don’t use them in baking.
NOTES
■ Each pumpkin yields just 60g of dried seeds, but unlike nut trees which take years to grow, you can grow a crop each summer.
■ The flesh of Austrian oilseed is rather tasteless and no good for roasting or any pumpkin dish. We add it to soups and stews, and it could be grated and used in place of courgette or marrow in some recipes.
■ We use the pumpkins as pig food during slow grass growth, scooping out the seeds and giving the pigs everything else.
Courgette/marrow flour
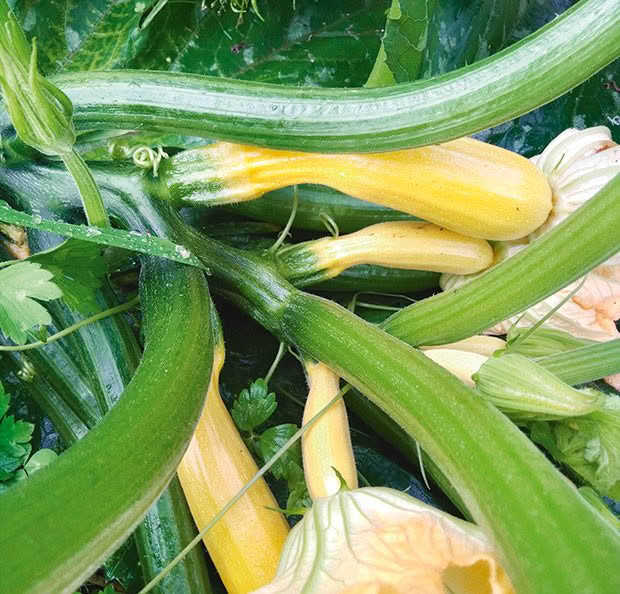
Nutritional data per 100g: 3.9g carbohydrates, 1.5g protein
I watched this method online, and found glowing reports of its use as a replacement for coconut flour. We can’t grow coconuts here, but usually have plenty of courgettes and marrows, so I thought it was worth trying.
Processing: Grate the courgette or marrow, dehydrate, then grind into flour. I started with 2773g of fresh marrow. Peeled, deseeded, and grated, it got down to 1716g. I decided to put it in
a cloth and squeeze out as much moisture as possible before dehydrating.
Hours later and I still had a wettish mass. I put it in the woodstove oven and accidentally dried it to a brown and crispy texture. But it was dry, so I ground it up in the blender to a flour-like consistency. The result was 64g or around half a cup of flour.
I tried again, slicing the fresh marrow thinly and drying it for a similar time. It worked a little better but still took a lot of time and electricity for not much flour. result I tried baking a marrow flour chocolate cake. It worked just as well as coconut flour, but without the strong coconut flavour and odd texture.
My conclusions: better than coconut flour, but a lot of time and power to make not much flour. It passed muster, just.
NOTES
■ I think this would be a good option if you have a solar dehydrator or drying racks above a woodstove.
■ Once thoroughly dried and ground, store in an airtight container with a silica sachet to keep it dry.
WHY SUNFLOWER SEEDS FAILED THE AT-HOME FLOUR TEST
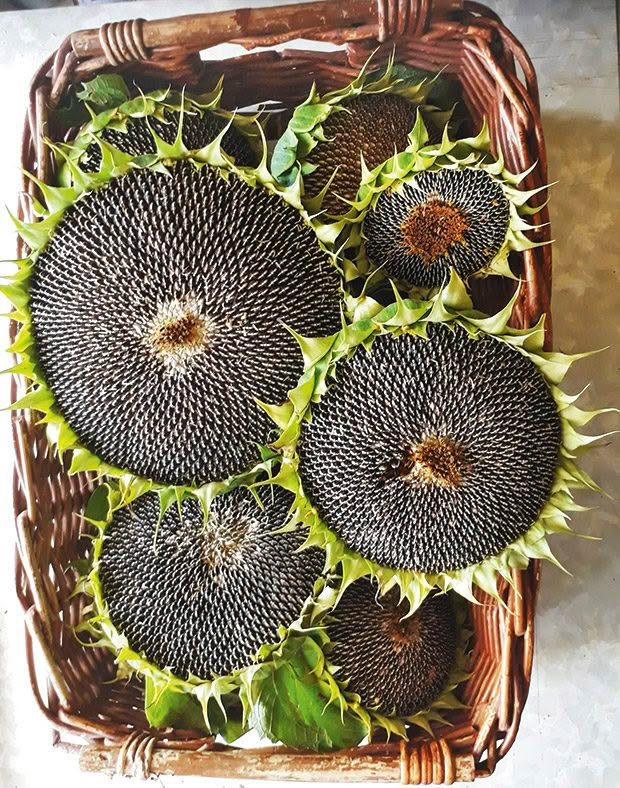
Rebecca grew the Russian Giant variety.
Nutritional data per 100g: 55g fat, 23g carbohydrates, 17g protein. Contains vitamin E, selenium.
Sunflowers are the epitome of summer with their big bright flower heads that follow the path of the sun. I grow them for the sake of having them in the garden, as hulling the seeds isn’t a job I enjoy. Most of ours end up as chook feed because our hens don’t mind doing the hulling themselves. This is the one flour that I’ll leave to the mass producers. It took me an hour of trying different methods to get a tiny number of hulled seeds; most of them
were still in their shells.
If you have more patience than me, it’s a great flour in most recipes that require seed or nut flour.
Nut or Seed Flour Bread
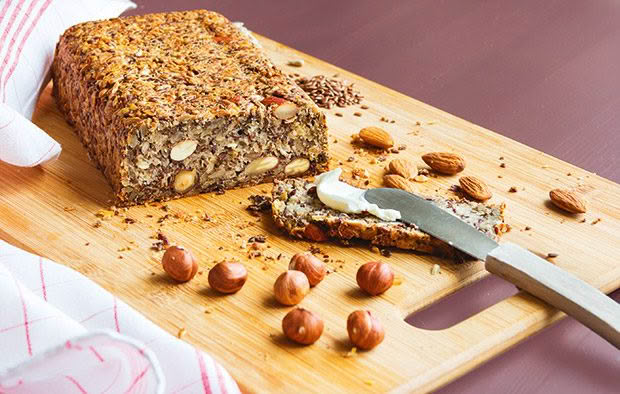
INGREDIENTS
½ cup psyllium husks
1 cup courgette/marrow or coconut flour
3 tbsp chia seeds
½ heaped cup of any nut or seed flour
2½ tsp baking powder
1½ tsp sea salt
1 tbsp apple cider vinegar
3 eggs
25g melted butter or coconut oil
450ml water
METHOD
Preheat the oven to 180°C. Line a loaf pan with baking paper. Mix the dry ingredients.
Beat the eggs, add the water and vinegar, then pour into the dry ingredients. Add the melted butter. Mix well, then let it sit for a couple of minutes. Stir well again. Put the dough into the loaf pan, pushing down gently.
Bake for 1½ hours or until the loaf sounds hollow when tapped.
NOTES
For a lighter loaf, use 1 cup psyllium husk and ½ cup courgette/marrow or coconut flour. If you do, make sure it’s cooked well and leave it in the loaf pan until cool, as it’s more prone to collapsing.
Courgette Flour Chocolate Cake
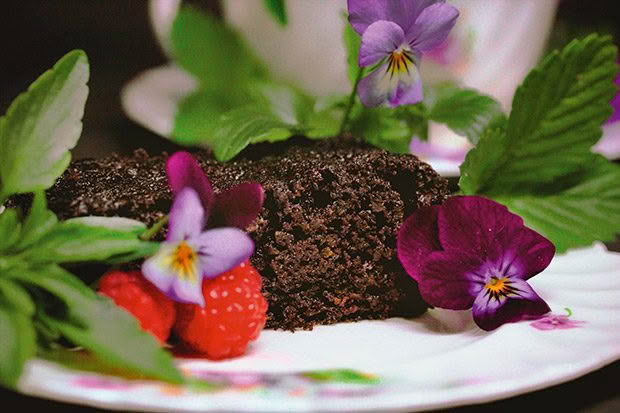
INGREDIENTS
½ cup courgette/marrow flour
75g butter, softened
4 eggs
1 tsp baking powder
¼ cup cocoa
¼ cup milk or nut milk
¼ cup honey or another sweetener
2 tsp vanilla essence
pinch of salt
1 tbsp apple cider vinegar
METHOD
Preheat the oven to 180°C. Grease or line a 20x30cm cake tin with baking paper.
Add all of the ingredients except the vinegar in a large bowl and mix until smooth. Add the apple cider vinegar and mix well.
Pour into the cake tin and bake for 15-20 minutes, or until a knife comes out clean. Leave to cool in the cake tin before removing.
Love this story? Subscribe now!
 This article first appeared in NZ Lifestyle Block Magazine.
