How to prepare a vegetable patch

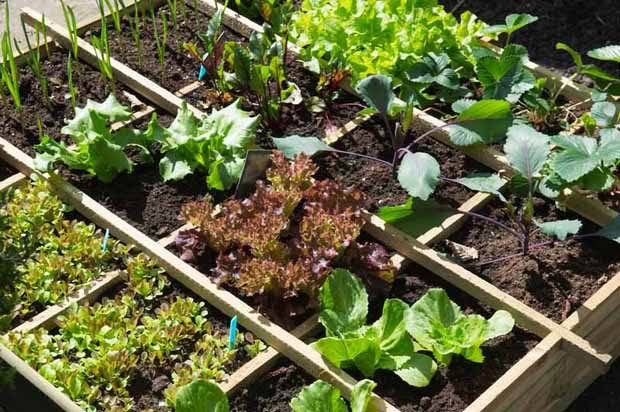
It’s almost time to get the vege garden ready and for that, you’ll need to make the earth move.
Words: Nadene Hall
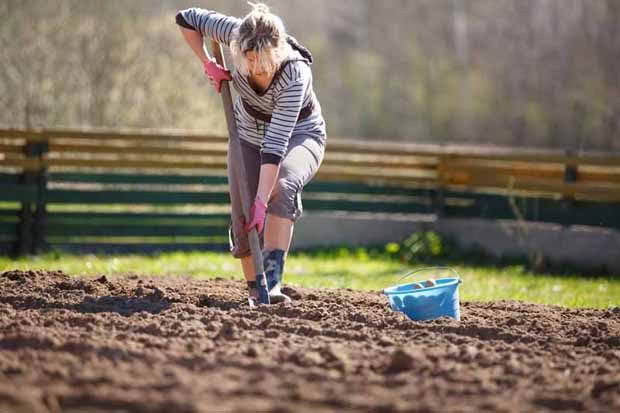
The quietest way to prepare your vege garden for planting is to use a spade and fork to dig up, aerate and turn the soil, adding compost, fertiliser and other organic material as you go.
It sounds like hard work and it is. If hard work is not your style, a noisy, grumbling machine to do the work for you may be in order.
SPADE
$10-$100
A good spade will last you a lifetime so it can pay to shell out that little bit extra when it comes to buying one. Make sure the handle is long (or short) enough to be comfortable for your height and has a good grip. Spades need to kept sharp – use a bench grinder or a sharpening stone.
CULTIVATOR/TILLER
Machine $850 upwards
Attachment $150-$600
Hire price approximately $50-$60 per day
A cultivator or tiller can come as an attachment on some types of brush cutter or you can buy an all-in-one machine. The cultivator/tiller is usually a lighter machine than the traditional rotary hoe, chopping up the soil down to a depth of about 20cm. You’re more likely to use one after you’ve dug up the ground by hand or by rotary hoe. It can also be used to chop up young weeds as they appear.
Most machines are too light to get through grass and hard soil, although some will do the job. Physically, a cultivator is usually easier to handle than a heavy rotary hoe and may be all you need if your garden has been previously dug up or if you have a light soil.
Some cultivators also come with attachments including dethatching tines, so you can help your lawn get some air.
These small, hand-held machines usually have star-shaped blades instead of thick steel tines like a rotary hoe, so they won’t go as deep or work as well on heavy, compacted soil. It does make them more useful though in other aspects as they are easy to manoeuvre around your plants, your flowers or in tight spots.
ROTARY HOE
New $2000 upwards
Second hand $150 upwards
Hire price approximately $50-$60 per day
The rotary hoe is the more serious cultivating machine: bigger, heavier, with a tilling depth down to 300mm and, in bigger models, over 500mm wide.
It is almost always noisy but saves your back and a lot of time. It will dig up your dirt and mix in your manure, compost, lime and other products.
There are quite a few different types of rotary hoe. Some come with wheels at the front and blades at the back while others come with blades in the front and wheels at the back. It’s usually personal preference which one is better although many gardeners prefer having the blades at the back so the wheels don’t roll over newly tilled soil and compact it again. Old-style rotary hoes may not have any wheels at all and can take a lot of person-power to control. Their weight may also make it harder to aim in a neat row but it will still do a great job on your vege patch.

PREPARING THE VEGETABLE GARDEN
Preparing a new vege patch will almost certainly be hard work, even with the help of a cultivator or rotary hoe.
Moist soil is easier to work with so wait for rain or put the sprinklers on for 2-3 hours, then start hoeing about two days later. You don’t want the soil to be soaking wet.
If you are starting with a grassed area, you may need to pass over it several times to get the soil broken up. If you’re using a rotary hose, start in a low gear and then go up to higher gears as you repeat passes over the garden. Always use at a high RPM, no matter what gear you are in.
If you have time, you can then leave the chopped-up soil for a month or two to let the rain in and to give the vegetation time to break down. Ideally this step should be done in autumn but don’t let that stop you having a vege garden if you didn’t have time. Add fertiliser, compost or any other kind of organic matter so your plants are getting as rich a soil as possible.
A cultivator can then be used to chop the soil more finely – you need the top 5cm to be very fine, loose soil so plants have every chance for their roots to start growing.
When you’re ready to spread the seed, a cultivator can be useful again. Use it at high speed and a low depth soyou can cover seed with a light coating of soil.
If you use a cultivator/tiller to chop up young weeds growing in the garden, use a shallow depth setting to avoid plant roots and avoid stepping on ground you have just cultivated or weeds will germinate more easily in your footprints.
To make sure you have fresh vegetables maturing for as long as possible, interval plant every 10-14 days, especially for crops like beans, corn and peas that don’t keep well.
Rows should run east-west, so every plant in every row gets the maximum sunlight possible. Taller crops like sweet corn should be on the south side so they don’t block the light for lower-growing crops.
If you are planting strawberries in your garden, place them off to one side of the main vege-growing area. Strawberry plants can last for a couple of seasons, so you don’t want them in the way of your vege bed preparation.
Companion planting is another concept to consider when it comes time to plant. Some plants emit allelochemicals that repel some types of pest. For example, tomatoes will protect your cabbage from caterpillar attack. Other types of companion planting can’t be explained but work well. Tomato and basil love being planted together, as do climbing beans corn and squash.
Love this story? Subscribe now!
 This article first appeared in NZ Lifestyle Block Magazine.
