The no-grain diet: A guide to wheat-free pizza bases
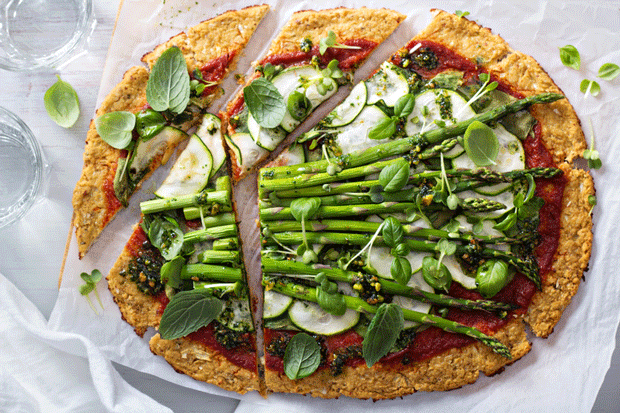
Kristina Jensen discovers that by ditching our wheat-heavy regime, even pizza can be considered healthy.
Words: Kristina Jensen
Every time a new food fad comes out, I like to take a look at it. Some of them can be quite bizarre, like only eating brown bread for one day a week, or cold potatoes for three days, but there is always something interesting and informative that I can store away for future reference, plus a few new recipes or food combinations to try out.
Often, when it comes to the more extreme dietary regimes, my mother’s time-honoured maxim comes to mind: everything in moderation including moderation.
My own gastronomical journey looks a bit like a patchwork quilt: it has taken me through vegetarianism, veganism (as a dairy farmer’s daughter, that didn’t go down so well at first), fasting, a brief raw food-only phase, followed by gluten-free for nearly three years.
For the last 10 years I’ve been combining all these things, resulting in a diet that includes lots of raw food, mainly gluten-free, half-and-half meat and vegetarian, and now I’ve just met the new kid on the block: grain free.
Looking back through history, it seems that the cultivation of grains could just about be responsible for the rise of civilization. Once man settled down to protect a grain crop from predators, it changed the entire way that humans interacted with the environment. We stopped wandering about for one thing, and our gut flora changed with this new primarily wheat-heavy diet, although unfortunately for many people today, not for the better.
To top it all off, there has been a fair bit of genetic tampering with grain strains to make for greater yield, and therefore profit. Nutritional value wasn’t the priority – it was quantity over quality.
It’s great to see the old varieties of wheat flours like kamut and spelt now appearing as commonplace items on the supermarket shelves, along with the more unusual like quinoa, millet and amaranth. While I personally am not about to go completely grain-free, I love having a wide range of possibilities to choose from, especially in the gluten-free line.
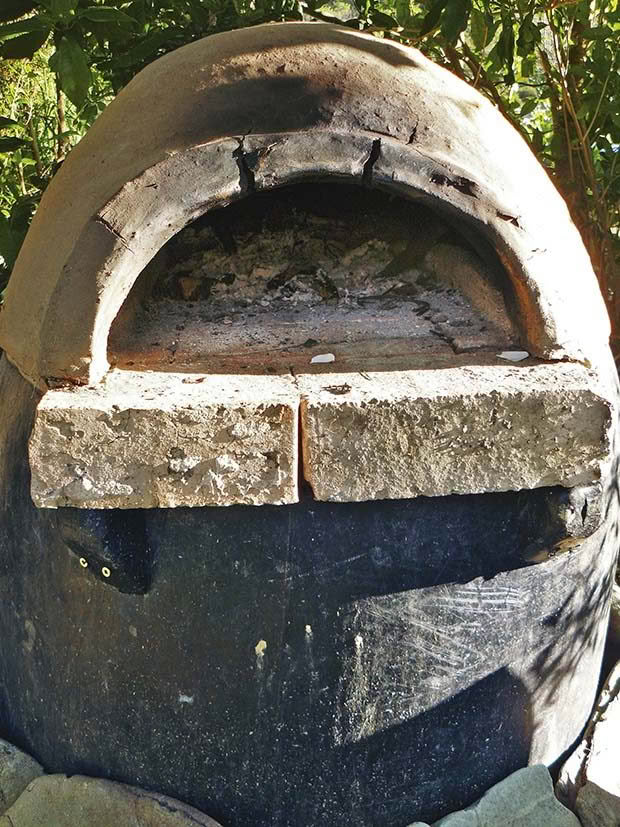
When I started thinking about eating less grain, I thought about which part of my family’s diet would be easiest to change first. We love pizza so much, we have just built a One Pizza pizza oven out of fire, bricks, a mussel float and locally sourced clay. Pizza bases seemed a good place to start.
I messed about for a couple of days with various recipes until I concocted three pizza bases that met the necessary criteria:
– they had to hold together;
– crisp up on the bottom when cooked;
– taste good.
Experimenting is probably the part about my job that I love the most. If you ever wondered where I get my ideas from, my process is to trawl cookbooks whenever I can and collect up a whole bunch of new recipes and food combos that take my fancy. Then I print them out into a booklet which gets duly scribbled on, splattered with food and finally, after much tweaking and subjecting my loved ones to Food Trials, the good ones make it into NZ Lifestyle Block.
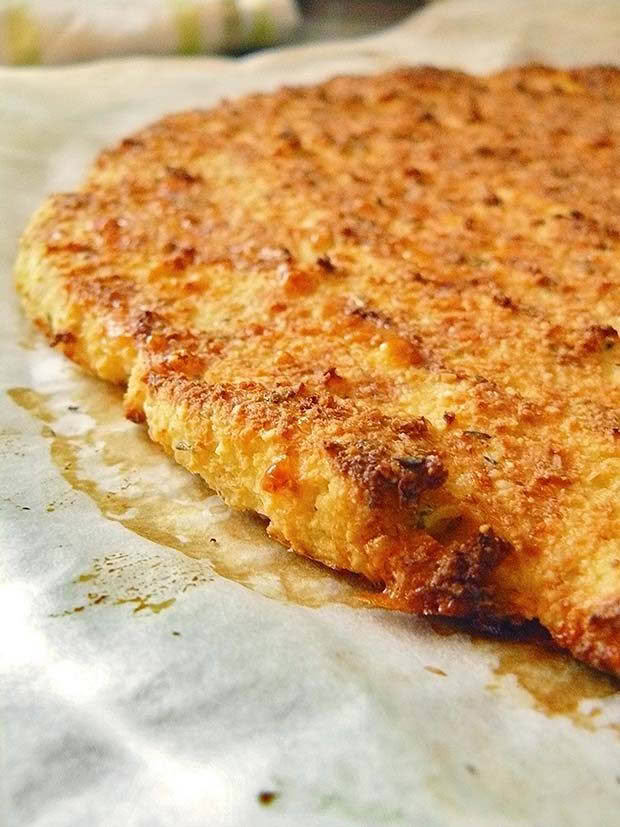
Which is how I came to be making pizza bases out of cauliflower, but I have to admit I was pretty skeptical. It sounded wet and fiddly, squeezing water out of cooked cauli seemed a lot of work, and also I wasn’t sure that it would hold together.
However, the first one was such a success that we ate it all without even putting pizza toppings on it! It’s really good served as wedges with an assortment of home-made chutney and relishes.
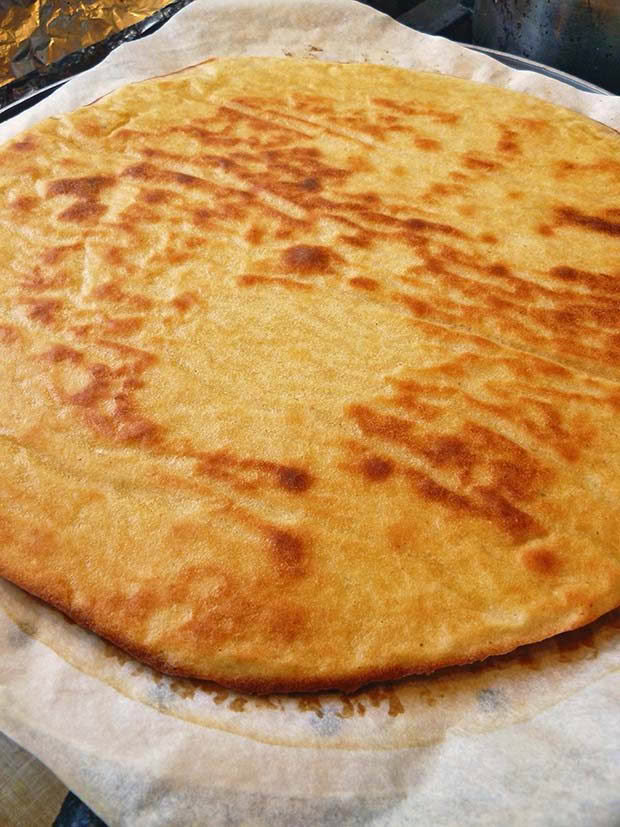
I had my doubts with the honey crust recipe too as to its final structural integrity, especially as it seemed such a wet mix. But once again, it turned out to be fabulous and needless to say, we ate it all before the pizza topping had a chance to add on. If you add 1 tbsp of honey to the yeast mix instead of a teaspoon, it turns into a very good cake-sort-of-cracker.
Cauliflower Base
INGREDIENTS
half a cauli (approx)
½ cup almond flour
1 beaten egg
1 tbsp dried herbs
2 tbsp grated Parmesan cheese
½ cup grated cheddar (Tasty) cheese
½ tsp salt
METHOD
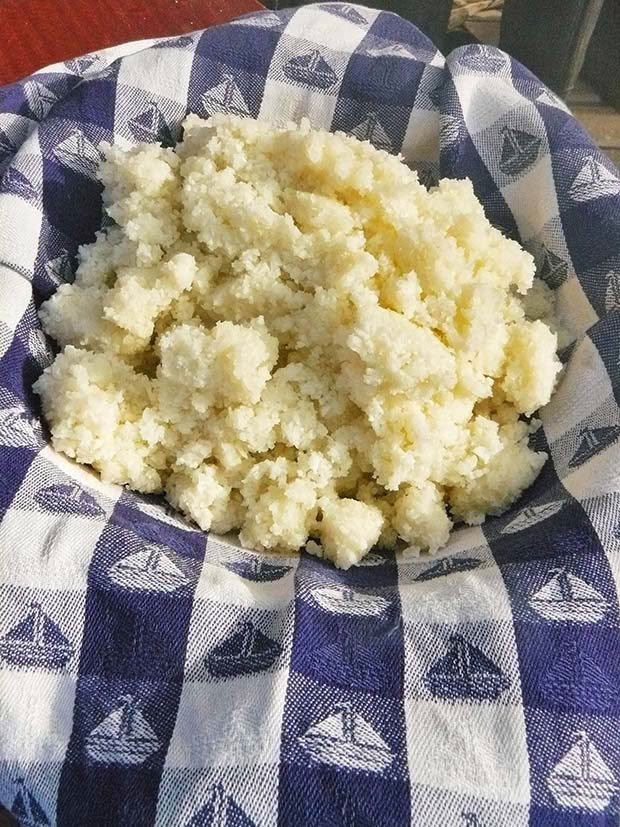
Whiz up your cauliflower in a food processor until it looks like ‘snow’ – you should get about 2 cups. Cook for 5 minutes on high in a microwave OR steam in a sieve over boiling water until just tender.
Transfer the cauliflower into a clean tea towel or muslin and squeeze out the excess water.
Mix together with all the other ingredients and press out onto baking paper. Bake for 15 minutes at 200°C. Add your favourite pizza toppings and bake for a further 15-20 minutes until the cheese is golden and bubbling.
Damara’s Kumara Base
This base works for pies and pizzas, and was a gift from my wonderful, amazing circus acrobat friend, Damara Sylvester. It does use flour, just not one containing gluten – I use tapioca or rice but depending on your dietary choices, you could use any flour you like. Makes 1 pizza base or a pie crust for a small dish.
INGREDIENTS
1 medium red kumara
1 medium potato
¼ cup of flour
½ tsp salt
3 tbsp sesame seeds (optional)
Topping suggestions: silverbeet, egg and bacon, mince, cheese and veges, grated beetroot and beans with fresh herbs
METHOD
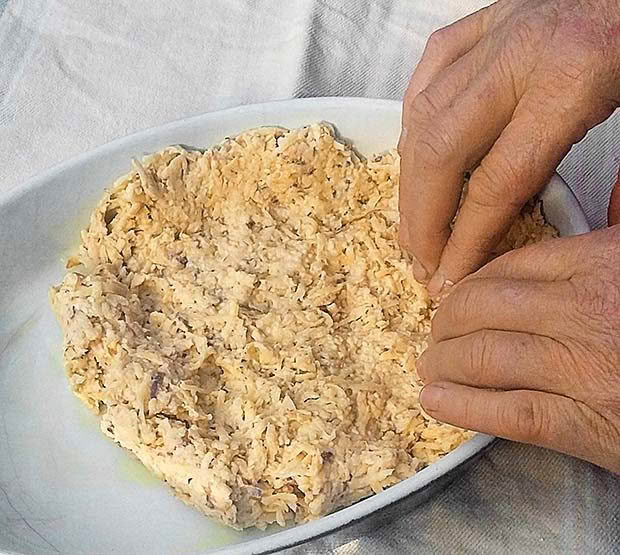
Grate the kumara and potato into a large bowl. Add the flour, salt and seeds and rub together with your fingers, just like you would if you were making pastry. At first, the mixture kind of glups together, but after a minute it starts to form a ball of dough.
Keep kneading it in the bowl until thoroughly mixed. Press into a well-greased pie dish or flatten out onto baking paper laid out on a pizza tray.
If making a pizza base, bake for 15 minutes at 200°C, then add toppings and bake a further 15-20 minutes. If making a pie, fill crust with your favourite filling and bake for 30-40 minutes until crust and top is golden brown.
Honey Crust
INGREDIENTS
1 tbsp yeast
1 tsp honey
¼ cup warm water
¾ cup almond meal/flour
¾ cup tapioca flour
¾ tsp salt
1 tbsp oil
1 beaten egg
1 tbsp apple cider vinegar
METHOD
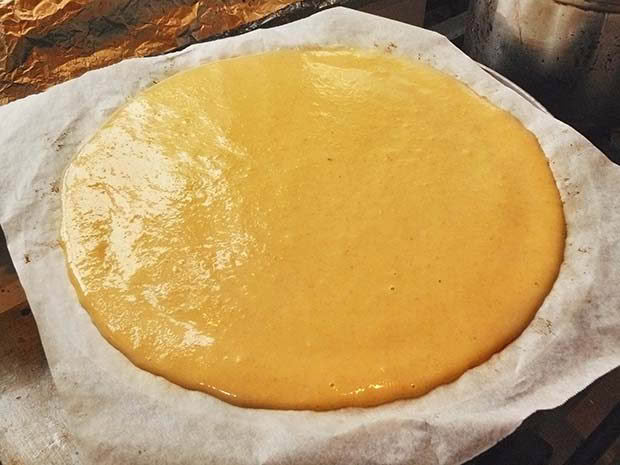
Mix the yeast, water and honey together and let it sit for 10-15 minutes in a warm spot. Add the rest of the ingredients and mix quickly as the tapioca flour tends to turn to go gluey instantly.
It will seem very wet but just pop it somewhere warm for 60-90 minutes to rise (which won’t be much but don’t be fooled, it rises in the oven when baking).
Scrape out onto baking paper or an oiled pizza stone. Flatten out and bake for 6-8 minutes at 200°C before putting the toppings on and baking a further 15-20 minutes.
Love this story? Subscribe now!
 This article first appeared in NZ Lifestyle Block Magazine.
