How to make natural fabric dyes
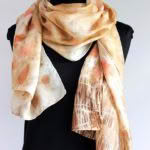
- Ecoprint on silk by Birgit Moffatt
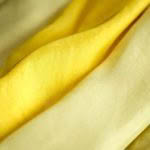
- Osage orange silk by Birgit Moffatt
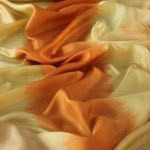
- Osage organe loquat on silk by Birgit Moffatt
Your garden is full of opportunities for you to make and use natural dyes.
Words: Jane Wrigglesworth Photos: Birgit Moffatt
Madder, woad and weld aren’t commonly grown in our backyards these days, but for thousands of years these unassuming plants were the go-to for creating natural dyes.
Intense reds, blues and yellows were obtained from their roots or leaves, providing the primary colours from which almost any hue can be derived.
The linen used to wrap Tutankhamen was dyed with madder, as were the coats of the British Army Redcoats from the 17th to 19th centuries. The woolen yarns of the famous 70-metre long, 1000-year-old Bayeux tapestry were dyed with the natural pigments of madder, woad and weld.
- A small section of the Bayeaux tapestry, thought to have been created in the year 1070, still holding its vivid colours
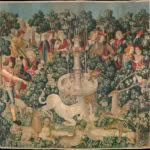
- The Hunt of the Unicorn Tapestry (made around 1500) used dyes of weld (yellow), madder (red), and woad (blue)
Other natural materials were used for dyeing too, notably leaves, flowers, roots, berries, bark, the shells from nuts, marine mollusks, invertebrates (like the dried, ground-up cochineal insect), ochre and other earth pigments, and lichens.
Today, many hobbyists and textile artists are finding joy in reviving this ancient practice. Fibre-artist Birgit Moffatt completed a Bachelor of Applied Arts at Whitireia Polytechnic and became hooked after being introduced to natural dyeing in her first year of studies.
“Every now and then I used synthetic dyes because of the quick process and exact outcomes of hues when measured accurately,” she says. “But every time I was disappointed with the ‘solidness’ of colour. It also concerned me pouring waste water down the sink.”
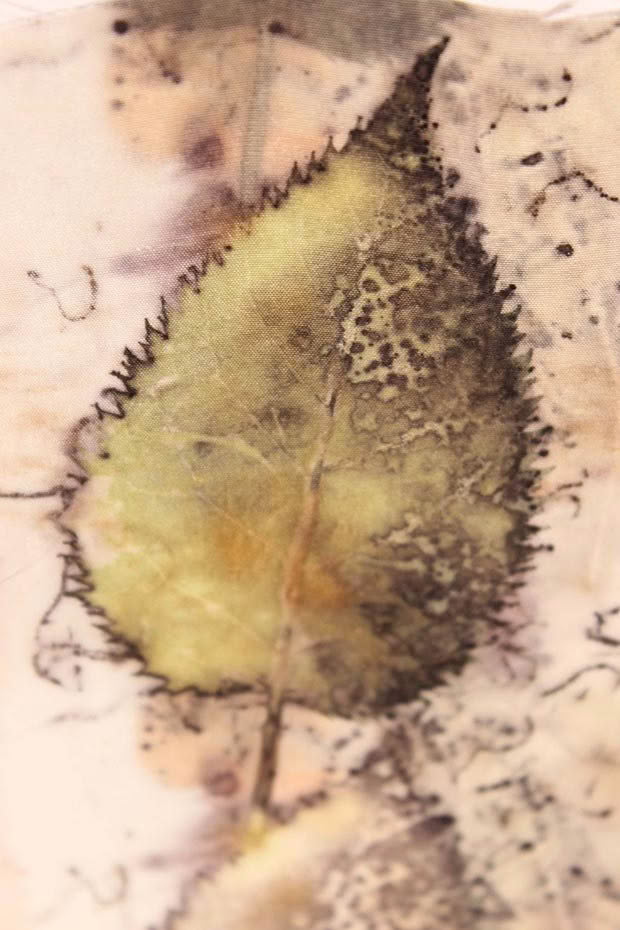
Ecoprint detail on silk
Conversely, Birgit was impressed with the results of natural dyes.
“The vivid, harmonious and always unique results convinced me to explore this field further,” she says.
Birgit, who lives close to the bush, says it also suits her lifestyle.
“I feel more connected with the land and for me this is a more mindful and sustainable approach to my arts practice.
“I prefer using dye stuff I can easily source where I live: on a walk in the bush, in the garden, from neighbours’ orchards. This allows me to go through the whole process, from the harvest to the actual dyeing.”
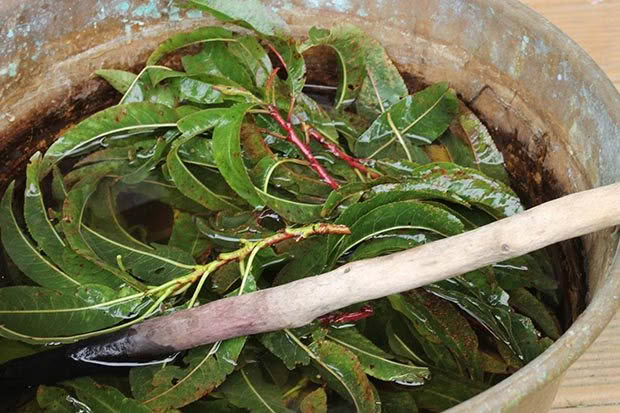
Peach leaves in a dye pot.
Birgit also enjoys dyeing with the seasons.
“It challenges me to look for new sources of dye material available in a certain time of the year. This summer I enjoyed dyeing with wild fennel, fig leaves, peach leaves and loquat leaves.”
But she doesn’t use berries and other fruits too much as they have the reputation of being fugitive (the colour fades quickly).
“And I rather enjoy them on the plate,” she laughs.
For her projects that use eco-printing, a technique that results in leaves being ‘printed’ onto cloth, Birgit is exploring the print properties of native leaves such as kowhai, bracken fern and kapuka.
“This includes identifying and researching plant properties of the native flora, and teaches me to appreciate what nature has to offer.”
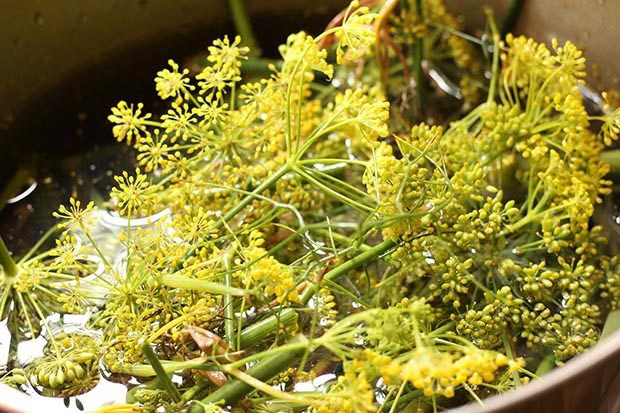
Wild fennel in a dye pot.
She’s also experimented with the rich colour palette of cochineal, and she enjoys using eucalyptus, both bark and leaves.
“Eucalyptus is abundant where I live, yields beautiful colours and has the advantage to be wash and light-fast without the use of mordants (fixing the dye to the fabric), so it is very safe to use.”
For most other materials, mordants are needed as most natural dyes, with the exception of woad and indigo, do not adhere very well to the fibres. One of the most commonly-used mordants is alum powder, often with an addition of cream of tartar to help evenness and brightness.Others include iron, tin, chrome, and tannic acid which is particularly good for cotton and linen (vegetable fibres).
But you will need to research the various mordants and quantities to use before experimenting with dyes, as different colours can be achieved from a given dye molecule by using different mordants.
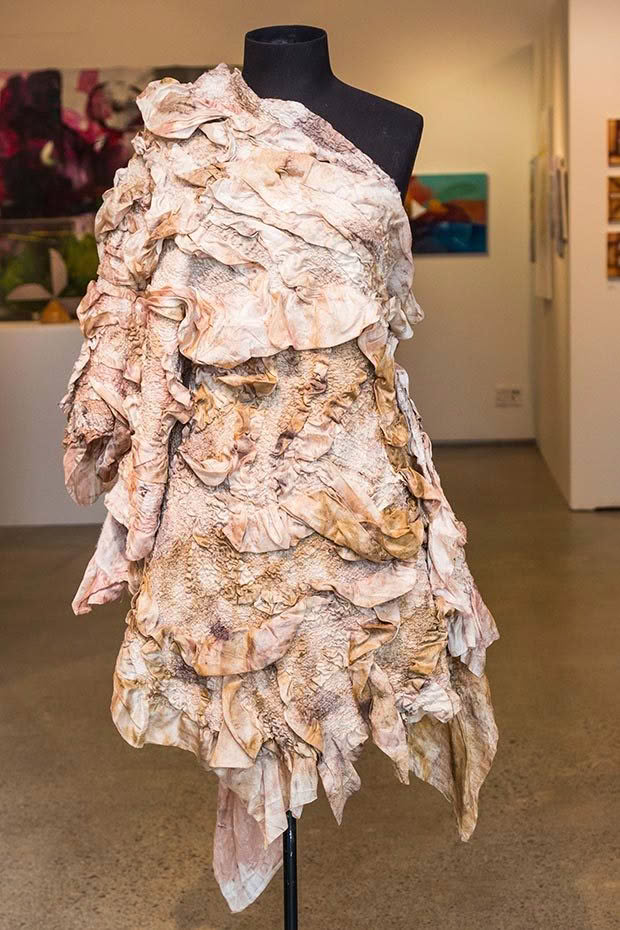
Eco print on nuno felt.
Birgit typically uses alum, sometimes in combination with cream of tartar.
“It is an easy process and reasonably safe to handle. I also use iron to modify a colour. Sometimes I dye fabric in my copper pot, so I don’t need to add any mordant (the vessel is the mordant). I am not using metal mordant such as tin or chrome as they are toxic.”
Instead, Birgit is hoping to explore alternative mordants such as soy, ash and tannins in the future.
Experiment is the name of the game, as any number of organic materials can be used to create a natural dye.
“I love experimenting with the endless combinations of natural dyes, mostly on wool and silk,” says Birgit. “The colours always seem to match and enhance each other.”
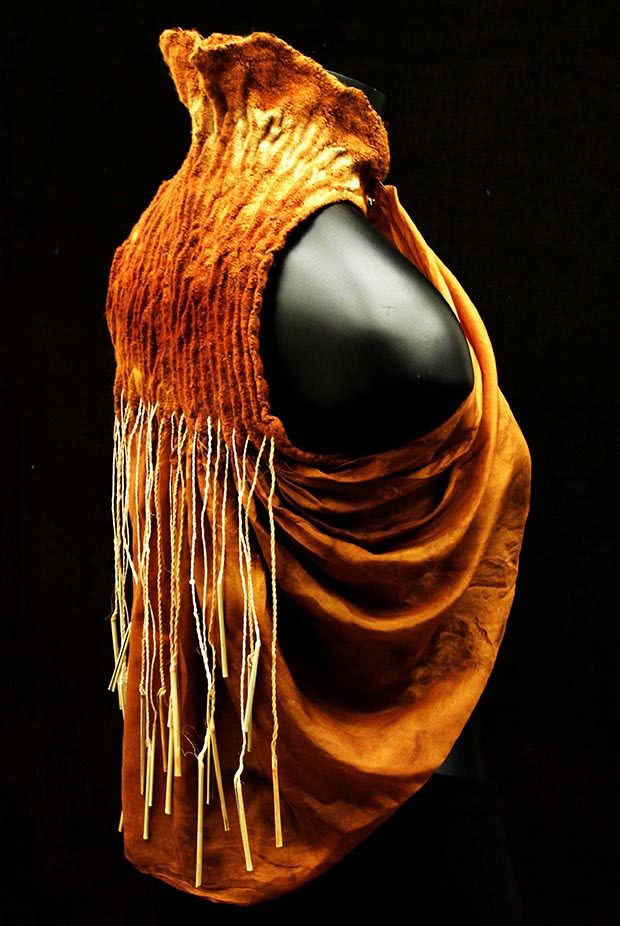
Moffatt nunofelt shibori dyed with harakeke.
NATIVE NZ DYES
Natural dyes were used by Māori, principally for dyeing the fibres obtained from harakeke, or New Zealand flax (Phormium tenax), and cabbage tree (Cordyline). There were three main dyes used:
• iron-tannate, to produce black;
• raurekau (Coprosma grandiflora) bark, to produce yellow;
• tanekaha (Phyllocladus trichomanoides) bark for a red/brown colour.
In the journal Chemistry in New Zealand (2008), Gerald Smith and Rangi Te Kanawa explain that to produce the iron-tannate dye, Māori weavers would first soak the harakeke fibres in an infusion of bark that had been simmered for several hours, before drying them without rinsing. This resulted in a coating of tannin on the fibres.
“The fibres were then covered in a fine-textured mud, paru – which has a high iron content – for several hours. The excess mud was removed and the fibres, thoroughly rinsed with cold water to remove the remaining paru, were then exposed to sunlight to develop the black colour.”
8 DYE PLANTS YOU CAN GROW
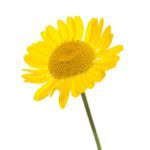
- Dyer’s chamomile
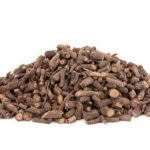
- Madder roots
- Madder
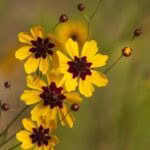
- Coreopsis
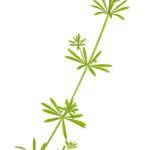
- Dyer’s greenwood
- Weld
- Woad
- St John’s wort
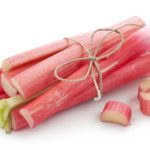
- Rhubarb
Dyer’s chamomile
(Anthemis tinctoria)
The yellow, daisy-like flowers of dyer’s chamomile provide various shades of warm yellow. Sow in spring for transplanting when the weather warms up. The flowers are long-lasting in the summer garden. You can harvest the flowers at any time and use them fresh or dry.
Madder
(Rubia tinctorum)
The roots of madder are used to make reds that can then be altered by changing temperature or pH. The end result also depends on the age of the root. For deeper reds, harvest the roots when they are at least three years old. Dry the roots for a deeper red. Fresh roots provide a more orange-red. Madder can spread in the garden, so keep it contained. Plant in full sun and free-draining soil. Better reds are obtained with calcium-rich soil, so add lime during autumn or winter.
Coreopsis
(Coreopsis tinctoria)
Coreopsis can provide dyes in maroon, brown, orange and deep yellow. Sow seeds in late winter and transplant when around 5cm tall. Plant in a sunny spot. The flowers, which are used for dyeing, will start to appear 10-12 weeks later. Acids added to the dye will bring out yellows, while alkaline additions will bring out deeper reddish hues.
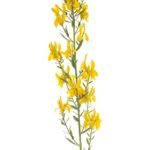
Dyer’s greenwood
(Genista tinctoria)
Dyers greenwood, also known as dyer’s broom (not to be confused with the weedy broom, Cytisus scoparius) contains luteolin, which gives a clear, yellow dye that withstands washing and light. The growing tops are used to produce the best dyes. Harvest the flowering tips about two weeks after they bloom. This plant has excellent cold hardiness and can grow in any light, well-drained soil.
Woad
(Isatis tinctoria)
The spinach-like leaves of woad are used to create a lovely blue hue. Although a biennial, the leaves should be harvested in the first year, during the hot days of summer. Use the fresh leaves as soon as possible after harvesting, as the pigment (actually the precursor to the pigment) deteriorates quickly. This same precursor that transforms into the blue pigment decreases in cooler autumn weather. Woad is a member of the brassica family and should be grown and cared for in a similar way to other brassicas. Plant in sun in fertile soil. You can collect seeds from plants in the second year.
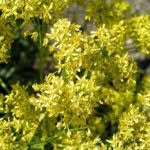
Weld
(Reseda luteola)
Weld was the preferred yellow dye in Medieval times. It can be over-dyed with woad to create some lovely greens, including the famous Lincoln green associated with Robin Hood. It is the leaves, either fresh or dry, that are used in the dyeing process. Weld can be planted in sun or light shade, but it prefers an alkaline soil. Add lime if your soil is overly acidic. It’s best in a spot that’s not too fertile. Weld is a biennial.
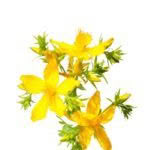
St John’s wort
(Hypericum perforatum)
This highly-regarded medicinal plant produces luxuriant dyes in golden yellows, maroon, browns and greens. These colours are derived from the fresh flowers using different methods. Minus the flowers, the plant tops will provide beige-brown colours. St John’s wort is easy to grow and is on some regional councils’ watch list (but don’t confuse it with the nationally banned Hypericum androsaemum). It is a hardy perennial that grows in full sun or part-shade.
Rhubarb
(Rheum spp.)
Rhubarb is not only a great perennial food crop, it can also help to fix dyes produced from other plant sources and create its own dyes. The roots produce shades of yellow and orange; the leaves produce a yellow colour. Harvest the roots for dyeing when dividing a plant. Use chopped roots, either fresh or dried. Leaves can be harvested at any time for use as a mordant for other natural dye materials or to produce their own colour. Rhubarb requires very little effort to grow, as these plants thrive on neglect.
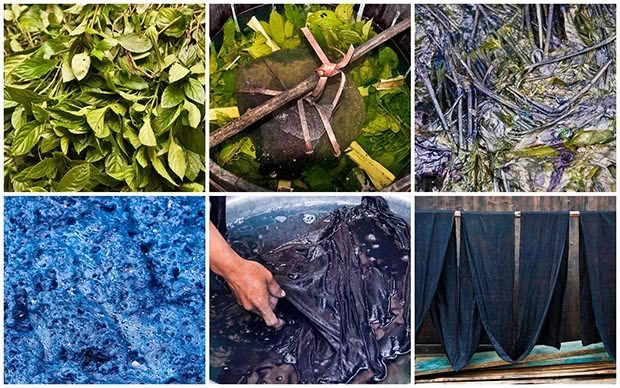
THE BASIC STEPS TO NATURAL DYEING
The best fabric to dye is a light, natural one like cotton, linen, silk and wool (preferably white).
Roughly chop up your chosen plant material. Place in a pot on the stove, then add water (about double the amount of plant material). Bring to the boil, simmer for 60 minutes, then allow the dye bath to cool to room temperature (this takes about 45 minutes). Strain into another pot, or use the same one.
The fabric needs to be pre-treated with a mordant so that the colour will set in the fabric, otherwise it will wash out.
Add the fabric for dyeing to the pot, bring to the boil again, then simmer for 60 minutes. Remove from the heat and leave the fabric in the dye bath until it attains the desired colour.
You will need a large pot to hold the dye and fabric. The fabric soaks in the dye for a time to get the right hue; the longer the soaking, the stronger the colour. The final colour will be lighter once the fabric is dry.
- Coffee Grounds
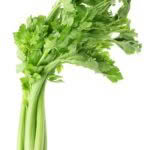
- Celery
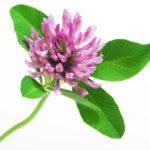
- Red clover
COLOURS IN YOUR KITCHEN
There are some other colourings you can use to dye things like eggs or fabrics including:
• onion skins (yellow-orange)
• butternut squash husks (yellow/orange)
• celery leaves (yellow)
• avocado skin, seeds (pale pink)
• coffee grounds/tea (brown)
• walnut hulls (brown)
• roses (pink)
• red clover (gold)
• red cabbage (blue, purple)
For more information
Birgit Moffatt
Birgit runs natural dye workshops.
www.birgitmoffatt.com
Where to find plants:
Woad, weld, madder, St John’s wort and dyer’s greenwood plants are available from Kahikatea Farm.
Love this story? Subscribe now!
READ MORE ON KAHIKATEA FARM HERE
OTHER CRAFT PROJECTS
 This article first appeared in NZ Lifestyle Block Magazine.
