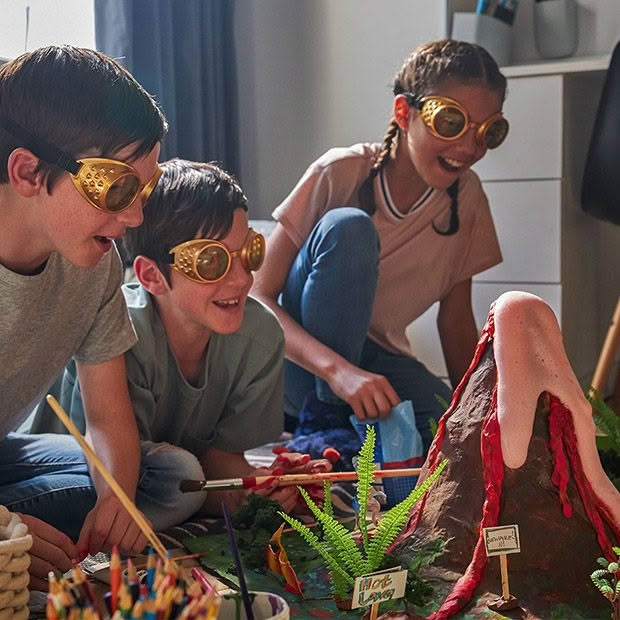
Kid’s DIY Project: Make a paper-mache volcano

A simple concoction of vinegar and baking soda gives this volcano an exciting lava flow at the end.
Words and photos supplied by Spotlight
Level: Easy
MATERIALS
An empty plastic bottle, we recommend no smaller than a 1 litre bottle
newspaper torn into strips
more newspaper or paper (not torn into strips)
PVA craft glue
masking tape
a container for the water and glue mixture
a thick piece of cardboard for the base
paint and paint brushes
craft supplies to decorate the base and surroundings of your volcano eg. Paper, paint, wooden sticks and some leaves or rocks to make it look realistic
For the lava:
1 tablespoon of baking soda
10 squirts of liquid soap/detergent
a few drops of food colouring
wooden skewer to stir with
1/2 a cup of vinegar
INSTRUCTIONS
Step 1: Start by taking your empty plastic bottle and positioning it in the center of the piece of cardboard, stick in place using masking tape (you’ll be covering this tape in the next steps, so don’t worry if it isn’t neat).
Step 2: Take pieces of newspaper or any paper and twist into thick tubes. These are going to help build out the base of your volcano to make it similar to a mountain/pyramid shape. Start attaching the tubes to the base of the bottle with masking tape and continue adding them outwards until you reach the size you want the base of your volcano to have. Ours was roughly 40cm wide.
Step 3: Continue adding paper tubes on top of the base layer building upwards until you have a pyramid shape that is surrounding your bottle but be sure to not cover over the opening. Note – the pyramid shape doesn’t need to be perfect, in fact the lumpier the better! This will create a realistic shaped volcano once you’re finished.
Step 4: Now comes the fun and messy part. Pour roughly 3/4 cup of PVA glue into the container and add a 1/4 cup of water. Mix together to create your paper mache glue. Then dip the newspaper strips into the glue and start covering your volcano. We started at the bottom ensuring our strips covered the base of the volcano and onto the board to further secure it in place. Build your way up applying the paper mache all over, the strips should all be over-lapping and running in different directions to make it nice and strong. Finish by carefully folding a small amount of paper into the lip of the bottle but making sure there is enough room to add the lava mixture later. You can twist a few pieces of paper into tubes again and dip into the glue mixture to add to the outside of your volcano to create extra lava details.
Step 5: After one layer is applied, let it dry completely overnight. If you want to add another layer of paper mache redo step 4 and again allow to dry completely. But for the sake of this experiment we have only done 1 layer. If you are doing 2 layers add the lava paper details once you’ve done the 2nd layer.
Step 6: Once the volcano is completely dry it’s time to paint! Use acrylic paints and a large paint brush to paint your volcano a dark brown. You might need a few coats of paint or you can use other colours to create details like rocks or plants growing on your volcano. Paint the lava details in reds or oranges using a smaller brush.
Step 7: Use the extra craft supplies to decorate the base and surroundings of your volcano. Use scrunched up papers, wooden sticks to create signs or even add some real leaves or rocks to make it look realistic.
Step 8: Now comes the fun part, it’s time to make your volcano explode! Place the baking soda, liquid soap and food colouring into the bottle of your volcano and give it all a good stir with a wooden skewer.
Step 9: When you are ready for your volcano to explode pour in the vinegar and watch the lava flow!

