Keeping up with the cucumbers
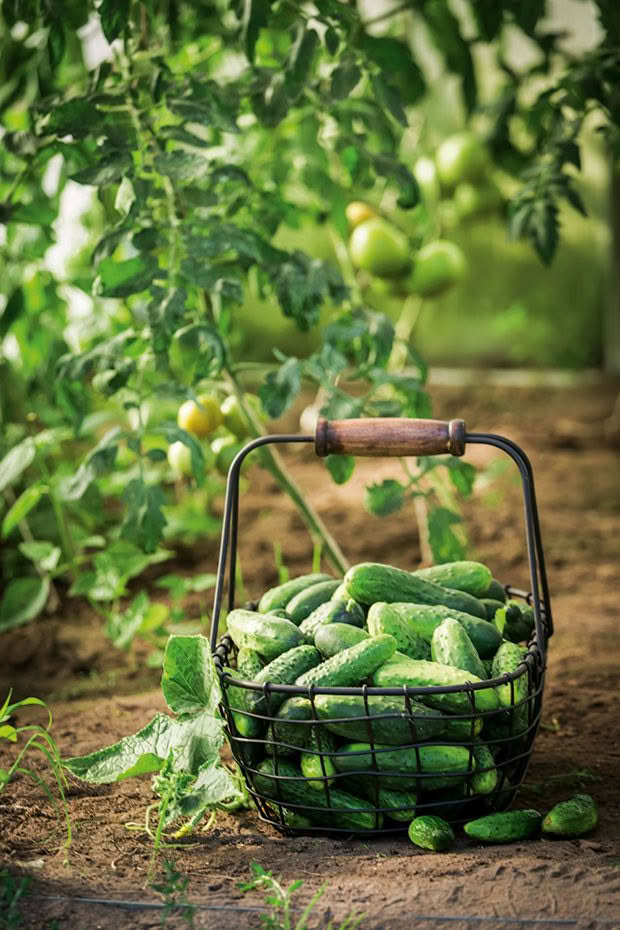
Harvest time can be demanding and hectic – especially when you get into a pickle with certain prolific vegetables.
Words and photos: Angela Clifford
The start of February is the threshold between the “nice to harvest” season and the “need to harvest” season. Gone are the days of the casual wander, haphazardly plucking things that will sit happily until the next time you pass. At this time of year, many fruit and vegetables must be harvested now or not at all.
Tomatoes, beans, plums, strawberries, elderberries, boysenberries, and the first apples are at the front of the harvest queue. With such a heavy schedule, we methodically work through a list each day, aware that there’s a relatively small window of opportunity to reap the fruits of our labour. In our February workshops we run on the Food Farm, we try to convey to our attendees the importance of setting time aside for harvest. Harvesting takes by far the most time of any farm activities, well beyond weeding, sowing and planting. And yet it’s often something people don’t factor into their time budget.
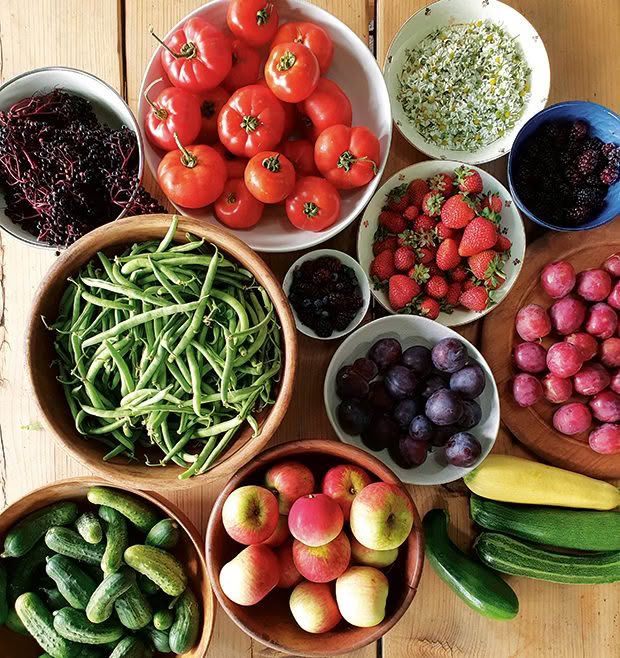
There are a couple of fast-growing vegetables that demand special attention – cucumbers and zucchinis. No matter how meticulous your harvesting plan, these vegetables seem to grow by the hour and bully their way to the top of the daily harvest list in February.
The counterintuitive solution is to pick them smaller, rather than larger, as they have more uses and are easier to give away if not marrow-sized.
The same is true for gherkins. Never let them get to a size where there is a gap in the middle of the fruit. This makes them more difficult to ferment or turn into our favourite of all Food Farm preserves – the dill pickle.
LACTO FERMENTED DILL PICKLES
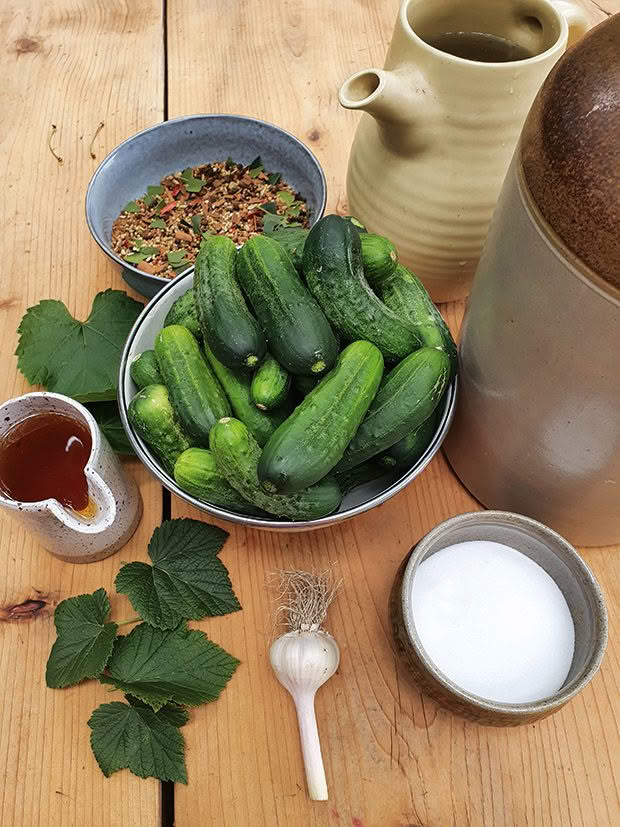
This recipe is well-practised and loved by our family. I like it for the sour and salty deliciousness that comes from the gentle lactic acid rather than the mouth-puckering sharpness that comes from pickles in vinegar. We use these a lot in burgers, cheese toasties and deli-meat sandwiches.
Despite being fairly healthy, my children have casually devoured entire jars of these pickles in one sitting. They’re so popular we’ve probably made hundreds of litres of these over the years. We started because I wanted to add some fermented foods into our daily life and kimchi, sauerkraut, or even kombucha are difficult to sell to kids. Not so with the dill pickle it seems.
This recipe comes from Canning for a New Generation by Liana Krissoff. If the soiled state of the page in the book is anything to go by, this recipe has been used more times than I care to remember.
When picking your gherkins, make sure they’re not any bigger than about 12cm. This makes them much easier to fit into the jars. It’s also important to remove the blossom at the end of the fruit as this helps them last longer.
Makes: 10 x 500ml jars
Cook time: 1 hour
Wait time: 1-3 weeks.
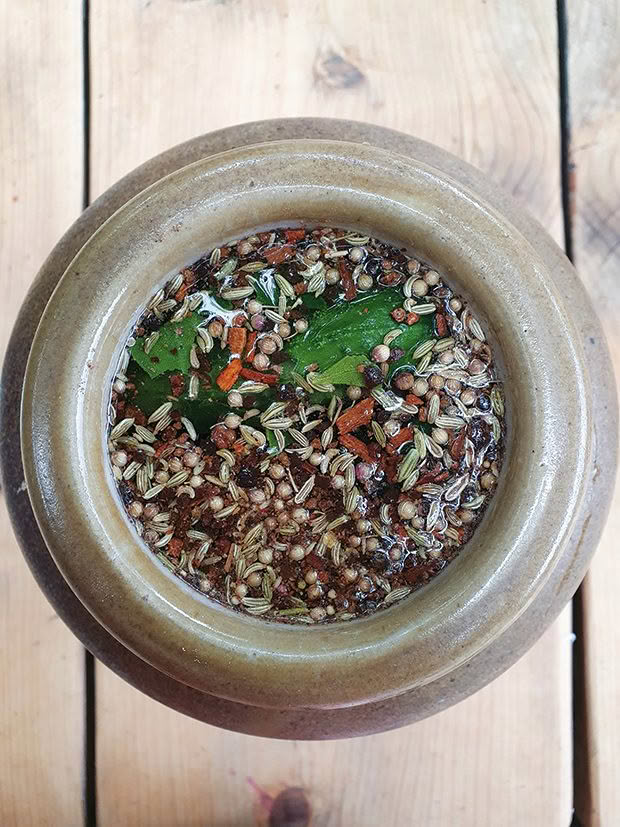
Pickling Spice
INGREDIENTS
1 tbsp black mustard seeds
1 tbsp yellow mustard seeds
1 tbsp crushed allspice berries
1 tbsp dill seeds
½ tbsp whole cloves
1 dried crushed red chilli
3 crushed cinnamon sticks
½ grated nutmeg
1 tsp black peppercorns
1 tsp of whole coriander seeds
3 dried bay leaves, crumbled
1 tsp crushed cardamon pods
½ crushed star anise pod
Dill Pickles
INGREDIENTS
3 kg of gherkins or pickling cucumbers
½ cup pickling spice
1 bunch of fresh dill or a couple of dill seed heads
1 handful of fresh, spray-free grape leaves
1 handful of blackcurrant leaves
4 cloves garlic, peeled but left whole
1 cup organic apple cider vinegar
½ cup non iodised table salt
3.75 litres non-chlorinated water
10 x 500ml glass jars
METHOD FOR PICKLING SPICE
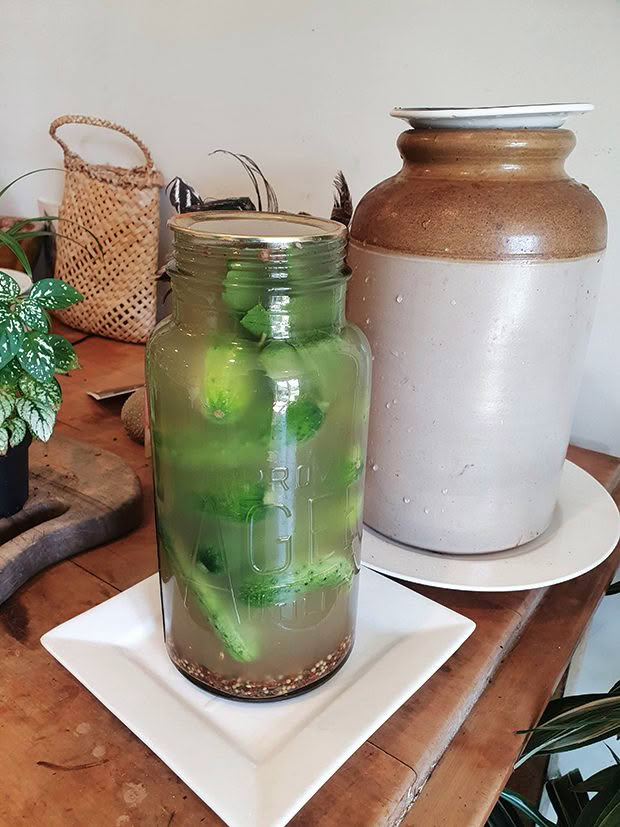
Put half of all the spices in the bottom of a clean eight to ten-litre crock or glass jar. (It’s worth checking out your local second hand store as there still seems to be a fair few pottery crocks in circulation.) Add half the fresh dill, grape, and blackcurrant leaves. Our thinking is that the grape leaves have natural yeasts which help with fermentation. The blackcurrant leaves contain tannins that help keep the pickles crunchier. That’s the theory anyway!
METHOD FOR DILL PICKLES
Add the gherkins, filling the crock to no more than three quarters full. Top with the remaining spices, fresh dill and leaves, and add the garlic.
In a large bowl combine the vinegar, salt and the water. Pour over the gherkins to fill the crock or jar, finishing with a grape leaf at the top. If I don’t quite have enough liquid, I’ve always just topped with a rough equivalent ratio of vinegar and water and it seems to be fine.
Put a saucer on the top of the crock or jar (not a screwed-on lid). Leave in a spot out of direct sunlight for anywhere between one and three weeks. The pickles seem to ferment faster the more practised you become with the recipe. After a few days you’ll notice they’ll start to ferment and bubble. Check every few days by cutting a pickle – you’ll know they’re ready when they’re no longer white in the centre. If they go slimy or mushy at any point, you need to start again (but also check that it’s not just the top pickle that’s sitting above the liquid line).
When you’re ready to bottle, sterilise the jars and keep them hot. Put the gherkins in the jars, adding some of the leaves and dill or garlic from the crock. Take the remaining brine in the crock and sieve into a large pot. Bring it to a simmer for a few minutes.
Ladle the hot brine into the jars to cover the gherkins and use a chopstick to remove the air bubbles inside the jar. Wipe the rims and put the lids on immediately.
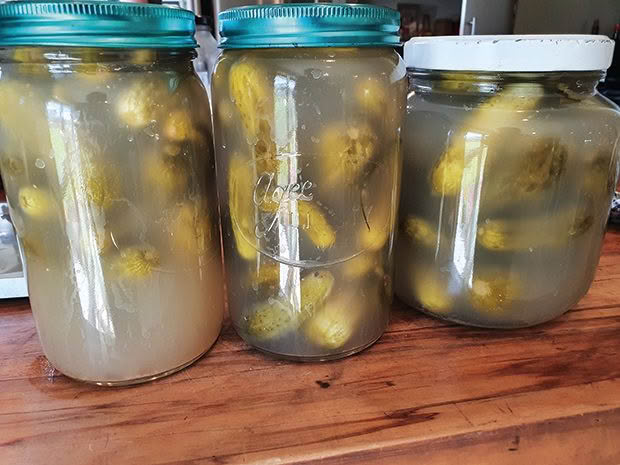
Now this is where we do things differently. We let them cool and put them in the chiller (or a cold cellar) as is. The heat from the brine is enough to seal them. If the pickles have stopped fermenting or if the jars haven’t sealed, we put them in the fridge and eat them straight away.
The other method is to pasteurise them at this point by putting them in a water bath at 83°C for at least 30 minutes. Ensure the water stays at that temperature throughout – give it longer in the bath if the heat drops. The problem with pasteurising the pickle is you kill all that wonderful gut-supporting lactobacillus bacteria, so we tend to avoid it.
If you can leave them for a week or two, they become more flavourful and the milky brine settles. However, no one would blame you for eating them as soon as you make them, which happens often in my family.
The Food Farm Harvest Tips
• Pick in the morning once any dew has evaporated. This is when the sugar levels in the plants are high.
• Put a plan in place before harvest time. This might include preparing equipment and ingredients such as bottles, jars, sugar, lemons, vinegar and other things at hand.
• When you’re harvesting, remove damaged or diseased fruit and vegetables. Have a second container to put these in and feed directly to animals or put in the compost.
• Think about your storage space. We have a walk-in chiller and a pātaka. It would be wonderful to have a cellar one day, but no hills and a high water table makes it a complicated proposition here.
• Keep a record of what you harvested when, as this helps hugely when you’re planning next year. It’s also fun to record the weight or amount of your harvests from year to year.

