Is your home leaking heat? Here’s how to check your ceiling, walls and floor insulation to save money on heating
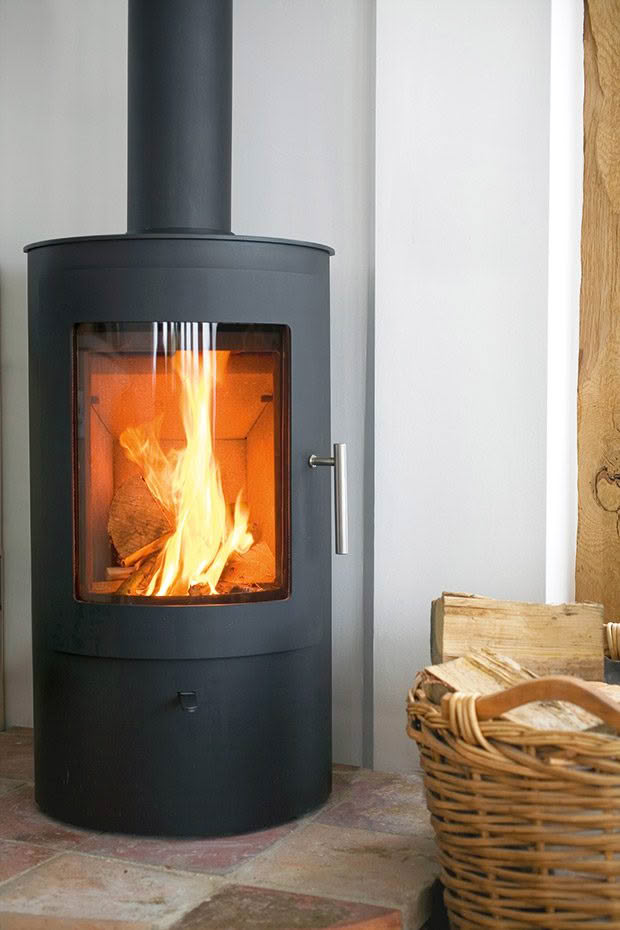
There are important steps to take before you invest in a new home heating system.
Words: Energywise Additional words: Nadene Hall
Insulation makes a big difference to the warmth of a home and heating costs. It’s important to have as much insulation as possible, or any heat you generate will quickly dissipate out of floors, ceilings, and walls.
Checking walls for insulation is difficult as you need to remove interior linings. It can be expensive to retrofit, and you may need a building permit. Installing or upgrading floor and ceiling insulation is much easier.
CEILINGS
Do you have insulation in your roof space? If so, how well is it working? It may be poor quality, been damaged by people working in the ceiling space, or slumped close to a heat source (like recessed downlights), creating a fire risk.
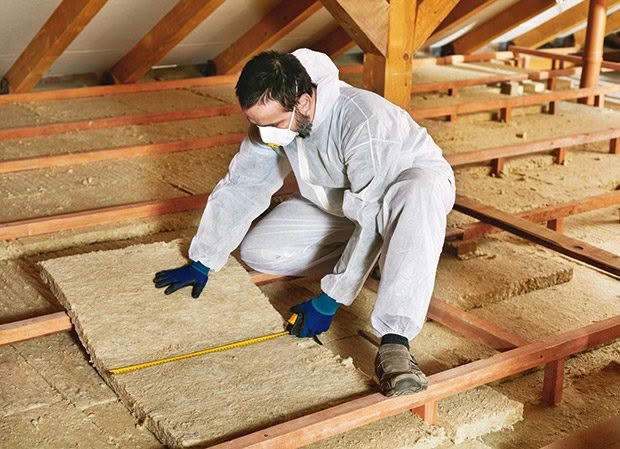
If you can do it safely, look through the hatch in your ceiling to check. You will need to add a top-up layer if your existing insulation:
■ is less than 12cm thick (it should sit higher than the ceiling joists);
■ doesn’t cover the whole ceiling;
■ has gaps in it, or places where it is squashed or tucked in.
You need to remove the old insulation and start again with a new layer, if:
■ it is wet or damp in areas;
■ has been damaged by rodents or birds.
Also check safety gaps between insulation and heat sources, like recessed downlights, chimneys, flues or extractor fans.
5 TIPS IF YOU NEED INSULATION
Choose an insulation that is:
■ intended for installation in roofs or ceilings;
■ has a high R-value, a measurement of the insulation’s effectiveness – the higher the R-value the better;
■ the right width – you need the insulation to fit snugly in the spaces between ceiling joists, roof trusses or rafters;
■ the right thickness, particularly for ‘skillion’ or cathedral roofs (where the ceiling and roof run parallel to one another) – you need to keep at least a 25mm gap between the insulation and the roof underlay;
■ compliant with the testing Standard AS/NZS 4859.1 so you know the product works as stated – look for the compliance statement on the insulation packaging.
FLOORS
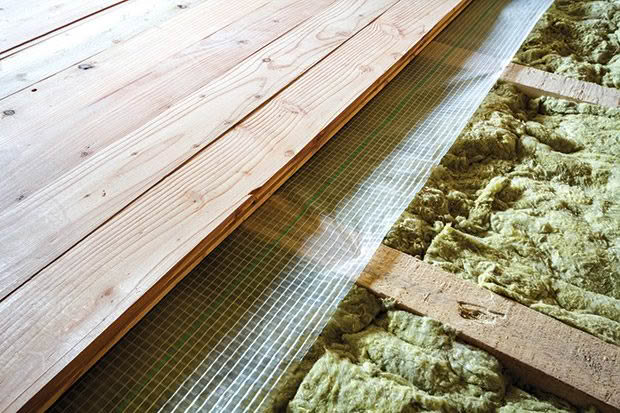
If you can access the underfloor area, have a look for insulation. There are three things you might find:
■ bare floorboards and no insulation, in which case you need to get some fitted;
■ a foil-based product – if it’s held in with metal staples, don’t touch it as there’s an electrocution risk if the staples have pierced electrical wires;
■ bulk insulation, including rigid polystyrene sheets, or softer products like polyester, wool, or fibreglass.
When checking or removing existing foil insulation, always turn off the power supply to the house. Get an electrician to help you if you’re not sure.
2 OTHER THINGS TO DO WHILE YOU’RE UNDER THE HOUSE
■ Check for damp or musty smells. Check for leaks from pipes or signs of water flowing under the house when it’s raining. Moisture evaporating from the ground under the floor can be the biggest source of dampness in your house, even if the soil appears dry. See page 28 for more information.
■ Check that any air vents are not blocked by paint, soil, plants or barriers to keep pests out.
FOIL
If the foil is well fitted and in good condition, it’s probably working. However, well-fitted, modern, bulk underfloor insulation can be much more effective.
If the foil is ripped, parts of the foil are missing, or there are gaps allowing airflow into the spaces above the foil, it needs to be replaced with bulk insulation. Retrofitting or repairing foil insulation in residential buildings is now banned.
BULK INSULATION
Check to see that any bulk insulation is tightly fitted against the underside of the floorboards, with no gaps or pieces missing. If any has slipped or fallen out, replace it. You may need clips or other fittings to hold it in place.
CEILING INSULATION OPTIONS
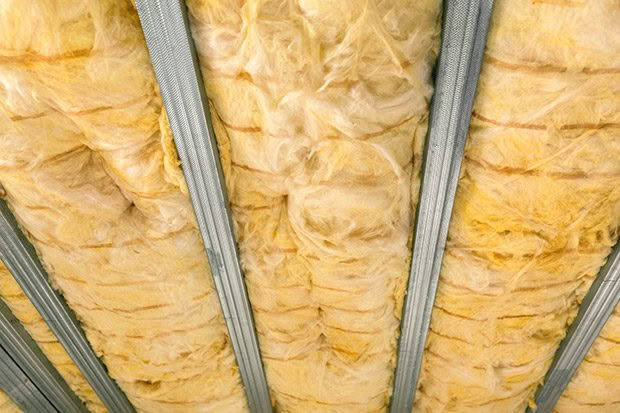
Bulk: fits between ceiling joists, or rolls over the top of them (or old insulation) like a big blanket.
Loose-fill: is blown in, usually into roof spaces where there’s not enough room to move around to install bulk insulation, but its performance can be variable. It can settle or move around over time, coming into contact with the roof or roof underlay, causing moisture problems. Its safety, effectiveness, and durability depend on the quality of the material and the installer’s equipment and experience.
4 TIPS IF YOU NEED TO INSULATE WALLS
Most homes built before 1978 won’t have insulation in the walls. You, or a licensed builder, can cut test holes at the top and bottom of a wall. If you plan to do this yourself, turn the power off to your home, as there is a risk you could hit live wires in the wall.
If there is insulation, check it hasn’t slumped, been damaged by rodents, or got wet due to a leak in the wall or the roof. If so, it won’t be doing its job properly and will need to be replaced.
If there is no insulation, check with your council if you need a building permit. You may need one, depending on the work required, eg removing plasterboard covering all external walls, fixing leaks, repairing damage to building paper (or fitting it if it’s not there), possibly re-running wiring, installing the insulation, and fitting
new plasterboard (especially if it’s to a bracing wall).
If you’re removing wall panels, it’s wise to get an electrician to check the wiring. This can degrade over time, or it may have been damaged.
For more details, visit recommendations from Energywise here.
4 TIPS FOR CHOOSING FLOOR INSULATION
Energywise recommends using bulk insulation. Choose one that:
■ is intended for installation under suspended floors;
■ has an R-value of at least R1.4 but the higher the R-value, the better;
■ is the right width for your floor joist spacing (this can vary under older houses so you may need to measure between all joists);
■ compliant with the Standard AS/NZS 4859.1 so you know the insulation works as it says it does (look for the label on the insulation packaging);
■ will sit hard up against the underside of the floor – there should be no air gap between the bottom of the floor and the top of the insulation;
■ will perform in your location – if your subfloor space is not fully enclosed, you will need a product that has been tested for performance and durability in windy conditions.
HOW YOUR CURTAINS CAN SAVE YOU MONEY
Consumer magazine says fitting out a 20m² living room with 8m² of windows with thermal-aluminium framed double-glazed, low-E, argon-filled windows will cost around $7000, plus fitting.
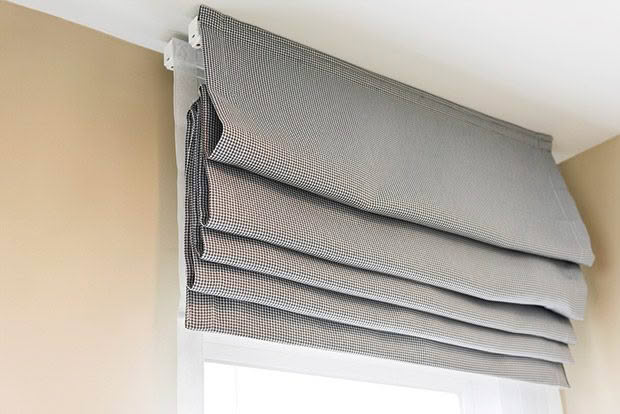
But well-fitted curtains can be as effective as double glazing at reducing heat loss. The key is ‘well-fitted’, meaning the curtains must hold a layer of air between the glass and the material, with no gaps.
The perfect curtains for insulation will have:
■ a pelmet at the top to stop hot air escaping;
■ a ‘puddle’ of fabric on the floor or window sill, so that cold air can’t escape out of the bottom, creating a cold draft (even if the glass is high above the floor);
■ layers of fabric, eg a separate lining, net curtains.
Roman blinds that overlap the outside of the window frame (pictured above), or fitted cellular/honeycomb blinds that hold pockets of air, also work well.
‘Thermal’ fabric on its own is not enough to keep your home warm. The special coating on this material stops air passing through it, but if the curtain doesn’t fit the window properly, you will still lose heat.
THE $40 WINDOW INSULATION HACK
Dr Nelson Lebo is the eco design advisor for the Palmerston North City Council. When his family lived in an old house in Whanganui, they used ‘window blankets’ across their French doors to help keep their home warm.
Nelson says window blankets can be as effective as triple glazed windows.
To make one of his blankets, you need:
■ a cheap duvet inner or wool blanket;
■ one or two thin strips of wood, cut to fit the window frame width (within 3mm or less than the frame’s inside width).
Place one end of the duvet between the two strips of wood, or attach the duvet to one wooden strip. Don’t trim the duvet. Place the strips of wood into the top of the window frame. Use cardboard at either end, so you don’t mark the window frame, and so it sits in place.
If you have curtains, draw them over the blanket to improve the effectiveness.
Love this story? Subscribe now!
 This article first appeared in NZ Lifestyle Block Magazine.
