What to consider when creating a rainwater collection system for your garden
Installing a rainwater-collection system makes the most of this natural resource and cuts down on water bills.
There’s a reason a garden appears more refreshed after a rain shower, rather than a douse of town supply. Rainwater contains nitrogen from the atmosphere, which is absorbed by plants through the soil. Studies in the US have shown that rain-watered plants will be greener and have higher rates of growth than those given tap water, which often includes chemicals such as fluoride and chlorine.
A number of considerations need to be taken into account before installing a rainwater-catchment system:
● annual rainfall
● size of the catchment surface area
● size of the garden
● access to mains water supply
● efficiency of watering systems
● exposure to industrial air pollution
● frequency of animal droppings from birds and/or possums
● contamination from heavy metals such as lead from a roof and paint – don’t collect rainwater if lead, chromium or cadmium is present in roofing materials, soldering, flashings or paint
NEED-TO-KNOW ESSENTIALS
1. Catchment surface
A small surface such as a greenhouse or shed close to the garden works well. Even in areas with low annual rainfall, it’s surprising how much water can be collected from a small roof surface.
2. Direct the flow
Gutters and downpipes direct water to the tank. Install easy-to-clean gutter screens that prevent debris from entering the gutter but don’t prevent water flow.
3. Barrel or drum
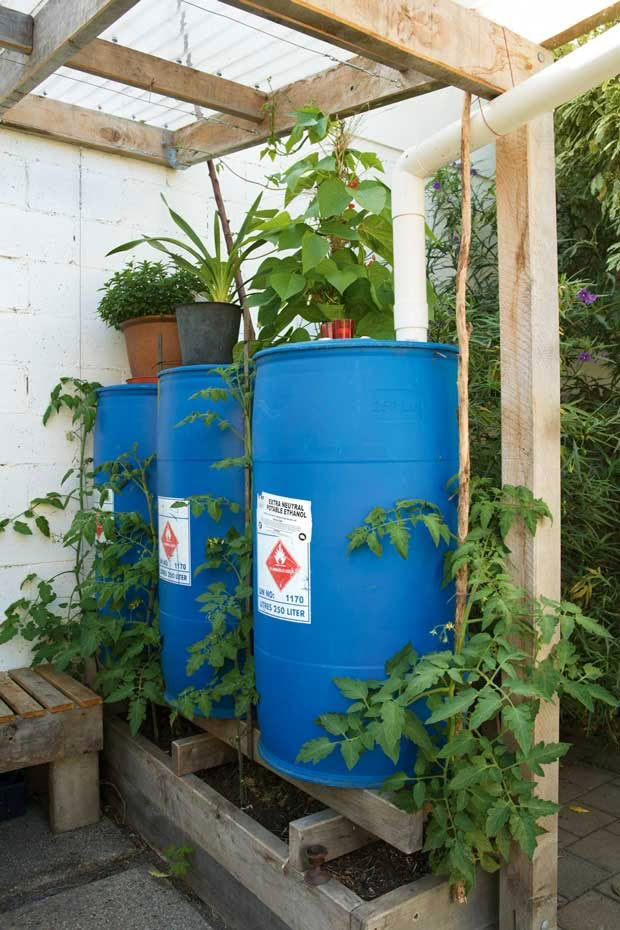
Consider a wide, watertight container with a removable lid to allow easy cleaning. A 44-gallon plastic drum with a hole in the lid to insert the downpipe is also ideal. If space allows, link two or more vessels together to catch overflow. Dark-coloured drums prevent light exposure and algal growth.
4. Fine screen or plastic cover
Even if the vessel has a lid, a screen or plastic cover is required where the downpipe enters the container. This reduces contamination, stops insects from breeding in the water and reduces green-algae growth. It will also keep the water cooler and prevent evaporation. Covered barrels are essential for safety where younger children live or visit.
5. A stand
Gravity-fed systems that don’t rely on a pump need to be mounted on a stand. Water is very heavy; the stand should ideally be concreted into the ground. A stand needs to be higher than 300mm but less than one metre – any higher and it may require building consent. If an irrigation system is connected directly to rainwater storage, place it uphill from the growing area and let gravity do the work.
6. Tap or gravity-fed irrigation
Install taps or irrigation systems low on the barrel. If installing a tap only, place it high enough for watering cans to be filled.
7. Overflow
Overflow has the potential to damage property. Connect a hose to other catchment vessels or to ground waste water.
LEGAL REQUIREMENTS
Don’t count on drinking the rainwater as most local authorities require drinking water to be treated. Check your local council has no restrictions on installing small tanks for garden watering. For more information, read the Ministry of Business and Innovation’s Smart Guide to collection of rainwater at smarterhomes.org.nz
This article was first published in In Your Backyard: Urban Harvest.


