How to humanely kill a chicken
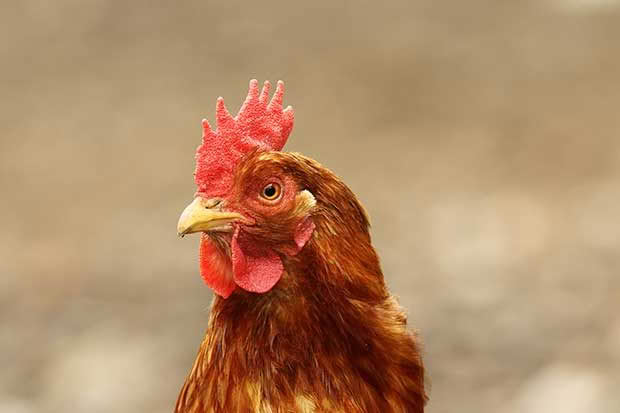
Death is a natural part of life and you need to make plans on what to do to ensure a bird is humanely culled.
*Warning: This story deals with the practicalities of humanely euthanising a bird, and also why some old techniques are not considered to be acceptable, except in an emergency.*
Words: Sue Clarke
Euthanasia is an unpleasant topic for people who find it difficult to make a decision on when to end an animal’s life, but knowing how to do it humanely is a necessary skill to learn if you have poultry.
Deciding when is the right time is always going to be the dilemma. If you are at all in doubt as to whether it needs to be done, then a vet will be best to help diagnose and dispose of the bird if needed.
Factors to consider include:
• how old is the bird?
• what are the chances of recovery?
• will the bird be able to live a normal life within the flock?
• is it free from pain and distress?
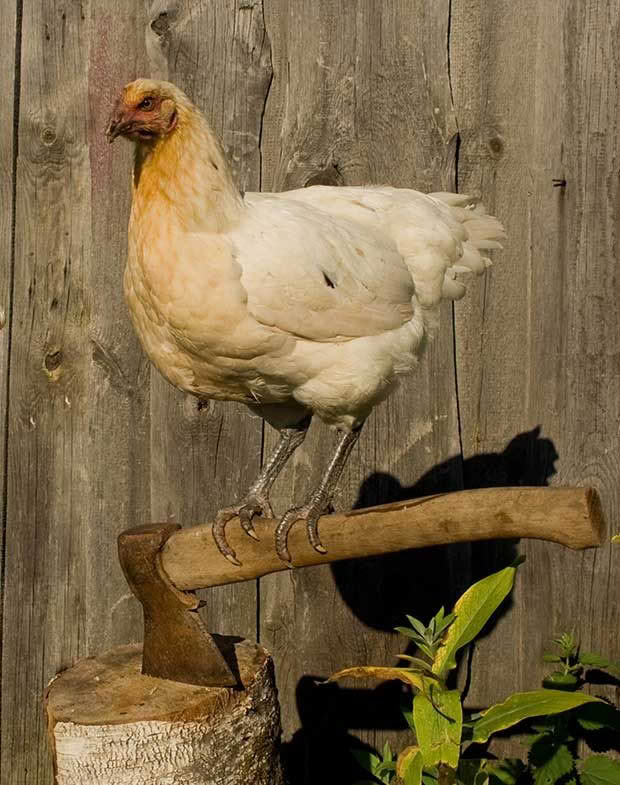
There are two issues around this last point. Research has shown that poultry can feel pain and distress but often don’t show it until very ill or even near death as their instinctive prey reaction is to hide any weakness.
The other is that the decision to euthanise is sometimes made too late because the owner isn’t willing to make the decision.
Once the decision to euthanise has been made, there are a few options, but the decision needs to be made quickly. You can take it to a vet, get a trusted person to do it, or do it yourself, but whatever you choose, the bird’s death must be as humane and as pain-free as you can make it.
WHAT IS PAIN?
The International Association for the Study of Pain (IASP) defines pain as an unpleasant sensory and emotional experience associated with actual or potential tissue damage.
The IASP also includes under this definition an important note: the inability to communicate in no way negates the possibility that an individual is experiencing pain and is in need of appropriate pain-relieving treatment.
This is a very important statement that gives credibility to pain experienced by non-verbal populations of species, including all animal species.
We are not yet fully capable of recognising when a bird is affected by pain, so it may be best to err on the side of over-estimation and assume that conditions thatwould be painful to humans are also painful to poultry.
WHAT IS DEATH?
Death is described as the cessation of all biological functions including respiration, circulation and brain function.
WHAT THE CODES OF WELFARE SAY
Humane killing requires that brain activity ceases as rapidly and as painlessly as possible, and that death ensues as soon as possible.
In commercial poultry-killing plants, a bird must be stunned (most commonly using an electric shock), then bled out while in a stunned state, and must not be allowed to regain consciousness during the bleeding out process.
METHOD 1: NECK BREAKING (cervical dislocation)
Benefits: it can be done quickly and no equipment is necessary
Drawbacks: it requires some confidence and skill; there are nerve tremors afterwards which can be quite strong; it is easier on younger birds, older birds can be tougher; you may not have enough grip strength in your hands and/or your hands may be too small; you may not have the arm strength required (especially if it is a larger rooster, or a larger bird like a goose or turkey).
Method: Death is caused by snapping the spinal cord behind the skull along with the major veins and arteries supplying blood to the brain. Unconsciousness follows immediately and death takes about 15-20 seconds, once the brain and heart are deprived of blood.
Note: these instructions are for a right-handed person, reverse if you are left-handed.
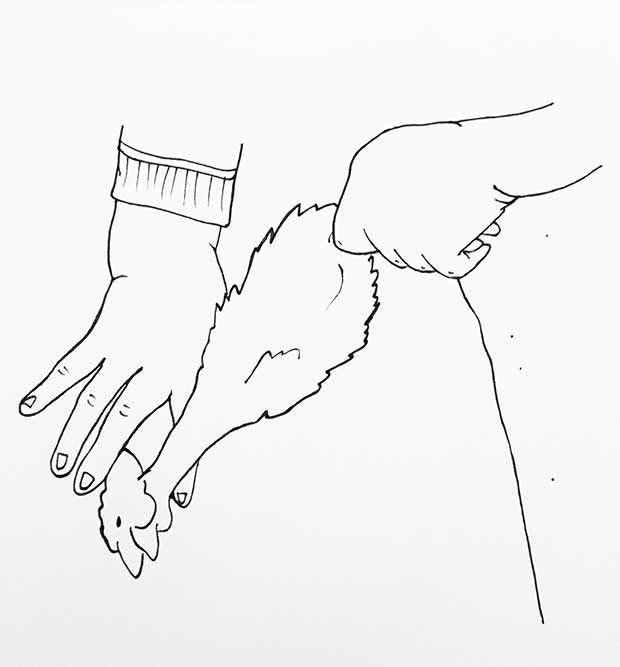
1. Hold the bird by its legs in your left hand so it is hanging upside down, with its beak facing to the left. Create a V with the forefinger and middle finger of your right hand.
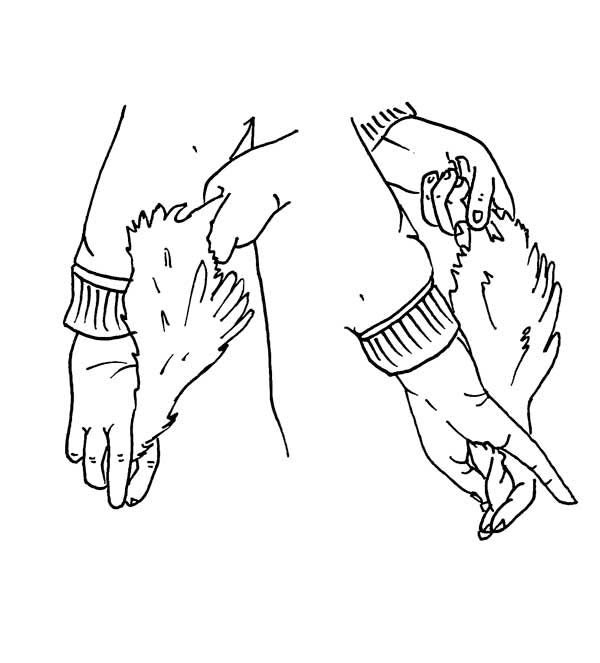
2. Slide your fingers down the neck so they are sitting either side of the neck, at the base of the skull. Don’t put your fingers right around the neck or have them further up the neck as this makes it much harder to complete a clean break and you’ll throttle the bird instead.
3. Tilt the head at a 90 degree angle towards the right (the beak should be pointing down or slightly backwards) – this makes the dislocation as easy as possible.
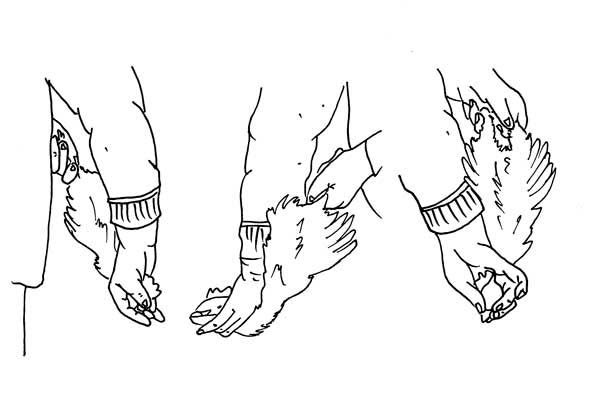
4. As seen from the front, from the side and from the back.
4. Holding the body against you and pull down in a firm motion on the neck. You will feel the neck bones separate from the head, but stay within the skin – if you are very vigorous with this movement you can completely remove the head. Check that there is a gap between the head and the neck – you should just feel skin between your fingers, before you let it go, rather than the bones.
The bird will go into tremor and spasms will make it leap around if you put it down. However, the bird will be unconscious and the actions will pump the last of the blood into the neck space.
Dropping it in a sack or an empty bucket at this point will help restrict it.
METHOD 2: NECK BREAKING (cervical dislocation) by broomstick
Benefits: it can be done quickly; only a wooden broomstick (or long, strong, straight stick or pole) is necessary; better used on larger birds/breeds and older birds.
Drawbacks: it requires some confidence and skill; nerve tremors afterwards; you may need some help to position the bird and/or pole.
Dislocation using your hands is more difficult if a bird is bigger, and it also depends on the size of your hands and your actual pulling power.
This method achieves the same result as Method 1 by detaching the head from the neck, causing an instant lack of consciousness. You will need a stiff, strong stick, pole or bar about the thickness of a wooden broom handle.
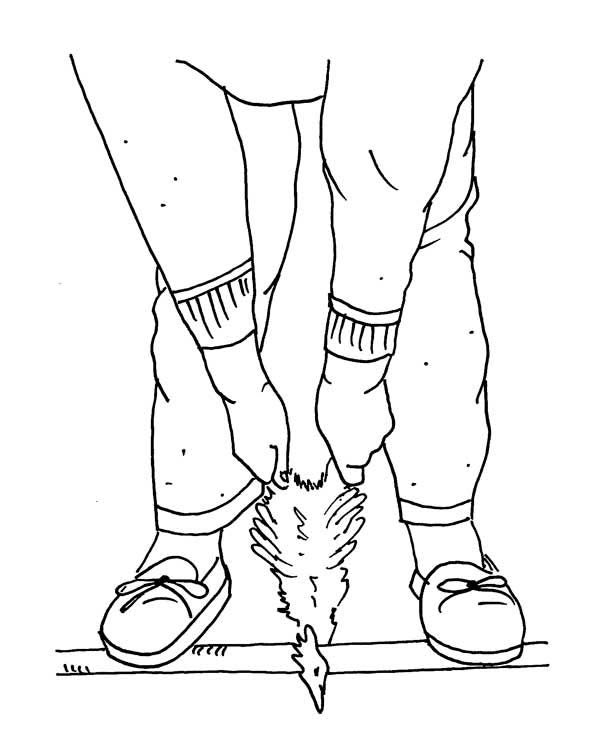
1. Hold the bird by its legs using your left hand.
2. Lay the bird on the floor on its breast, head facing away from you, beak-side down.
3. Place the pole over the bird’s neck, close to the skull. As soon as you are ready to pull, place a foot either side of the head to pin the bird to the ground and pull directly firmly and steadily upwards until the neck is dislocated. Again, feel for the gap between skull and end of the neck, to ensure it is broken.
As with Method 1, the bird will spasm and flap violently but it will be unconscious. Place in a bucket or sack until the spasms have stopped and death has occurred.
METHOD 3: DECAPITATION
Benefits: fast
Drawbacks: holding the bird and using an axe or hatchet; making it a clean cut; large volumes of blood spraying out. Weilding an axe can be difficult and messy.
For many the historic and only way considered to kill a chook is by chopping its head off. This is a quick method as long as the head is severed completely at the first blow; the bird is immediately unconscious and bodily functions cease.
There are a couple of negatives. One is holding the bird in the right position (you can wrap it tightly in a towel or blanket) and wielding the axe/hatchet with the other. There’s the risk of doing yourself an injury, or injuring someone else if they are holding the bird for you.
Decapitating a bird also releases a large amount of blood very quickly, which tends to go everywhere as the bird will still move due to nerve spasms. Also, if you are killing a bird for meat and need to dunk it straight away into hot water (to loosen feathers to help with plucking), it can get very messy.
HOW TO EUTHANISE A SMALL CHICK
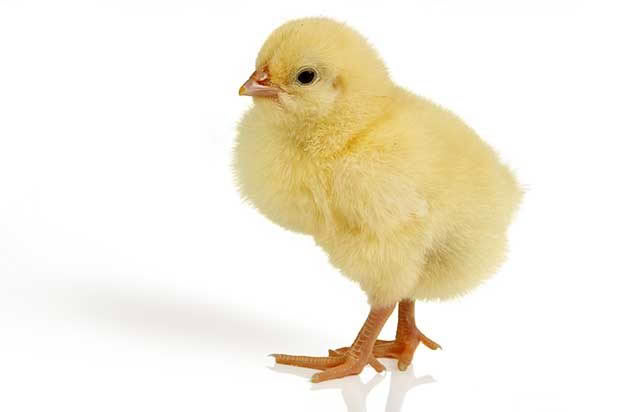
For very young or newly-hatched chicks, the dislocation process using your thumb on the neck just behind the skull or against a sharp edge will do the same job as Method 1.
Love this story? Subscribe now!
 This article first appeared in NZ Lifestyle Block Magazine.
