How to grow your own stevia in your New Zealand garden
One herb can give you a big kick of all-natural sweetness, without the sugar rush or calories.
Words: Jane Wrigglesworth
As a cash crop, stevia ticks all the boxes.
• it’s easy to grow;
• it doesn’t take up too much space;
• it’s a specialty crop that’s not found in everyone’s backyard;
• it can be grown without full-time commitment.
There is a growing trend for health-conscious individuals to go sugar-free and stevia is just what they need. It’s incredibly sweet but without the health issues of refined sugar.
That’s why it’s odd you don’t see more of it at farmers’ markets. It does get points off for its, at times, infamous ‘aftertaste’. This is where it can be sweet at first, then trigger bitter taste receptors on your tongue. However, there are ways to disguise that with other ingredients.
Stevia is a true wonder. The leaves of this perennial herb are 20-30 times sweeter than sugar. The glycosides (stevioside and rebaudioside) within it are 200-300 times sweeter. It has no calories either, meaning diabetics can eat it because it doesn’t raise blood sugar levels.
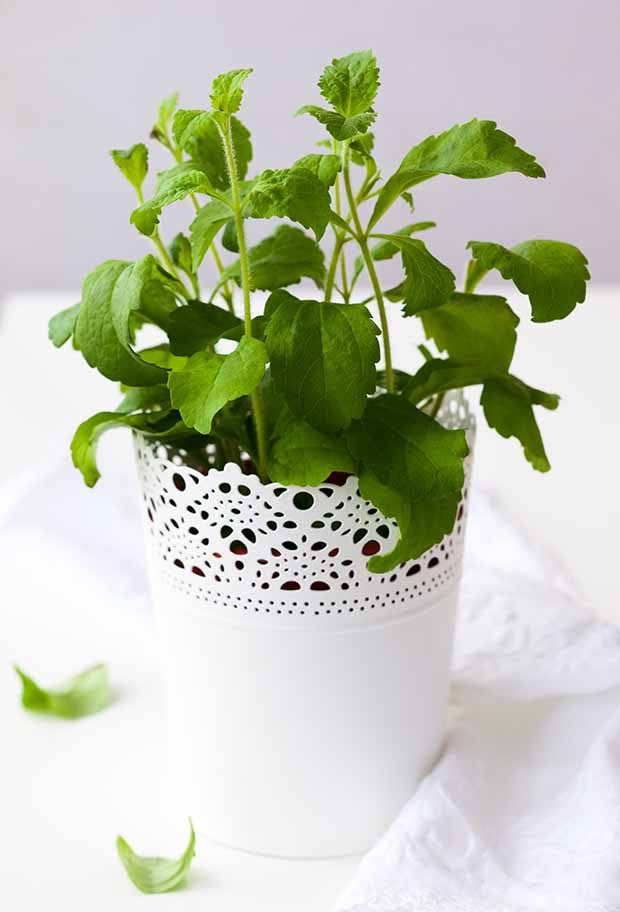
There are other health benefits from this plant, but it’s the sweetness that makes it a super herb to grow. The white stevia that you find in health shops is a processed version of the plant’s isolated sweet compounds, the glycosides. Depending on which brand you purchase, you may find it has just one of those glycosides.
Since it’s claimed that stevioside is the one with the bitter aftertaste, the latest stevia products use rebaudioside alone. However, stevioside is the glycoside that has the health benefits.
The gold standard of scientific studies is a randomised, double-blind, placebo-controlled trial. One of these trials featuring 174 Chinese patients showed that stevioside can lower blood pressure. Other studies have shown a reduction in blood sugar levels. NB: you are unlikely to reach the doses used in these studies by just sweetening your food with a little stevia on occasion.
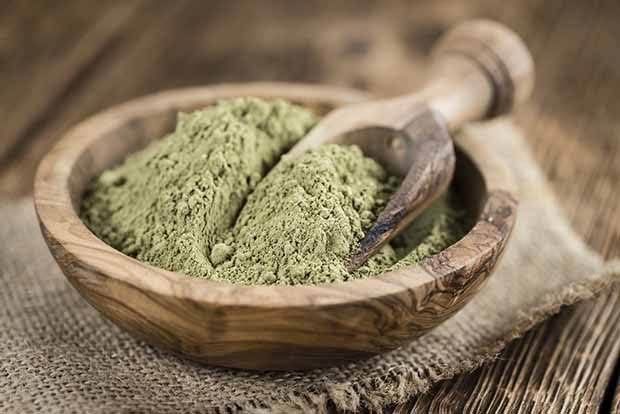
This is why I prefer to use the green, raw, powdered stevia I make from my own plants (you can buy raw powder from health shops too). That way, I also know there is nothing else added to it.
HOW TO GROW STEVIA
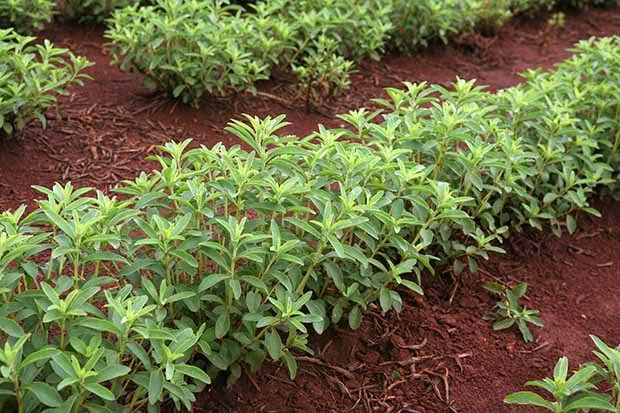
Stevia is a tender perennial that is native to the subtropical regions of Paraguay and Brazil. In most areas in New Zealand the plant will die back in winter, but each spring it will shoot off again. In colder areas, plants will need shelter, or you may be best to grow them as annuals.
• Stevia is easy to start from seed. This plant likes it hot so seedlings won’t truly take off until around mid-summer.
• Plant seeds in a rich, loamy, free-draining soil in sun.
• Keep plants watered – not overly so, as the roots can be adversely affected, and not so little that plants droop. A layer of compost or mulch around plants will keep the shallow feeder roots from drying out.
• Stevia responds well to fertilisers that have more potassium and phosphorus than nitrogen – organic fertilisers are ideal, as they release nitrogen slowly.
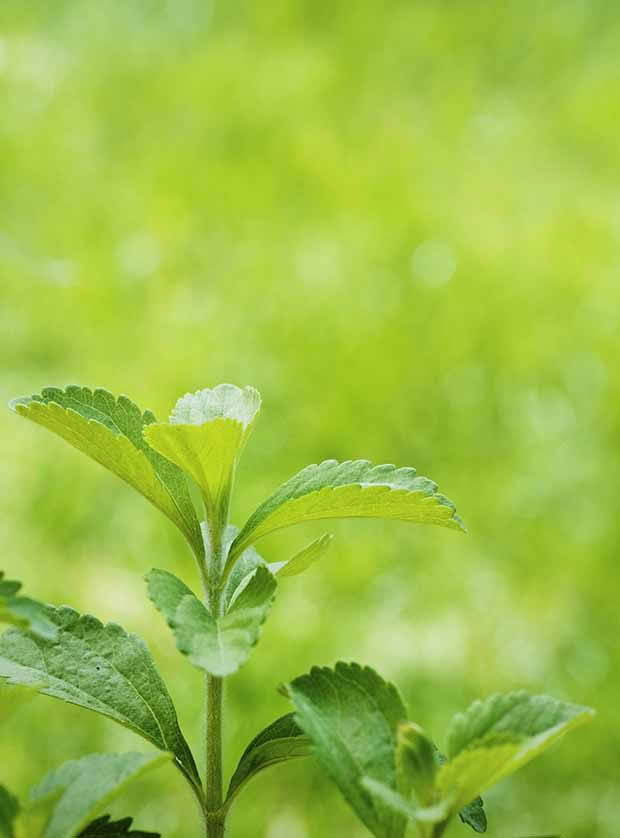
• Pinch off the growing tips as plants grow so they branch out. If you don’t, they will simply produce one stem that grows straight up.
• For sweetness, harvesting is ideally done just before flowering in autumn as this is when the leaves are at their sweetest. While two or three harvests can be made throughout the year, I prefer to harvest all at once in autumn. Cuttings can also be taken for next year’s crop if required. For optimal growth and taste, plants should be replaced every three years.
• The leaves can be dried and stored, or packaged and sold.
• Fresh leaves can be harvested throughout the season.
WHERE TO GET SEEDS
HOW TO PROCESS STEVIA
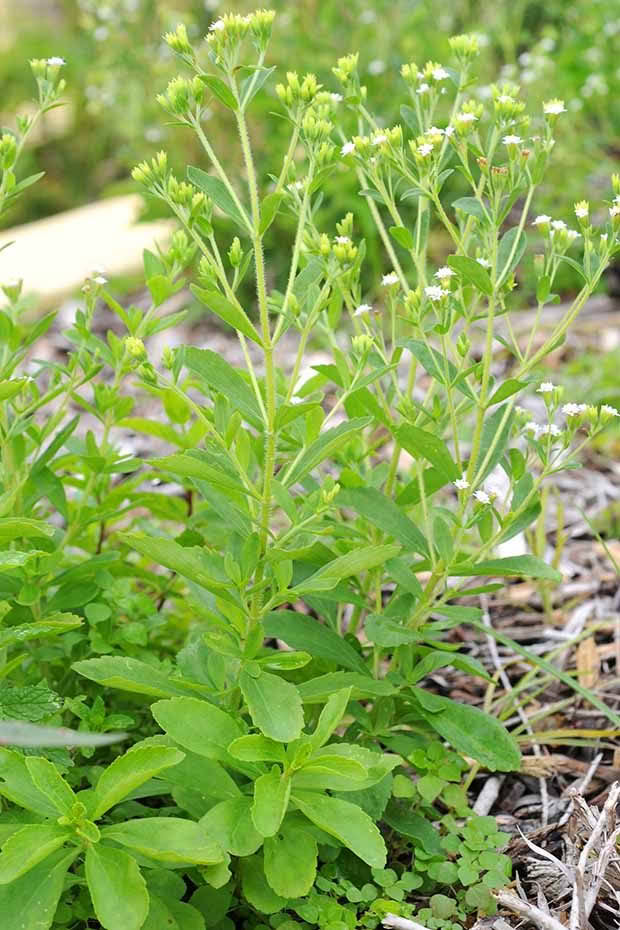
Once harvested, hang stems of stevia in small bundles in a warm, dry, ventilated room, or place on drying racks. Leave the stems attached, removing them only when the leaves are dry, to prevent bruising of the leaves.
Drying doesn’t take long when the weather is warm. To test, the leaves should crumble on pressing between thumb and forefinger.
I like to store my stevia as whole leaves (separated from the stems) in airtight containers. I only process a small amount at a time as needed. Grind the leaves to a powder in a spice or coffee mill. Store raw stevia leaves and/or powder in an airtight container.
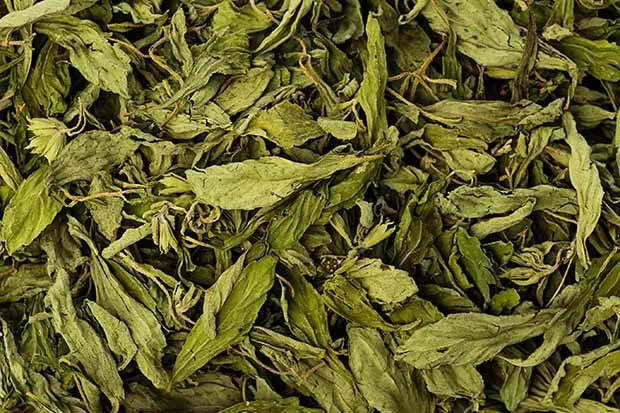
I store dry leaves whole and grind a small amount as needed.
Love this story? Subscribe now!
 This article first appeared in NZ Lifestyle Block Magazine.
