DIY project: Upcycle old tyres into a cute seat
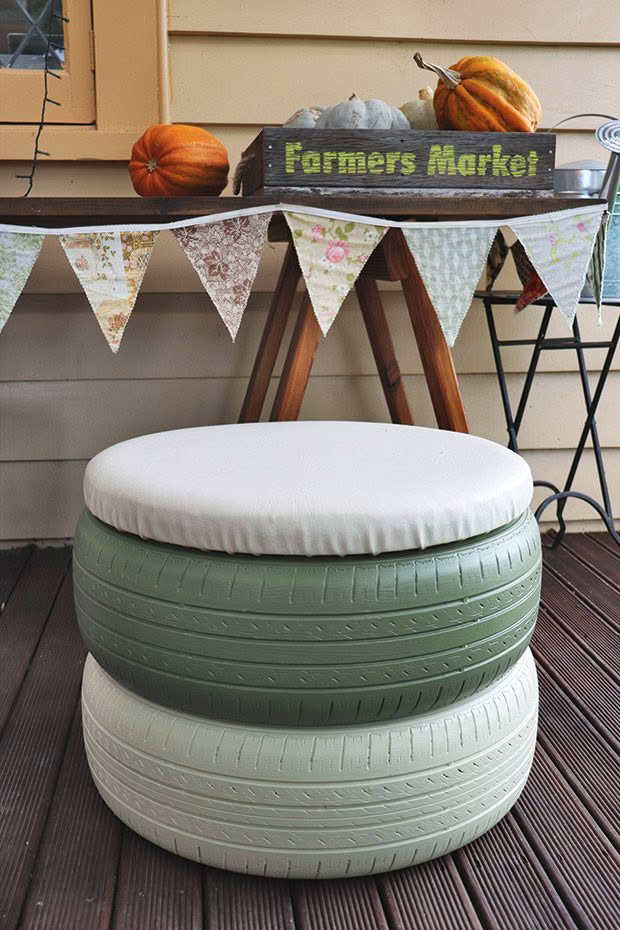
Here’s how to turn nasty old tyres into something pretty and useful.
Words & images: Julie Legg
MATERIALS
2 used tyres (we used G14s)
1 x 600x18x1800mm laminated pine panel
610 x 610 x 30mm foam
1m vinyl
8 x 38mm angle bracket and screws
4 x 75mm brackets and screws
spray adhesive
Resene Membrane primer
Resene Lumbersider paint
TOOLS
skill saw
sander
staple gun
scissors
Around a quarter of old car tyres are recycled. The rest end up in huge, soon-to-be-outlawed tyre dumps, illegal dumps, or in landfill.
You might have a couple stashed behind a shed. If you don’t, it’s easy to find them for free. Talk nicely to your local tyre store and they may allow you to take your choice of a couple of used tyres from their bin.
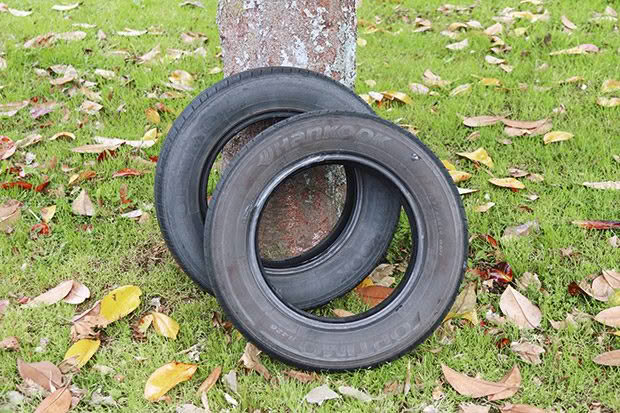
For practicality, it’s best to choose a pair of matching, low-profile, car tyres.
This project creates a padded foam seat to sit on top of the tyres, and a structure inside them to give the seat stability and to stop the tyres from slipping.
JULIE’S TIP
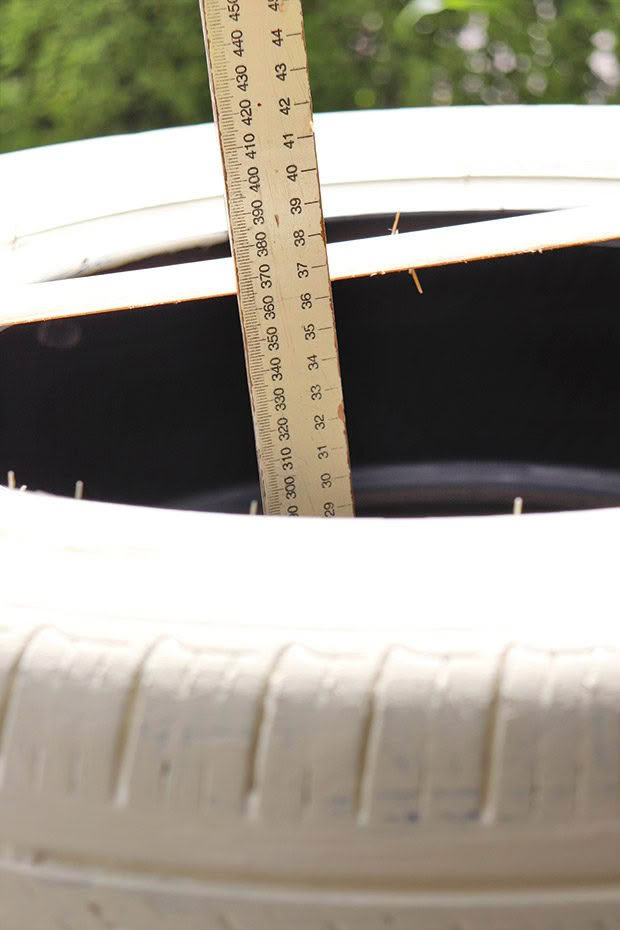
It is important to measure the height of your stacked tyres. To do this accurately, rest a piece of wood over the centre of the top tyre to act as a horizon line, then measure from that point to the ground.
INSTRUCTIONS
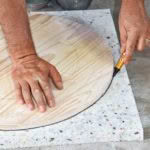
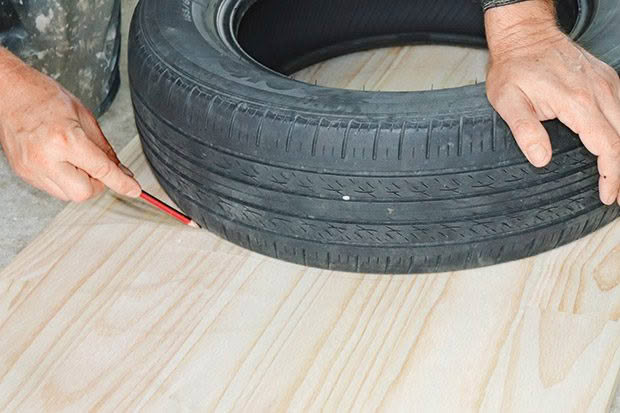
Step 1: Place one of the tyres onto the laminated pine panel. Use a pencil and mark around outer perimeter and inner circle of the tyre.
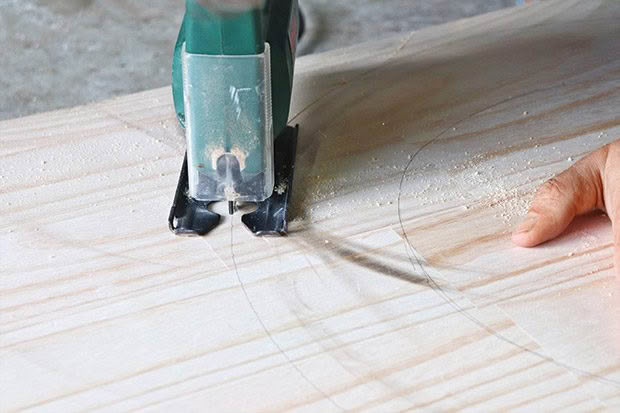
Step 2: Cut around the outside line to create a large disc. Sand the edges. This will become the base of the foam seat. Retain the rest of the panel for Step 4.
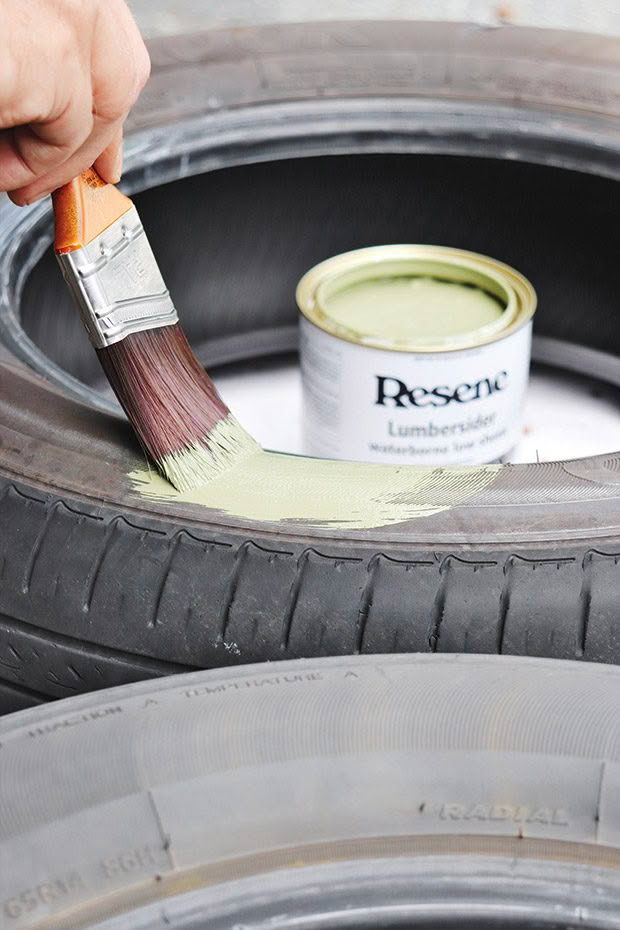
Step 3: Paint each tyre with one coat of Resene Membrane primer, then two coats of paint. We used low sheen, waterborne Resene Lumbersider for outdoor use, tinted in Resene Thistle and Resene Woodland.
Step 4: Measure the height of the two stacked tyres (see tip, page 38). This measurement will dictate the height to cut the internal legs, which will secure the seat base (created in Step 2). We used R14 tyres and the height was 365mm. Measure the diameter of the inner circle, which will determine the overall width of the internal leg structure, which will stop the tyres from slipping.
Step 5: Cut the remaining panel into three pieces. For our tyres, we needed 1 x 340mm wide x 365mm high, and 2 x 160mm wide x 365mm high. Your measurements will be different, depending on the tyres you have used.
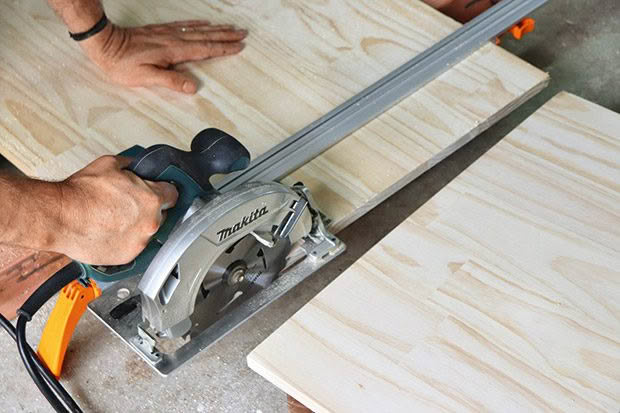
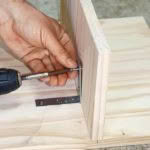
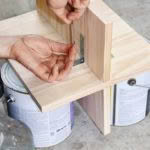
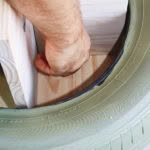
Step 6: To create the legs, use the 75mm brackets to create a ‘t’ shape from the three panels. Use the larger piece in the centre and one shorter piece on either side. Test for a perfect fit by slotting the structure inside a tyre – it should fit snuggly.
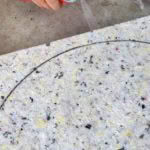
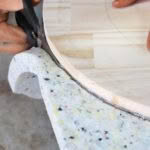
Step 7: Place the round wooden base on top of the foam and mark out its shape. Spray adhesive to both the foam and the wooden base, then stick together. Cut off the excess foam to the shape of the base.
Step 8: Lay out the vinyl (rough side up) and place the foam/wooden base onto it, foam-side down. Cut the vinyl roughly to shape, so you have enough excess to fold over the wooden base. You may need to trim it so it’s not so long that it goes over the inner circle that you marked out in Step 1.
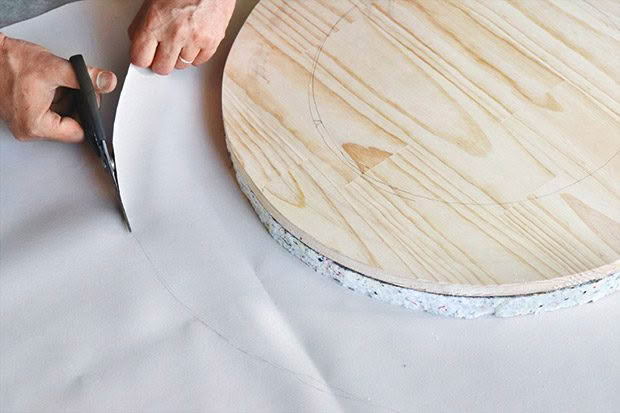
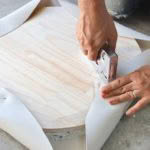
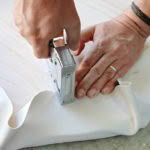
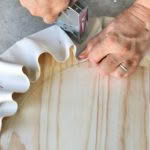
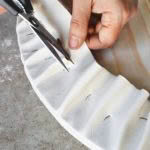
Step 9: One at a time, pull up four sides of the vinyl over the foam base and staple to the wooden base. Continue to pull up the vinyl and staple the gaps in between. To avoid puckering the edges, staple alternate sides each time to ensure the vinyl remains taut. Adjust and staple where required. This is the underside of the seat and doesn’t need to be meticulously perfect. Trim away excess vinyl.
Step 10: Place the completed vinyl seat on the ground, vinyl-side down. Use the 38mm brackets to secure the leg structure to the base, inside the circle line you drew in Step 1.
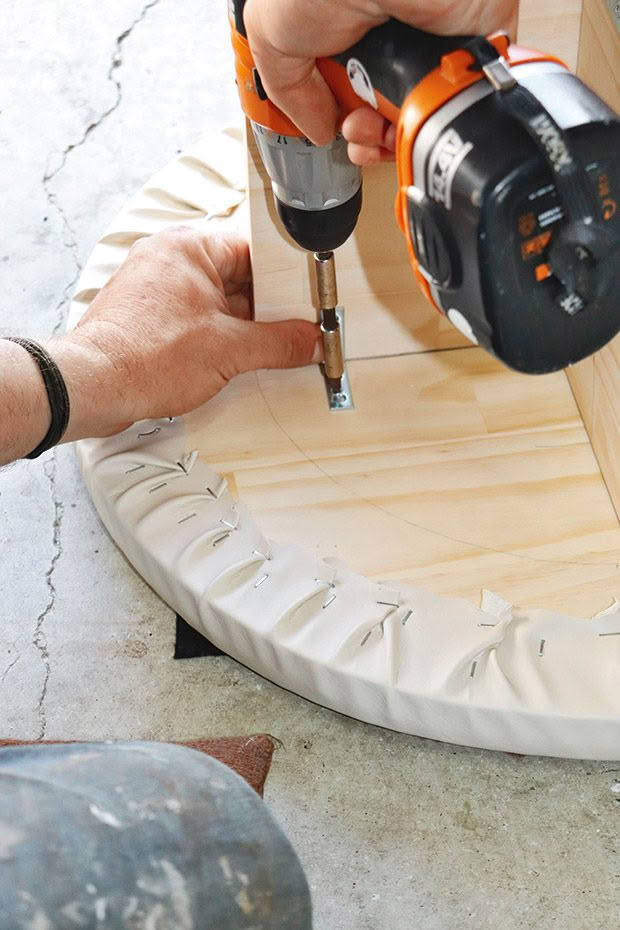
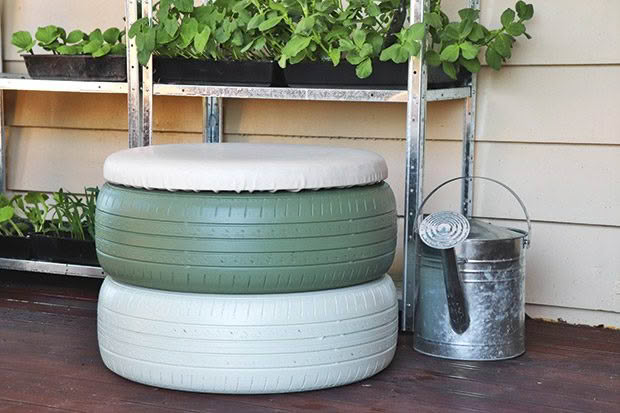
The structure should then slot neatly into your tyre stack, with the foam-vinyl seat sitting snugly on the tyres. The tyres may need touch-ups with paint if they are rolled or scraped.
Love this story? Subscribe now!
 This article first appeared in NZ Lifestyle Block Magazine.
