DIY project: Make a vertical growing frame for climbing veggies
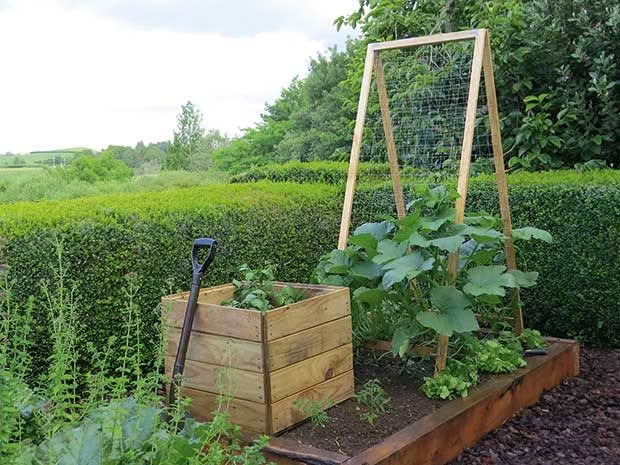
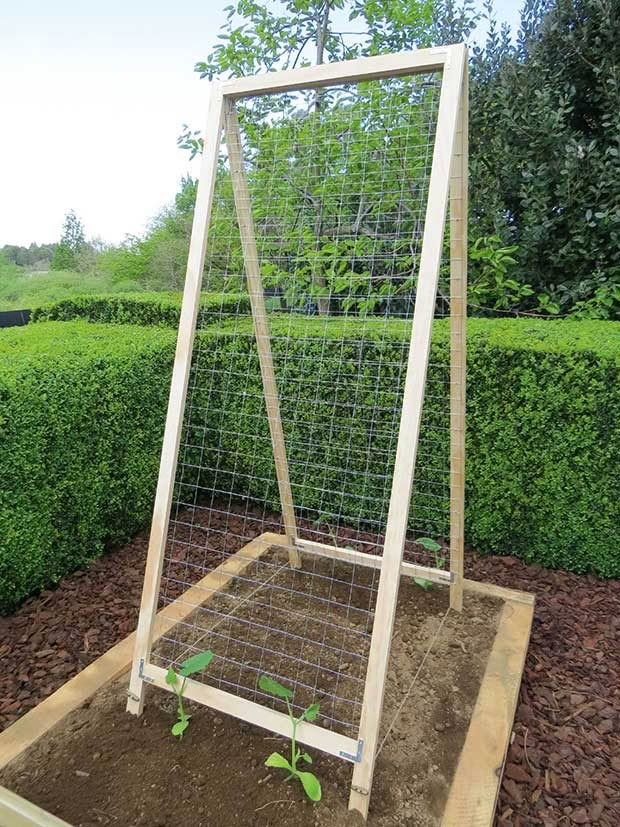
This easy-to-make A-frame gives veggies in the gourd family a place to grow up.
Words & photos: Julie Legg
Julie and Jel Legg’s quest for self-sufficiency began five years ago when they transformed a 30m2 suburban section into a food factory.
They’ve since moved to a lifestyle block in the Waikato, and regularly work together on the DIY projects.

See more of Julie’s handiwork, recipes and sustainability ideas at rediscover.co.nz
HOW TO BUILD A GROWING FRAME
Most veggies belonging to the gourd family are fast-growing prostrate creepers. They are also happy climbers, clinging to supports with their coiled tendrils.
This lightweight yet sturdy A-frame gives them a place to grow; it’s also easy to move around for crop rotation, and the height can be adjusted for accessibility.
In the final stages of growth, heavy fruit may need a support ‘sling’ – make one from nylon stockings or fabric offcuts and tie it to the frame.
MATERIALS
2 x 1.2m 40x18mm dressed pine
4 x 1.8m 40x18mm dressed pine
16 x 50mm corner brace sets (4 sets of 4)
12 x 16mm screws
2 x 75mm hinges
12 x 50mm screws
50mm x 50m x 1.2m flower mesh
U nails
Rope
Equipment: Set square, drill, wire cutters, scissors
Cost: $100
INSTRUCTIONS
STEP 1: For the top and bottom of the A-frame, cut each 2 x 1.2m piece of pine in half to make 4 x 0.6m lengths.
STEP 2: Place the sides and the 1.8m lengths, on the ground. Measure the lower horizontal supports to sit 200mm from the bottom of the sides. Use a set square to ensure perfect alignment.
STEP 3: Drill pilot holes for the corner braces. Using the screws included with brace sets, drill each corner of the frame into place.
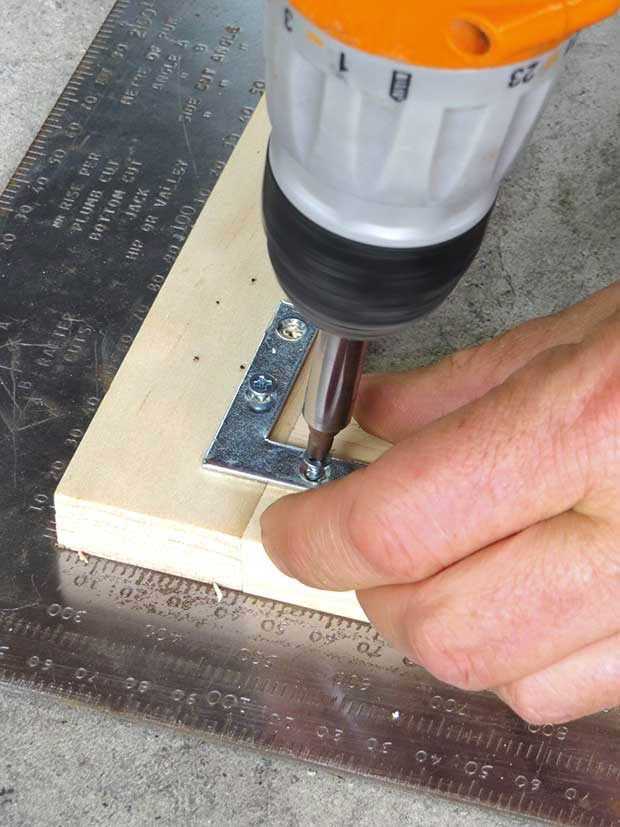
Ensure screws are no longer than the thickness of the wood, otherwise use 16mm screws.
Flip frame over and repeat. Offset the brackets so they don’t hit the screws from the other side.
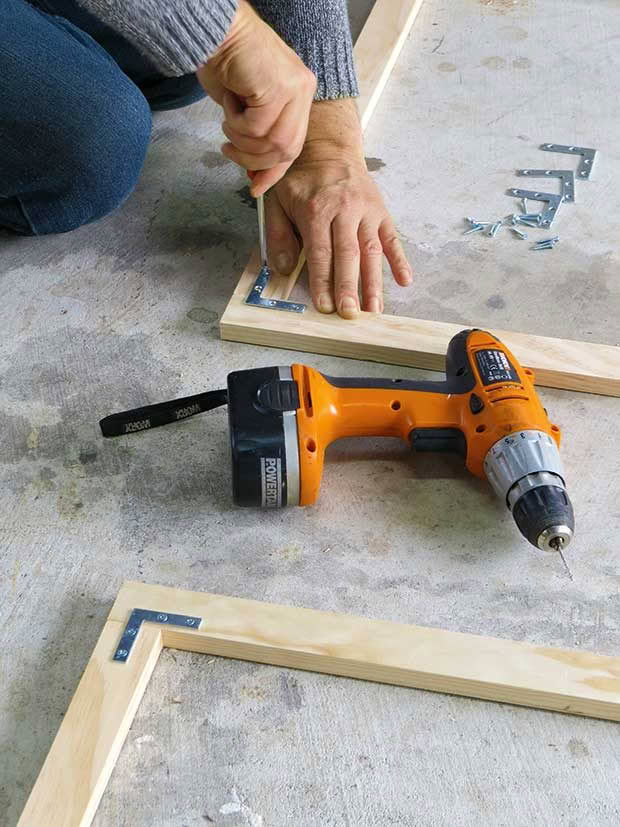
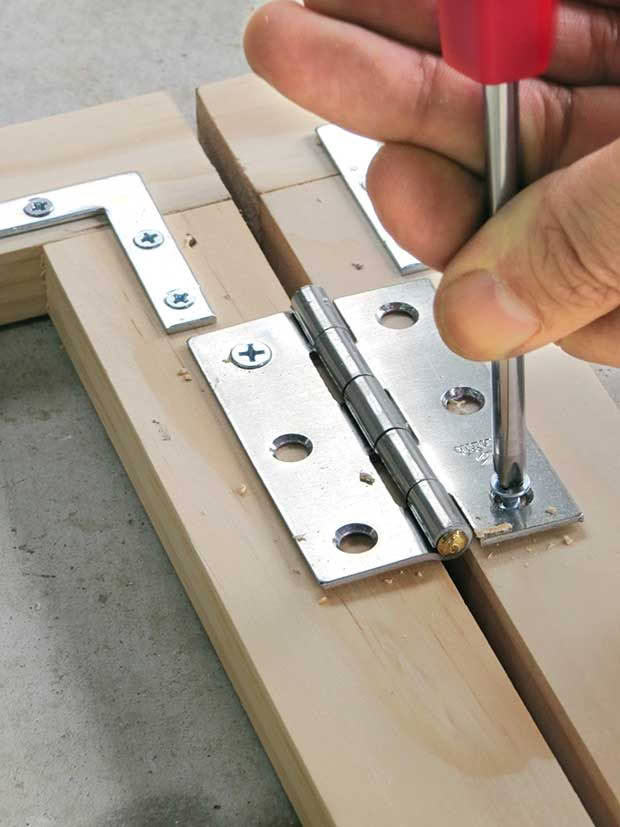
STEP 4: Lay the two frames head to head and attach the hinges, flat side of the hinge against the wood with a gap between the two frames of about 5mm. Drill pilot holes, then screw hinges in place.
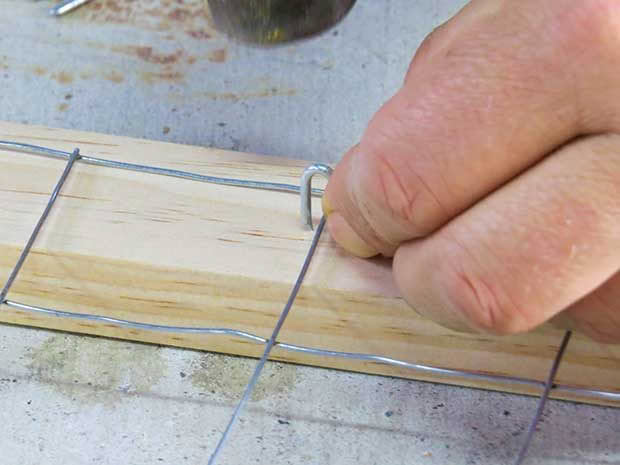
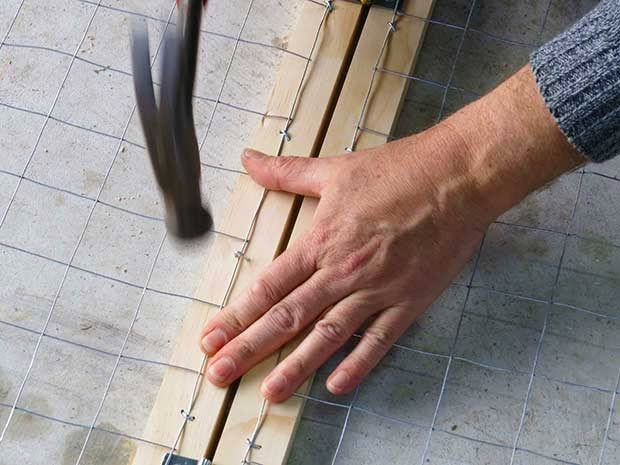
STEP 5: Lay the wire mesh over the frames and cut into shape with wire cutters. Secure mesh with U nails.
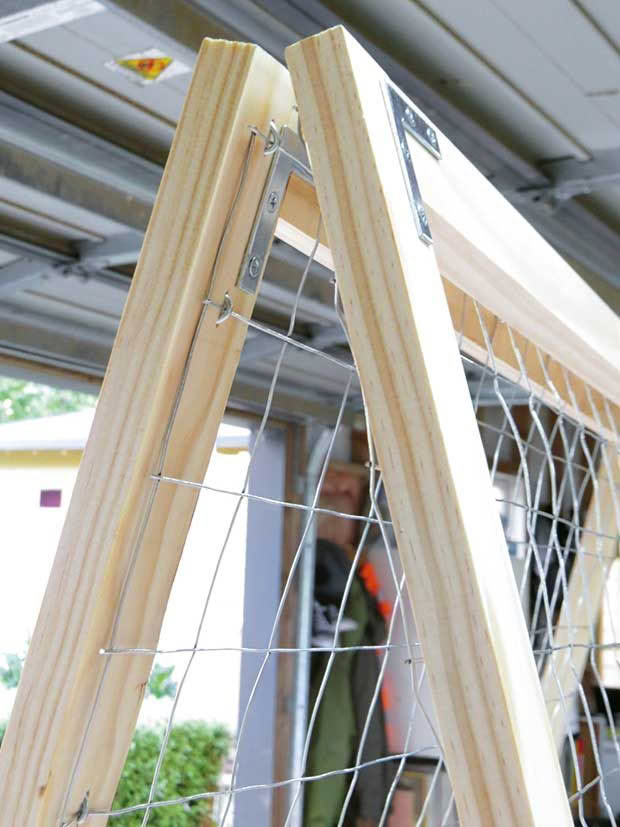
STEP 6: Drill holes according to rope thickness, about 150mm from the ‘foot’ of each frame.
Thread rope through holes to desired gradient. Tie off and cut.
TIPS
• For accuracy, drill one pilot hole in the corner or end of the bracket or hinge, then secure the screw. Do the same at the far end of the bracket or hinge. This will ensure further pilot holes and screws will not move while keeping square.
• To flatten and keep the mesh in place before nailing it down, lay beams of wood over the frame and mesh.
This article appeared in In Your Backyard: Urban Harvest, a special edition of NZ Life & Leisure about growing food in small city spaces. Packed with advice such as how to start a productive veggie garden, the best crops, creating awesome soil, vertical growing, container gardening, hydroponics, espaliered trees and edible hedges.
The latest In Your Backyard edition is available here.
