DIY Project: Make a self-watering container garden
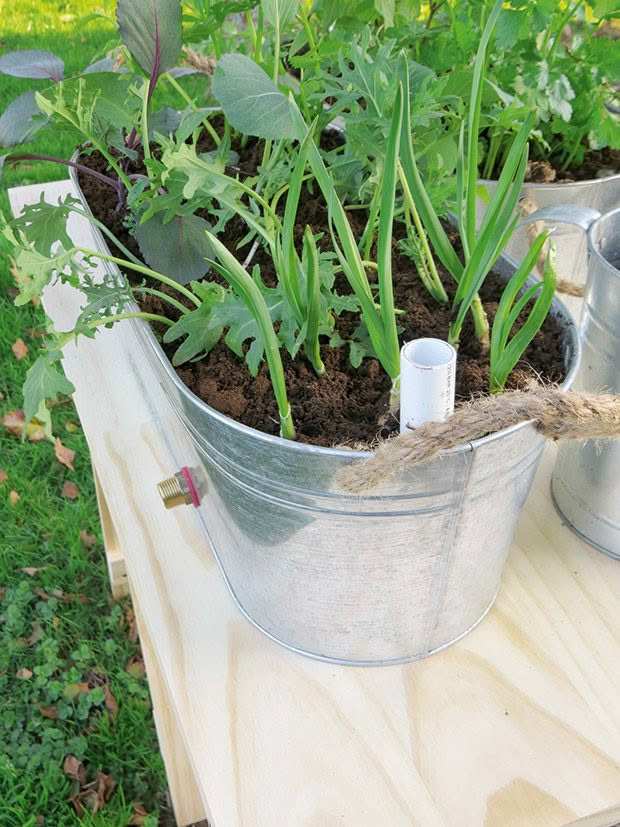
Lettuce, herbs or flowers will stay hydrated all summer long in this self-watering container garden.
Words & photos: Julie Legg
Wicking garden beds are ideal for small gardens or where irrigation is not possible as the built-in water reservoir allows plants to access moisture as required.
HOW IT WORKS
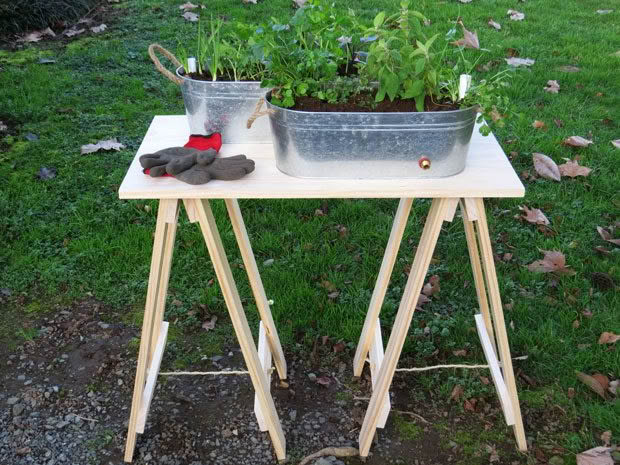
Water is drawn by a wicking process through the soil from a water reservoir beneath. The reservoir is filled either by rainfall or intentional watering and if there’s too much water, an overflow pipe will drain it. Use a mini trestle table (or make your own) beneath the portable wicking garden, so it is easy to transport to the bach or a porch when frosts come.
MATERIALS
waterproof container suitable for outdoors. This project used a galvanized metal planter 14cm (H) x 44cm (W) x 20cm (D). Or, if possible, recycle a waterproof container, such as a sturdy plastic laundry basket, a baby bath or a tin planter tub
1 length x 2.2cm speedfit plastic pipe
1 x plain plastic-pipe 90° “elbow” outlet pipe, or brass thread nipple and washer (or drill a hole in the side)
fine river stone pebbles or gravel
sand and top soil
INSTRUCTIONS
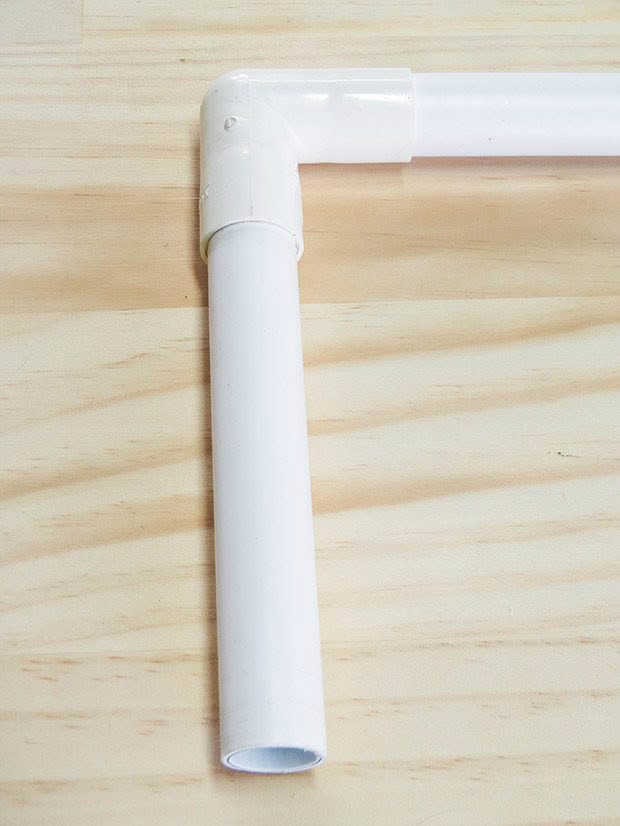
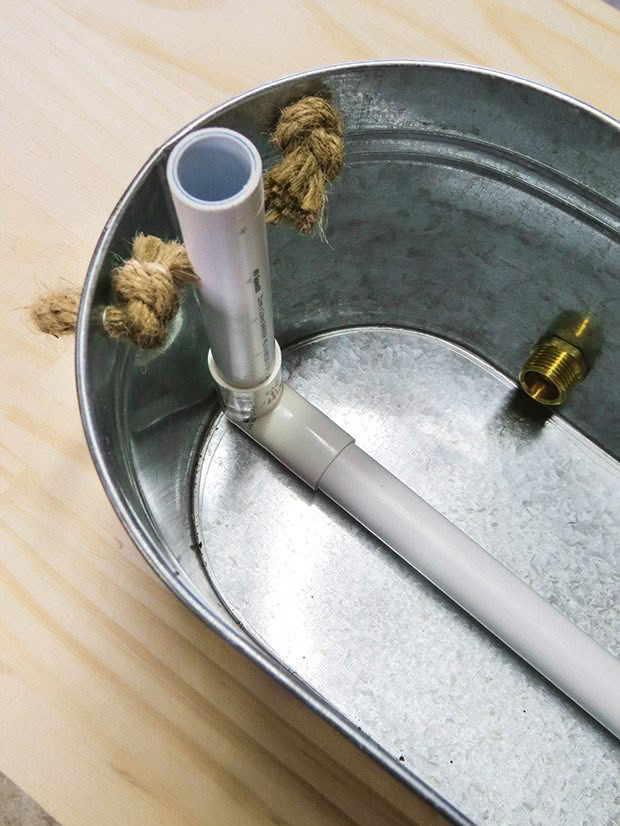
STEP 1: Measure the length of the container’s internal base and its height. Measure and cut two lengths of plastic piping (one to fit base and one to fit vertical height plus 3cm to 4cm above the anticipated soil level). Push the pipes together to join them at a
90° angle with an “elbow” pipe.
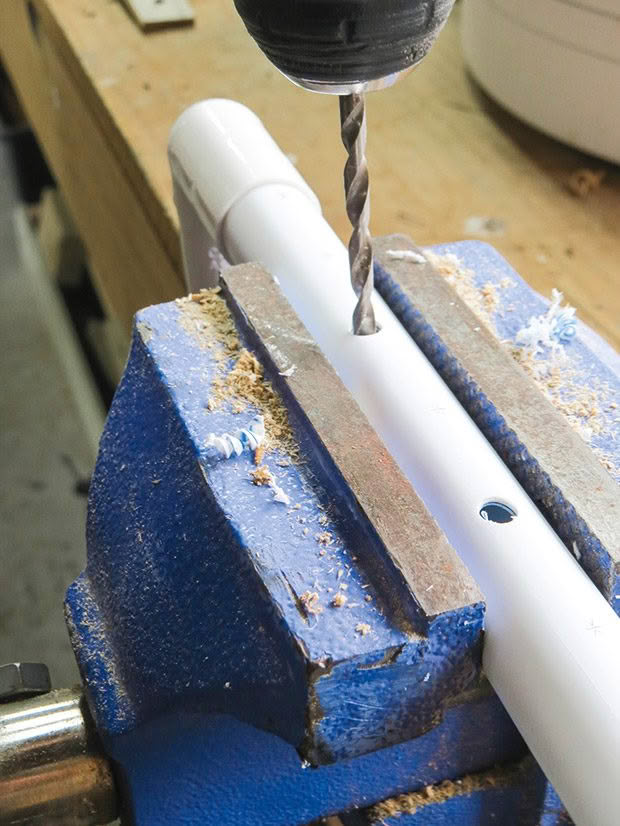
STEP 2: On the length of pipe destined for the base, drill holes at regular intervals underneath. This will become part of the irrigation system and distribute the water into the reservoir.
STEP 3: Place the assembled pipe in the bottom of the container. Once complete, the pipe will be covered in pebbles. Drill a hole in the side of container at the top level of the anticipated pebble line.
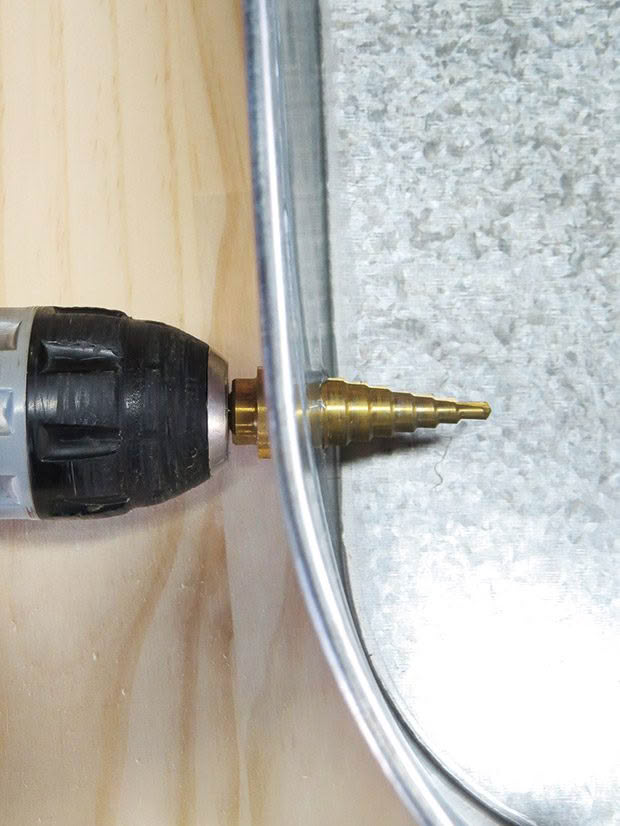
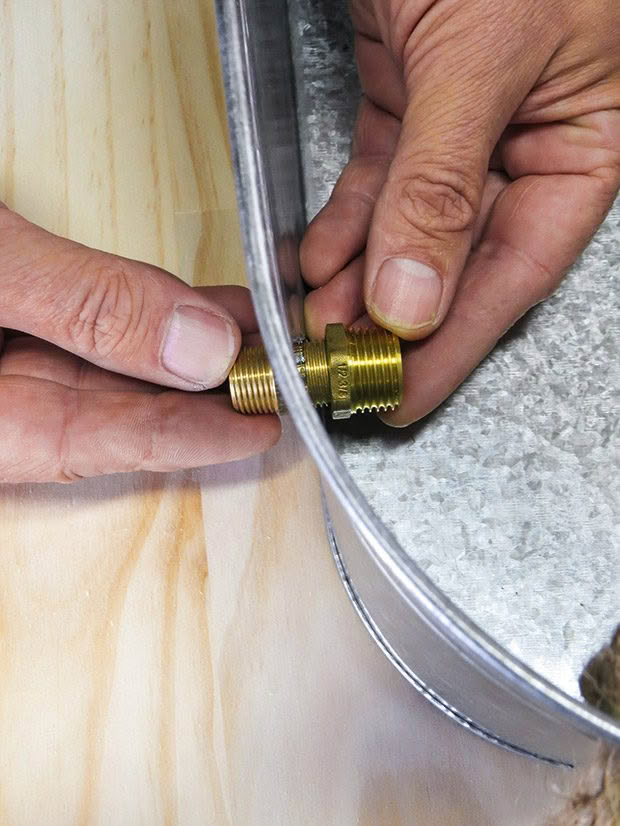
STEP 4: Attach overflow outlet in the hole created.
STEP 5: Place pipe in position in the base of the container.
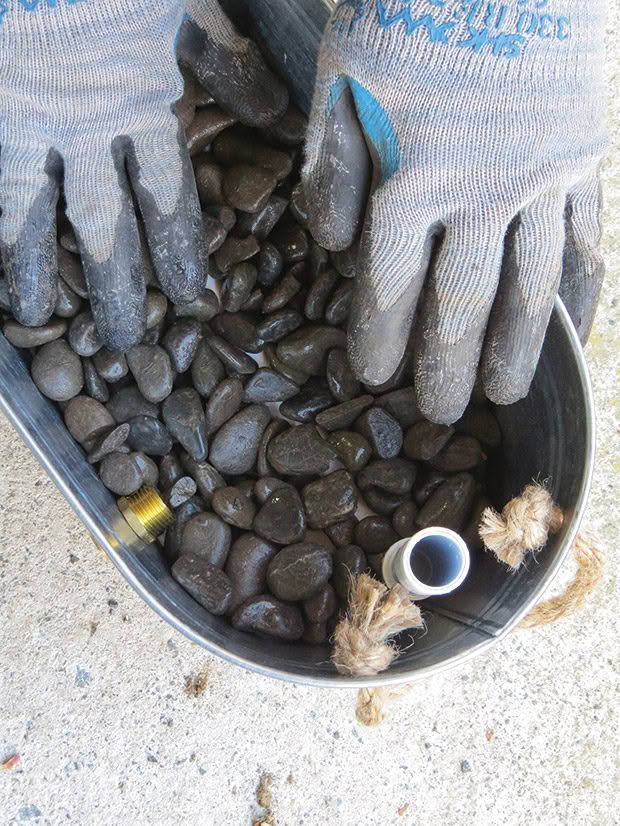
STEP 6: Fill base with pebbles to cover the pipe and align with the outlet pipe.
STEP 7: Cover pebbles with sand.
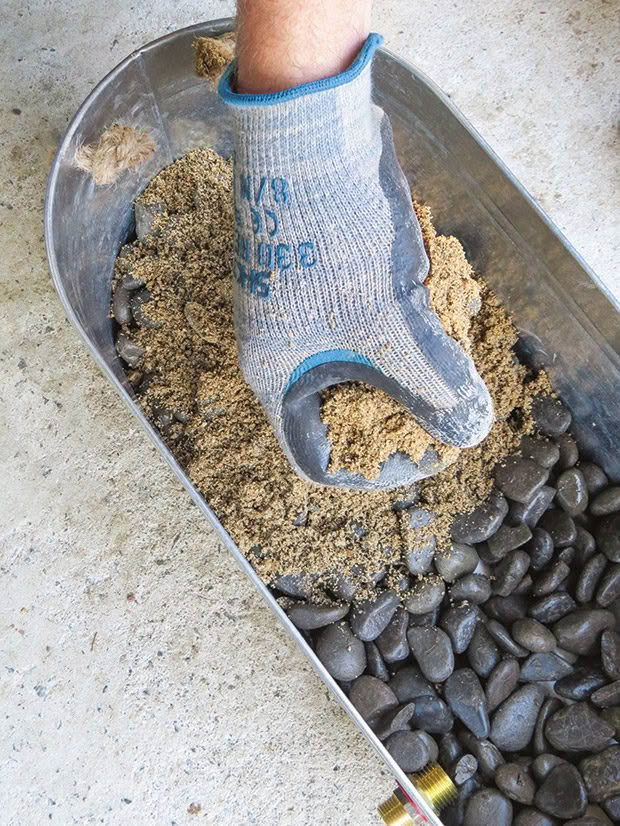
STEP 8: Cover with a generous layer of top soil and plant.
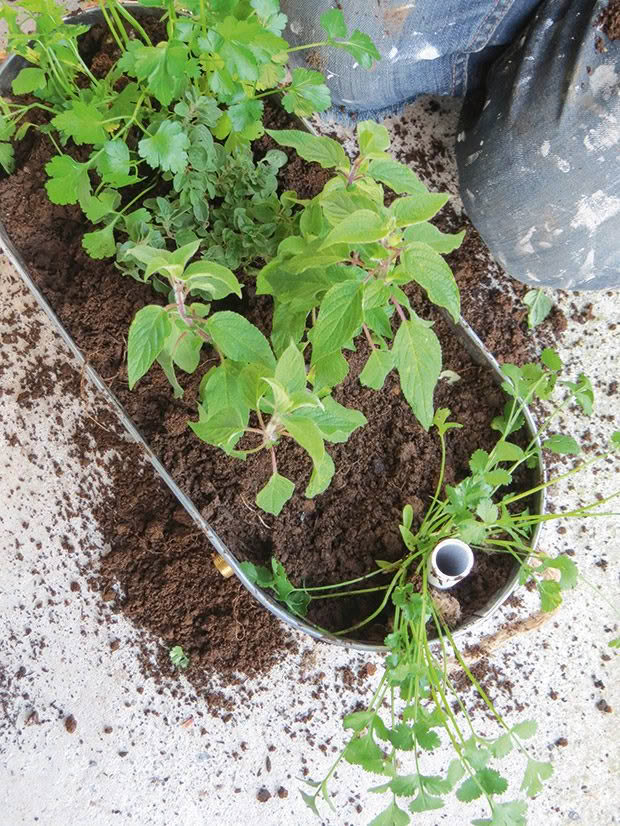
STEP 9: Water through the open-ended vertical pipe to fill the reservoir.

This is an extract from our special edition In Your Backyard: Living Lightly
In Your Backyard: Living Lightly is filled with practical advice on making small steps to a lighter footprint. Order online here.
