DIY Project: A climbing frame for plants with an artistic twist
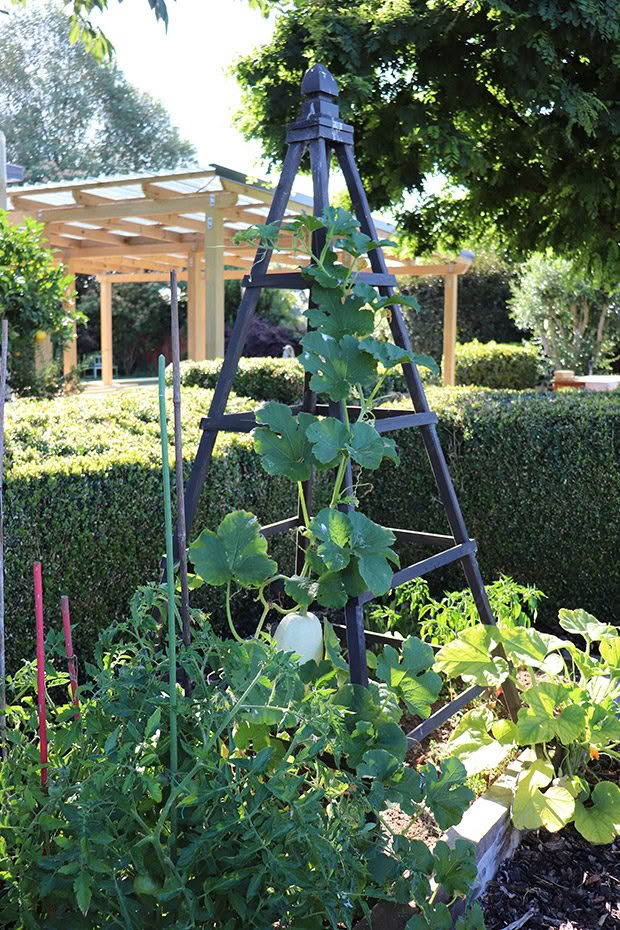
A practical climbing frame for plants can double as art for the garden.
Words & Photos: Julie & Jel Legg
MATERIALS
4 x 40mm x 30mm x 2m treated timber post H3.2
10 x 19mm x 19mm x 1.8m
trellis beading H3.2
box of 30mm screws
spare offcuts
post head
Resene Waterborne Woodsman tinted to Resene Shadow Match
A tidy, space-efficient way of growing creeping flowers and vegetables is to support them vertically on a structure such as an obelisk. Painting the obelisk in colours that contrast against the mostly green foliage of the vegetable garden creates visual interest.
INSTRUCTIONS
Step 1: Place two lengths of timber posts splayed apart on a flat surface to resemble an inverted V. The length at the top of the V should touch. Lay four lengths of trellis beading horizontally across the two uprights. Allow a slight overhang on either side of the uprights initially as they will be trimmed later.
The final measurements for our horizontal lengths were, from bottom to top, 830mm, 650mm, 480mm, and 300mm long.
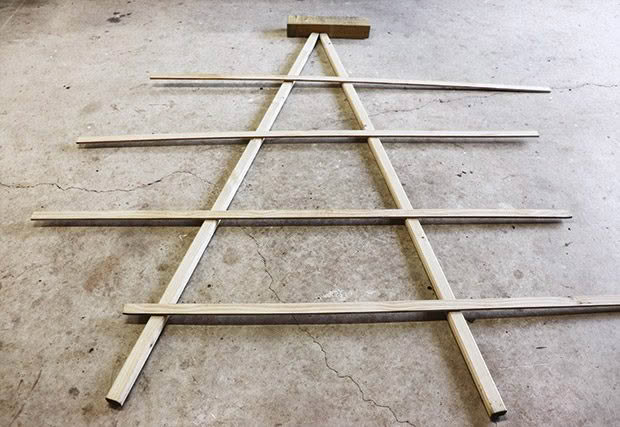
Step 2: Start construction with the lowest, longest horizontal length. Drill a pilot hole and then secure to the timber post with a single screw at each end.
Then work up the V and do the same with the remaining horizontal lengths.
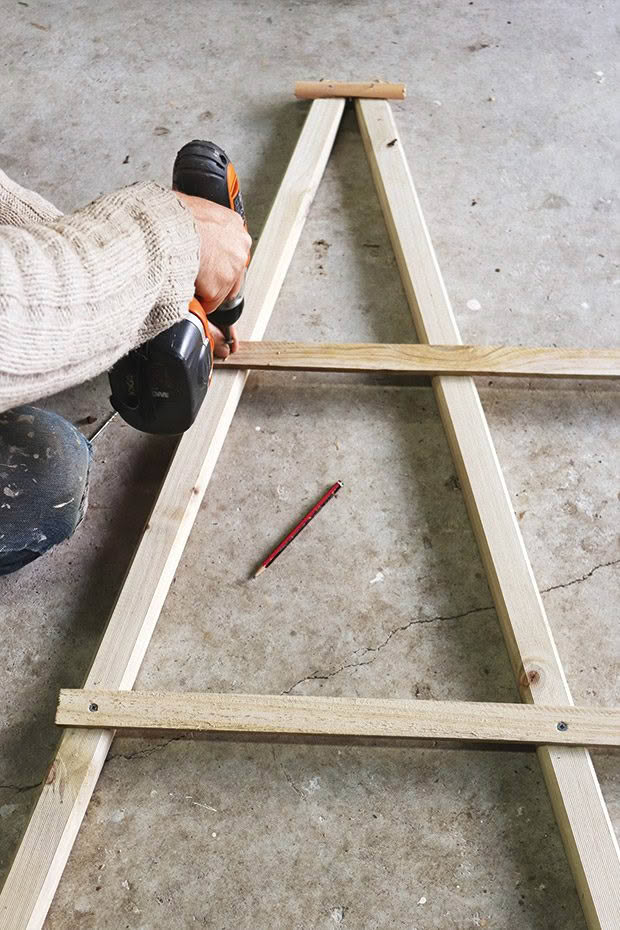
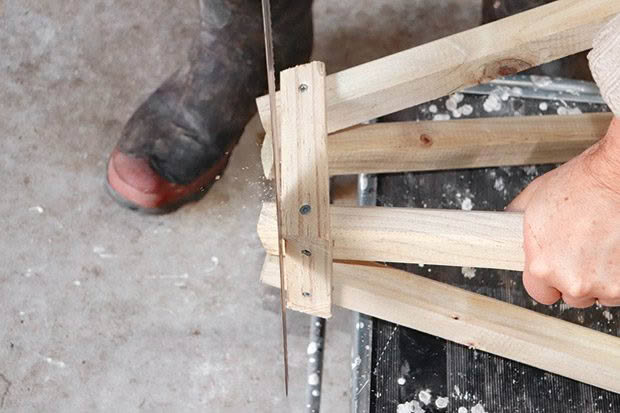
Step 3: Trim excess horizontal lengths with a saw to complete the first A-frame. Repeat Steps 1 to 3 to complete a second matching framework.
Tip: Tack the two touching ends of the uprights together with an offcut to stabilize them, so they don’t move during this process.
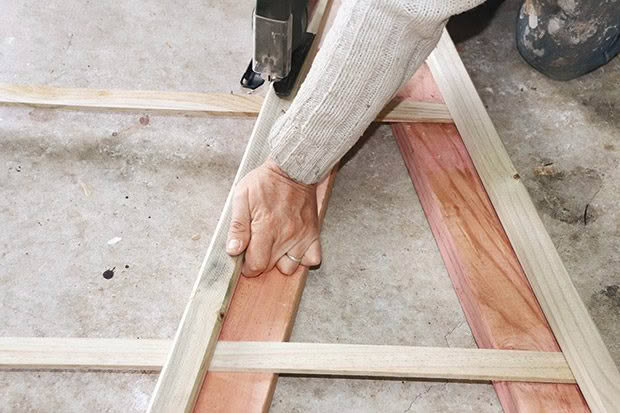
Step 4: Measure and cut two 850mm lengths of trellis beading.
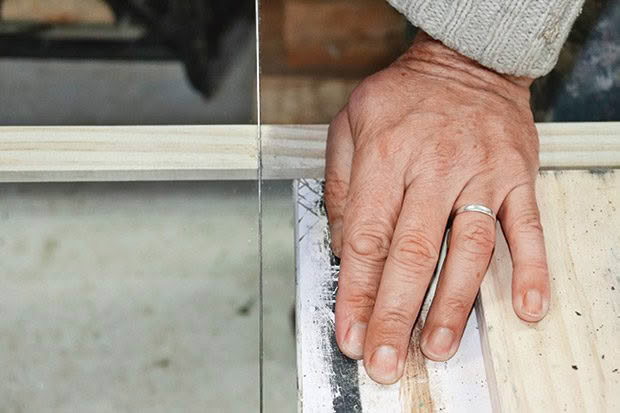
Step 5: Lay both completed frames on their narrow edge, facing each other, but splayed out to form a V. Screw one 850mm horizontal length to each side of the A-frame to align with the lower horizontal lengths.
The edges don’t need to be flush as they can be trimmed after securing.
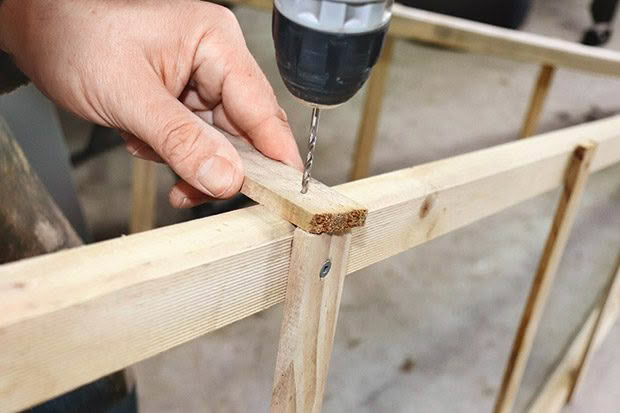
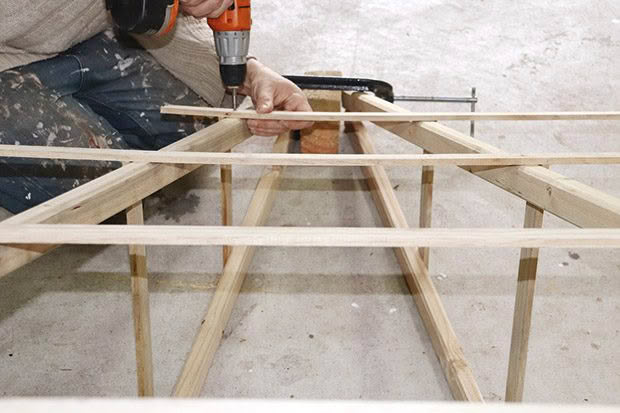
Step 6: Screw the three remaining upper horizontal lengths of beading to each side, aligned at the same heights as the frames.
There will be a gap where the two original A-frames won’t touch each other at the top. It is intentional and will be covered in Step 8. Trim any excess wood, so it’s flush with the sides.
Step 7: Measure and cut a short length of off-cut wood to form a plate at the top. Ours measured 120mm wide x 150mm long x 15mm thick. Set it aside for Step 9.
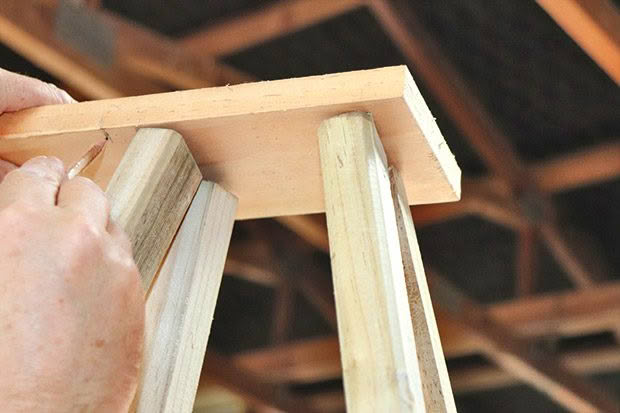
Step 8: Use extra lengths of horizontal beading to complete trimming the top. Screw in place a few centimetres from the top of the tower.
Trim the uprights above the beading with a saw, so the top is level.
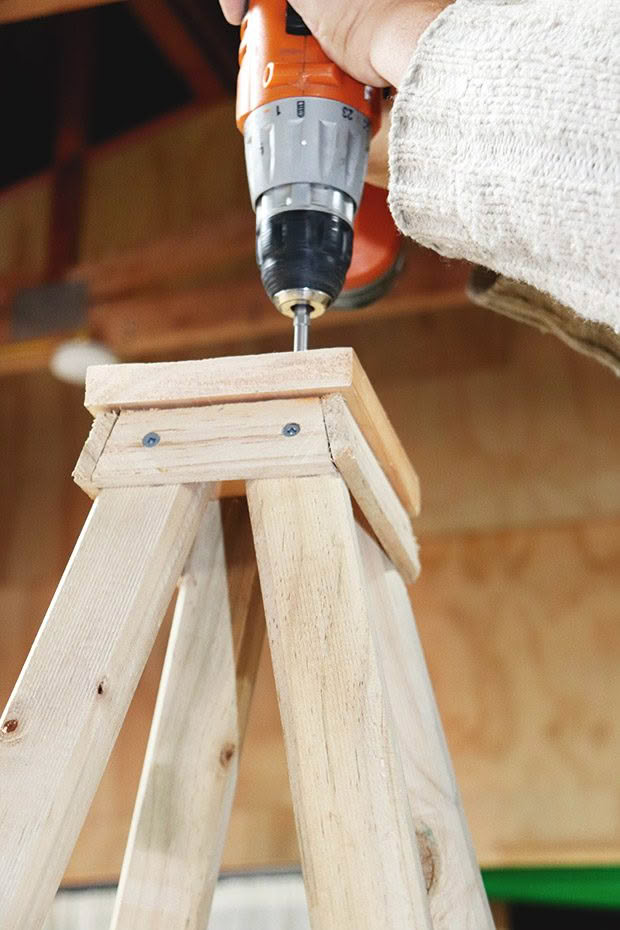
Step 9: Secure the plate to the uprights.
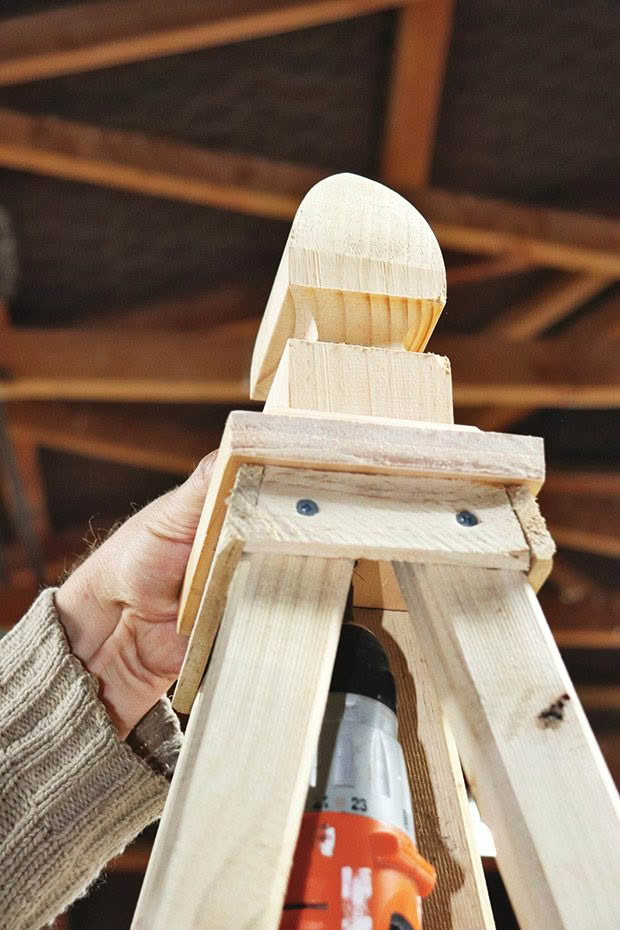
Step 10: Screw the decorative centrepiece in place to finish. You could use a post head or a bannister knob.
Step 11: Sand any rough burrs in preparation for staining. The obelisk was finished with Resene Waterborne Woodsman Penetrating Oil Stain (Exterior) tinted to Resene Shadow Match.
This is an extract from our new special edition, Sustainability Through the Seasons. This special edition practical guide to living a greener and more environmentally friendly life 365 days of the year. It is packed with self-sufficiency tips on seasonal gardening, low-waste living, garden-to-table cooking, sewing and mending, bread-making and crochet and knitting.


