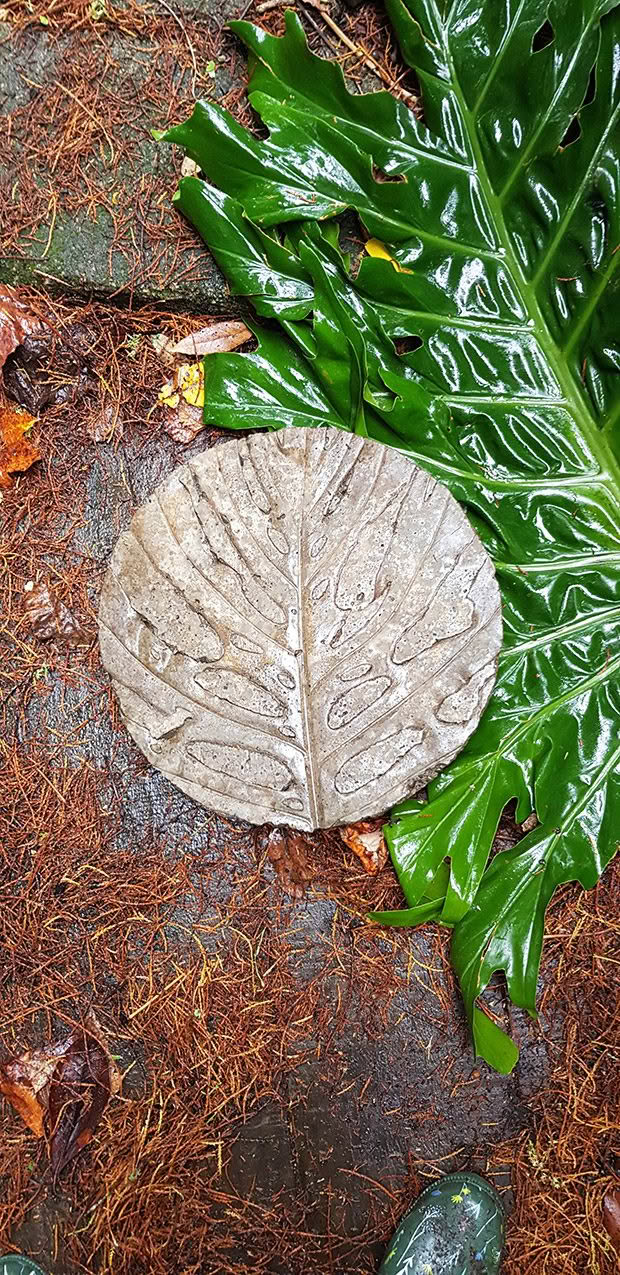
DIY: Make your own botanical stepping stones (or pavers)
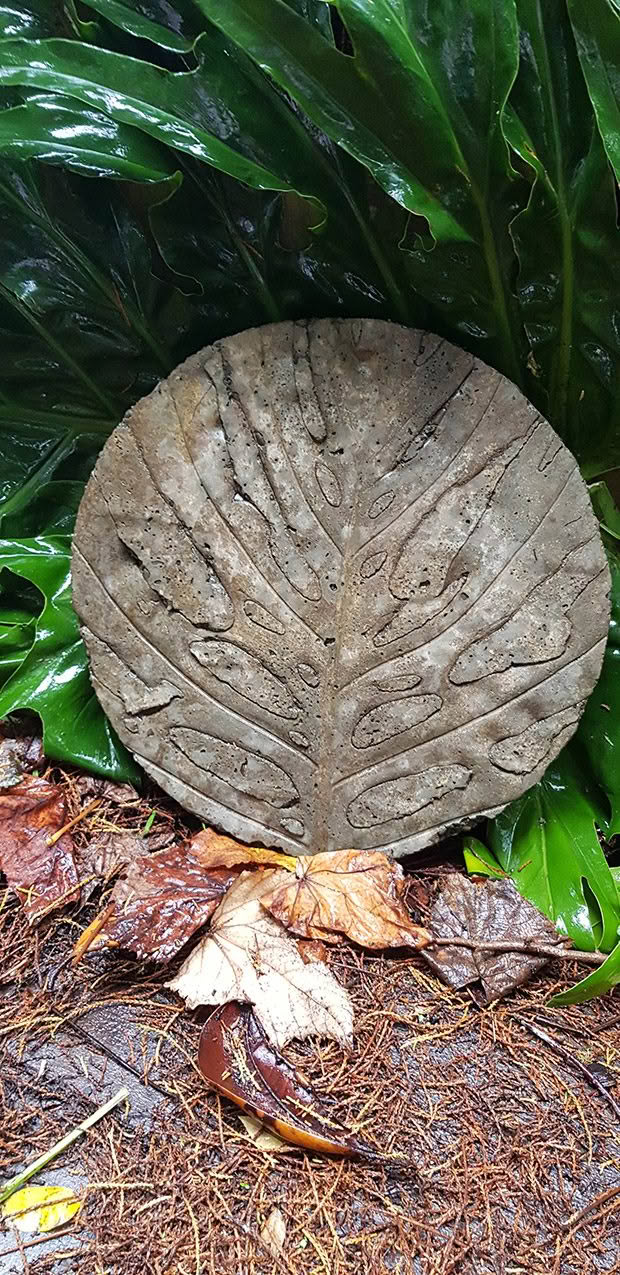
Create a magical trail of stepping stones using ready-mix concrete and decorated with bold, beautiful leaves from the backyard.
Words: Jane Wrigglesworth
It’s not difficult to make stepping stones. All that is required is ready-mix concrete and a makeshift mould, and the beauty of the DIY approach lies in the endless options for creativity. Leave the pavers au naturel, or get a little fancy with the addition of colourful oxides readily available from craft stores. (Make sure to follow the manufacturer’s instructions though – too much oxide can weaken concrete.) Alternatively, use a concrete colour stain once the stepping stones are completely dried.
Texture can be easily created by adding aggregate, glass pebbles or mosaics into the wet concrete mix. For stepping stones to blend into the garden, try stamping a botanical design onto the pavers with heavily veined leaves (leaves from Monstera deliciosa or rhubarb will both work). Whether using small or large leaves, a magical trail of botanical stepping stones can be created with nature’s own ingredients.
For my moulds, I used what I had lying around. You could also use 30cm plant pot saucers to save you cutting out plastic pots.
Makes: 3 round stepping stones
MATERIALS
3 x recycled plastic plant pots or large buckets (for the moulds)
Ruler or tape measure
Permanent marker
Hand saw
2 x 25kg bags of ready-mix concrete
Spade and large bucket
Tarpaulin or plastic drop sheet
3 x heavily veined leaves (I used Monstera deliciosa leaves)
Vegetable oil
Clean paint brush
Metal file
INSTRUCTIONS
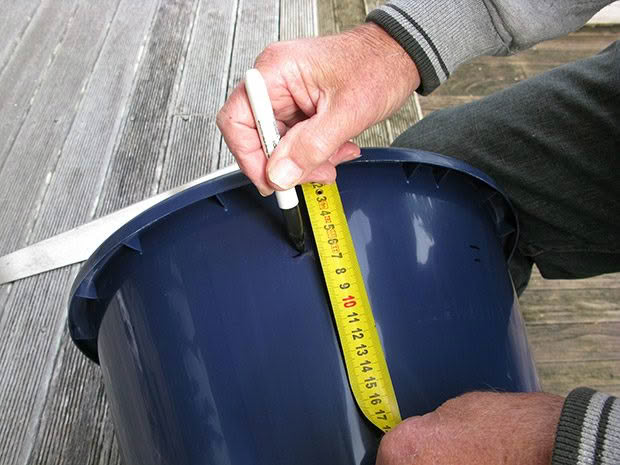
Step 1: Measure and mark approximately 6cm down from the top of each plastic pot.
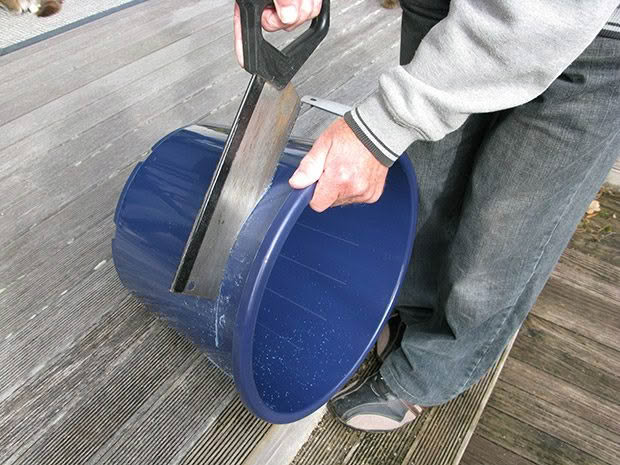
Step 2: Using a hand saw, cut a 6cm band from each pot. These are your moulds.
Step 3: Mix the concrete in a large bucket, as per the manufacturer’s instructions, using a spade.
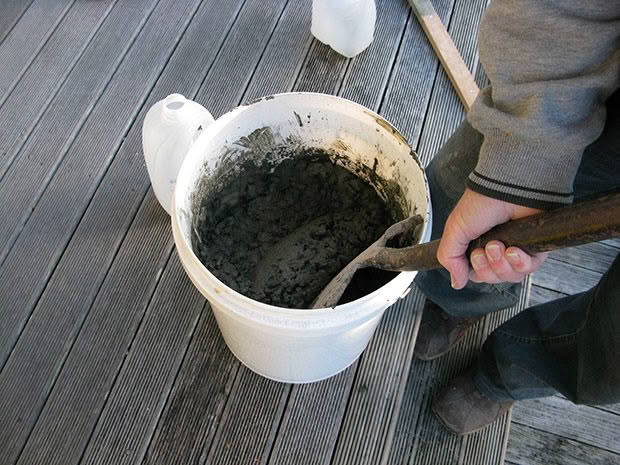
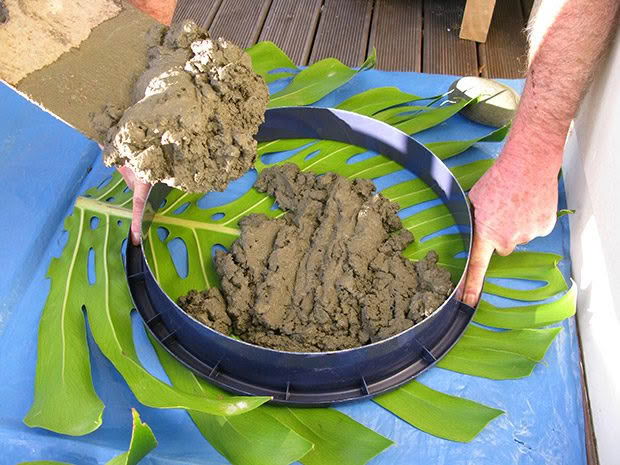
Step 4: Lay down your tarpaulin and place each leaf face down, with the prominent veins facing upwards. Brush with oil – this allows for easy removal. Place a mould on top of each leaf. Pour concrete into the moulds on top of the leaves. You will need an extra pair of hands to hold the moulds flat.
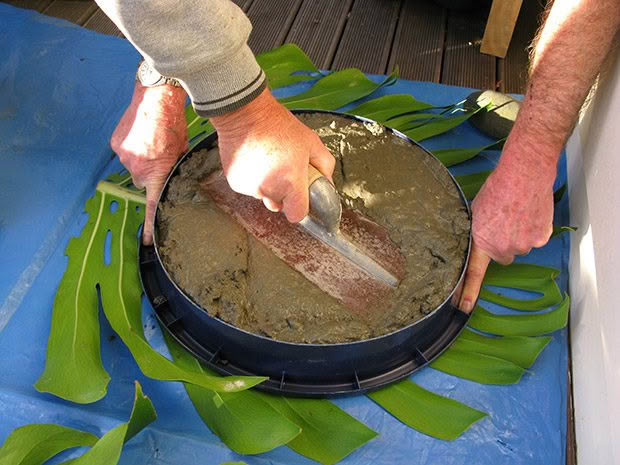
Step 5: Use a trowel to smooth the surface of the concrete. Tap the sides of each mould to ensure there are no holes or air bubbles.
Step 6: Place a weight on top of each mould to keep it firmly in place.
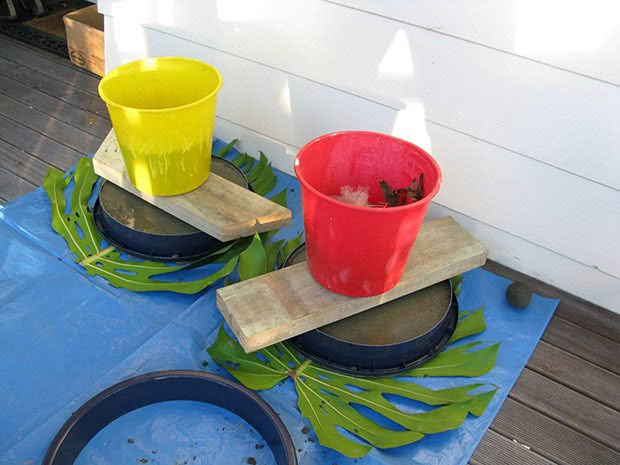
Step 7: After 48 hours, remove the moulds and peel off the leaves. Tidy the edges of the stepping stones, if necessary, with a file. Leave to dry completely before using.
