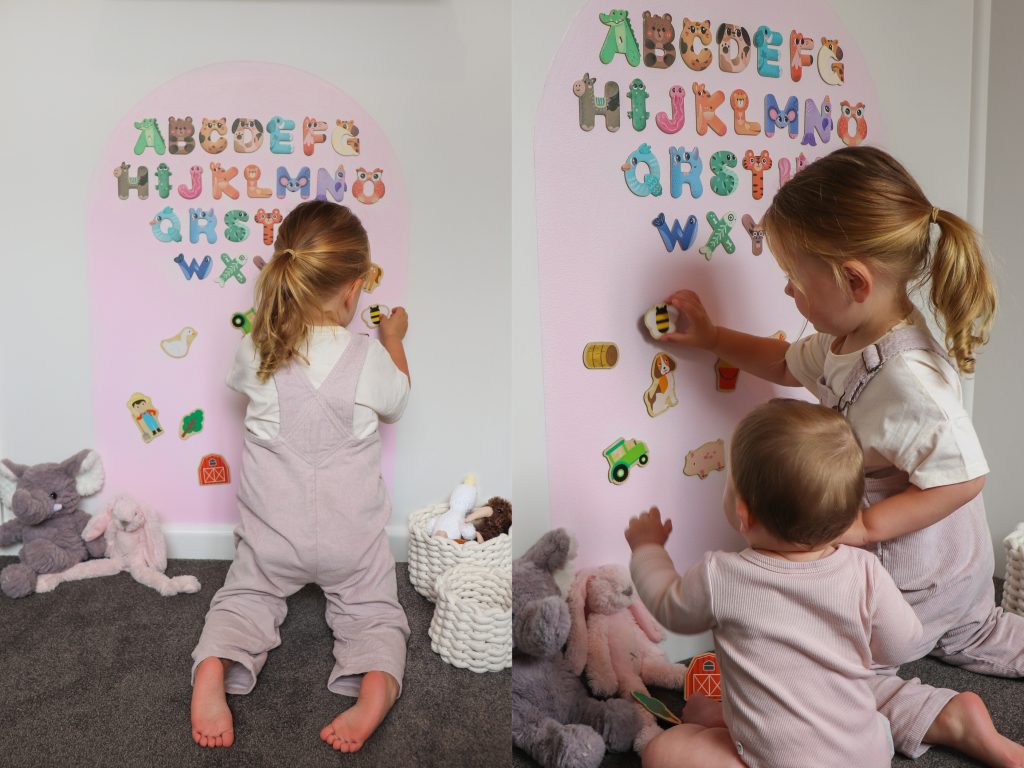
DIY Magnetic Wall
Add a little magic to a kid’s room with this DIY magnetic wall.
You will need:
• Masking tape
• Paintbrush
• Paint roller and high solids roller sleeve
• Paint tray
• Pencil
• Resene FX Magnetic Magic
• Resene SpaceCoat Low Sheen in your choice of colour
(we used Resene Half Pale Rose)
• Rubber
• Straight edge/level
• Stirrer
• String
• Tape measure

Instructions
- Decide on your arch width and height. Measure it out, then use a straight edge and pencil to mark the two vertical side lines.
- Find the centre point at the top of your arch and mark it. Make a giant “compass” with string by taping one end of the string to your pencil (near the sharpened end). Hold the other end of the string on the centre point, place the pencil tip on one vertical line, keep the string tight, and draw a smooth semicircle over to the other vertical line.
- Apply masking tape just outside your pencil lines for the straight sides, and along any skirting/edges you want protected. Press the tape down firmly for crisp lines.
- Stir the Resene FX Magnetic Magic well with a wide flat stirrer.
- Paint two coats of Resene FX Magnetic Magic within the arch. Use a paintbrush to cut in around the edges first, then fill with a high solids roller. Let it dry between coats.
- Once it’s fully dry, test your magnets to make sure they stick well. If they’re a bit weak, add a third coat of Resene FX Magnetic Magic and let it dry again.
- Apply two coats of Resene SpaceCoat Low Sheen in your chosen colour, letting each coat dry before the next.
- Carefully remove the masking tape while the paint is still slightly wet.
- Once dry, rub out any visible pencil lines.
Watch the step-by-step video below