DIY: How to make natural shampoo in a slow cooker
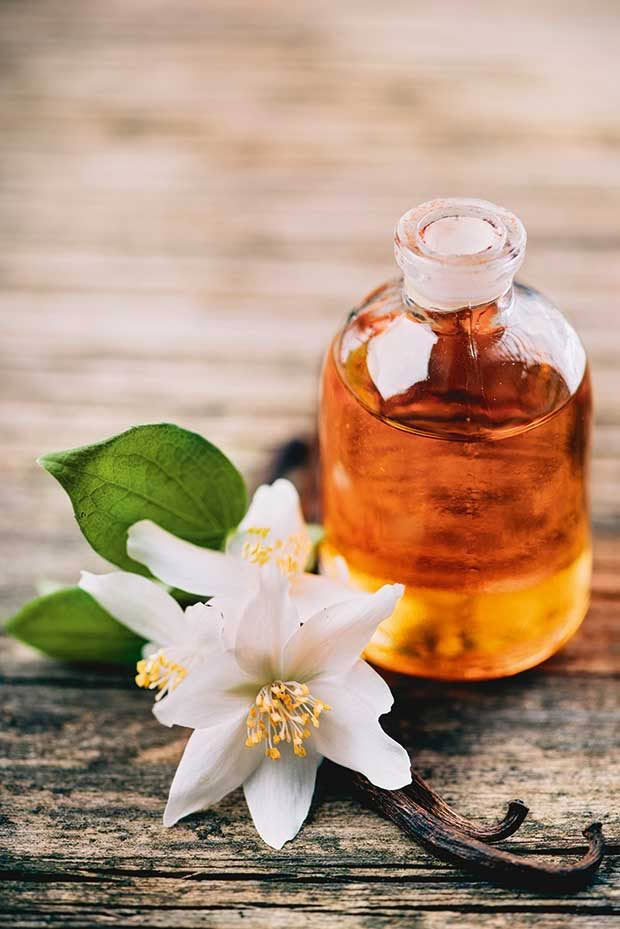
Just whip out your slow cooker.
Words: Jane Wrigglesworth
Having a bad hair day?
Before you reach for your bottle of suds, you might want to check the label. Shampoo is made up of a long list of chemicals. Some, like parabens and phthalates are suspected endocrine disruptors, and parabens are also linked to breast cancer.
Sulfates – listed as sodium laureth (or lauryl) sulfate – are detergents. Science is still looking into whether they cause cancer, but they do dry out hair, and can cause irritation to the skin.
Shampoo removes oil and dirt extremely well, and a store-bought shampoo requires no preparation after purchasing. Most also have a satisfying lather, which all-natural shampoos do not.

That suds satisfaction we get doesn’t mean a thing in terms of clean hair says scientist and author Anne Marie Helmenstine (PhD) who runs www.ThoughtCo.com
“Although many shampoos contain agents to produce a lather, the bubbles don’t aid the cleaning or conditioning power of the shampoo. Lathering soaps and shampoos were created because consumers enjoyed them, not because they improved the product.”
A detergent-based shampoo will remove natural oils from your hair. Consequently, your scalp overproduces oil to make up for the constant assault of detergent. That usually means you need (or feel you need) to wash it more often.
“Getting hair squeaky clean actually isn’t desirable,” says Anne Marie. “If your hair is clean enough to squeak, it has been stripped of its natural protective oils.”
DIY PROS AND CONS
If you want to regulate exactly what goes onto your hair, you can always go DIY.
But there are some problems there too.
For instance, you can make a simple shampoo using an olive oil-based soap (known as castile), water or hydrosols like rosewater, another oil, eg coconut oil, and essential oils or herbs for scent.
But anything containing water is a breeding ground for bacteria. You either need to add preservatives or accept a short shelf-life.
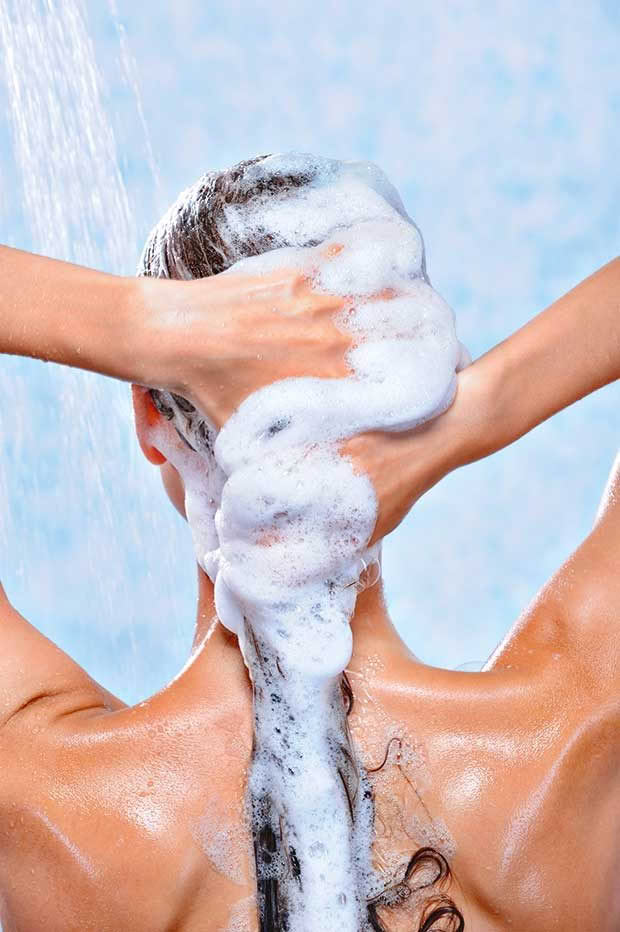
Soft, white lather isn’t required for cleaning hair – it was created because people enjoy it.
The biggest factor is that liquid castile soap has a highly alkaline pH of around 8.9, potentially damaging to the scalp.
It’s the same with baking soda, an ingredient that ‘no-poo’ advocates rave about it. But if you use baking soda alone, you could be damaging your hair due to its high alkalinity.
Baking soda helps regulate pH says beauty writer Nicki Zevola Benvenuti of website FutureDerm, but there’s a but.
“Yes, it is true that baking soda helps regulate pH, keeping a substance neither too acidic nor too alkaline. When baking soda comes in contact with either an acidic or an alkaline substance, its effect is to neutralize that pH.
“However, as any cosmetic chemist can tell you, this effect occurs when baking soda is in solution with other chemicals. When baking soda is in water alone, guess what the pH of the solution is? You guessed it, a very basic pH 9.0, much more alkaline than plain ol’ water.”
You can make a shampoo bar, although typically these have a high pH too.
Then there’s a pH-balanced liquid shampoo, like the recipe at right, created by Sharon Vile of Dewdrop Soap Company.
“I began making homemade shampoo around three years ago and was delighted with the improvement in my hair. I found that it made my hair feel as soft and silky as it did when I was 10 years old.”
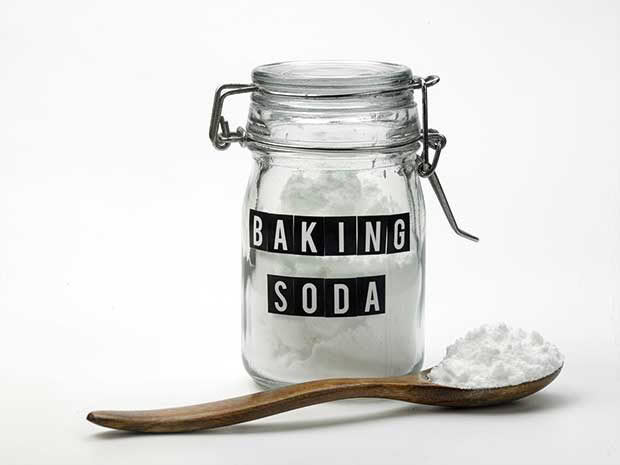
Baking soda is popular with ‘no-poo’ advocates but also has drawbacks.
Sharon says that using a natural recipe like hers can take some getting used to.
“Once all the silicones have been removed, using natural shampoo results in hair that is silky soft and healthy, but this can take time. While some people have immediate good results, others with heavily conditioned hair may find it takes up to six weeks.”
One reason is that because commercial shampoos are drying, some people’s scalps produce an excessive amount of oil to compensate.
“The hair will eventually adapt – stop producing excess oil – with continued use of natural shampoo.”
A DIY shampoo may seem daunting, but it’s easy if you follow the recipe says Sharon.
“Some people consider it more trouble than making bar soap, but most of the extra steps are merely a matter of waiting, hours upon hours of waiting. So it’s really not much different than making a pot-roast in the slower cooker versus the oven which most of us consider a convenience, rather than an inconvenience.
“Anyway, liquid soapmaking is not only rewarding but fun and pretty easy.”
INGREDIENTS (BY PHASE)
Oil phase
This is the oil, butter, and glycerin combination that is melted together in the slow cooker on medium heat.
8oz canola oil
5.3oz coconut oil
1.1oz castor oil
0.8oz mango butter
0.8oz sunflower oil
4oz glycerin
Water phase
The lye solution is mixed separately and set aside until the oils are melted. Warning: potassium hydroxide is not interchangeable with sodium hydroxide (which is also known as lye and used in soap-making).
6oz apple cider vinegar (ACV)
3.9oz potassium hydroxide
(lye or KOH)
After cook
Superfat phase
These are added after the liquid soap paste reaches a petroleum jelly-like consistency.
0.5oz argan oil, or another superfat oil of your choice
1 tbsp liquid lecithin
Dilution phase
This is added after the cook and the addition of the superfat.
30oz distilled water, available from chemists, supermarkets and on Trade Me
Optional
2.4oz cetrimonium chloride (about 4%), an emulsifier that helps to soften hair
Cool-down phase
This adds in the fragrance and preservative, after some cooling.
0.2oz Germall Plus* or 5.7g which can be rounded up to 6g if your scales don’t measure 10ths
0.5oz/14g essential oil, best added while finished soap is still somewhat warm
Optional
3oz DL-Panthenol (about 5%, mixed with about 1oz water to dissolve) to help soften hair
2-4oz crothix, which makes the shampoo thicker
EQUIPMENT
you will need (for soap-making only):
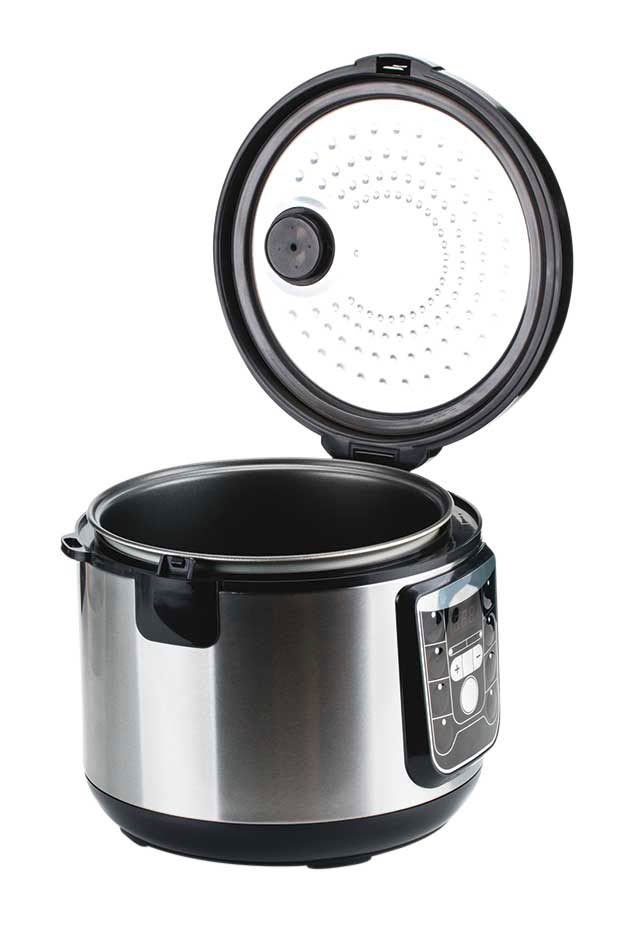
slow cooker
digital scale that measures ounces and grams
heavy plastic containers
stainless steel or plastic spoons
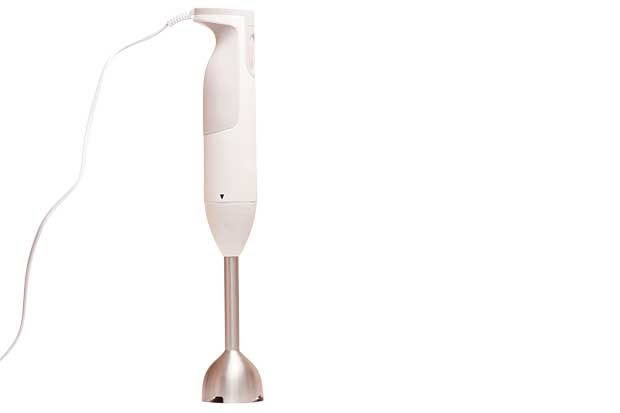
stick blender
plastic wrap
rubber scraper
funnel
2 x 1-litre jars, with lids
NOTES
* As with making any soap, wear rubber gloves, eye protection, and closed-toed shoes.
* If you get lye, lye solution, or raw soap on your skin, flush with cold water immediately, for 15 minutes.
* Germall Plus* is a non-paraben preservative.
All ingredients are available online from soap-making stores.
It’s very important to measure ingredients by weight, for safety reasons, which is why you need accurate scales that measure ounces and grams.
*ABOUT GERMALL PLUS
This is a water-soluble preservative. The suggested usage rate for Germall Plus is 0.1-0.5%. That means for the 60oz of finished product you’ll make in this recipe, you can use anywhere from 0.06oz to 0.3oz.
However, it is best to weigh this amount in grams because in this recipe it is such a small measure. The suggested amount will be 1.7-8.5g. I’ve gone with 6g for this recipe because that’s approximately the middle of that range.
Method
1. THE OIL PHASE
Weigh oils, mango butter and glycerin and put them in your slow cooker. Cook on medium until melted.
2. THE WATER PHASE
Weigh out 6oz of apple cider vinegar (ACV) in a heavy plastic container. The container should be big enough that it is only about a quarter to a third full with the ACV in it as you need a good amount of head space.
In a separate plastic container, weigh out 3.9oz of lye (potassium hydroxide, also known as KOH). Pour the lye into the ACV. Use a stainless steel or plastic spoon to mix it.
This mixture gets very hot, bubbles up and will pop and spit, but it quickly settles.
How much stirring is sufficient?
I usually give it a quick but thorough stir when I first mix in the lye. Then I carry the container I used to weigh the lye to the sink, rinse it out thoroughly, set it on the rack to dry, give the solution another quick stir, then leave the room to get away from the fumes.
When the oils are melted and the lye solution has cleared, add the lye solution to the melted oils in the cooker (which should still be on a medium setting). I recommend leaving it on medium throughout the rest of this recipe.
Use a stick blender to stir and pulse the oil and lye solution mixture to ‘trace’. Trace is achieved when the soap thickens enough to leave a visible trail when you drizzle some of the soap off the blender and over the surface of the soap. For me, this soap comes to trace after about 10 minutes of bursts with the stick-blender. Don’t run your stick-blender continuously or you will burn up the motor.
Cover the cooker pot with plastic wrap so it is air-tight and leave it on medium.
3. THE COOK
During this stage, the soap is cooked until it reaches ‘vaseline’ stage. Your soap will become shiny and translucent — almost transparent, but not quite — and look somewhat like vaseline.
Every 15 minutes or so, remove the plastic wrap, then stick-blend and/or stir with a rubber scraper, then replace the plastic wrap.
The time involved can be oddly variable even when you follow this recipe perfectly. Normally this soap will reach the ‘vaseline’ stage after an hour. Sometimes it will take an hour-and-a-half. Once, when I had the cooker pot on high, it got to the vaseline stage in 10 minutes.
Note: you can have the cooker pot on high during the cook but keep a close eye on it. Alternatively, you can leave it on medium so you don’t have to watch it as closely.
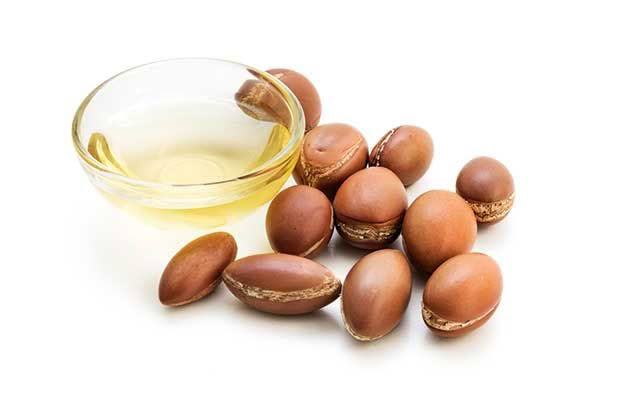
Argan oil.
When your liquid soap (technically, liquid soap paste) reaches the vaseline stage, it is soap and should contain no unreacted lye. This means that if a superfat is added at this point, it will not react with lye to become soap, but will remain in the soap as a free oil.
Some of this oil will remain on your hair when you shampoo with the finished product.
To check, you can ‘zap test’ it by touching your tongue to a dab of the soap. Some people say soap that has not completely saponified (chemically changed into soap) will ‘zap’ you like a small electrical shock. I find it just tastes like lye (bitter) instead of tasting like soap. The lye taste is unmistakable and very acrid. You will know.
Alternatively, you can use pH paper to test if it’s in the right range (pH 8.0-9.0). If the pH is more than this, keep cooking and test it again.
4. THE SUPERFAT PHASE
Add a superfat that you feel will benefit your hair. I’ve chosen argan oil for this recipe, but if you don’t have it, you could use olive oil or safflower oil.
Whichever superfat oil you choose, thoroughly mix 0.5oz of it with 1 tbsp of liquid lecithin in a small cup and add this to your soap (while it’s still in the slow cooker). Stir and stick-blend until thoroughly mixed in.
Leave the cooker on medium.
5. THE DILUTION PHASE
Weigh out the distilled water, and the cetrimonium chloride if you’re using it. Add all of it in one go to the cooker. Stir a bit, but it will not mix together much.
Cover your cooker with plastic wrap so it is air-tight and allow the soap to continue cooking on medium heat for another hour or two. After an hour or two, you will be able to see that it is slowly dissolving. You may want to stir it every hour or so.
Soap paste takes quite a long time to completely dissolve in water, generally 15-24 hours.
For me, after the soap paste has cooked in the distilled water for an hour or two and is progressing nicely, I turn off the cooker and go to bed for the night (it works out nicely if you have initiated dilution right around bedtime), or go out for the day, or just otherwise forget about it for a good 10 hours or longer. Be sure the cooker remains tightly covered with plastic wrap.
After 10 hours, check it. You will notice that most of the soap paste is dissolved. Use a rubber scraper to stir it a bit as usually there is some paste stuck to the bottom.
Turn your slow cooker back on to medium, replace the plastic wrap, and allow the liquid soap to continue dissolving with the aid of a little heat. This will take about four more hours of heating (and occasional stirring with a rubber scraper).
Once the soap paste is completely dissolved, you will have a clear, pale amber-colored liquid soap that is specially formulated for hair.
6. THE COOL-DOWN PHASE
It is best to add a preservative to liquid soap. Germall Plus can be added when the soap temperature is under 122°F (50°C).
When adding fragrance to shampoo (bars or liquid), only use essential oils. Fragrance oils are bad for your scalp and hair.
My preferred essential oils for scenting shampoo (and conditioner) are ylang-ylang and bergamot, or ylang-ylang mixed with a little orange or bergamot essential oils. Many people like cedarwood essential oil, lavender essential oil, or a cedar-lavender blend.
Some people may like patchouli. Geranium can be very nice, if you go easy on it or blend it with a more gentle scent as it can be a little intense.
It’s surprising how much difference it can make if your essential oil is closer to 0.6oz than 0.5oz. I’ve found that 0.5oz is about the right amount of fragrance for me for this recipe, but some people may find it too strong. You may also want to use less if you are using a stronger-smelling essential oil like rosemary or geranium.
Some essential oils make liquid soap turn runny. Ylang-ylang is notorious for making liquid soap runny but it is one of those fragrances that is worth it.
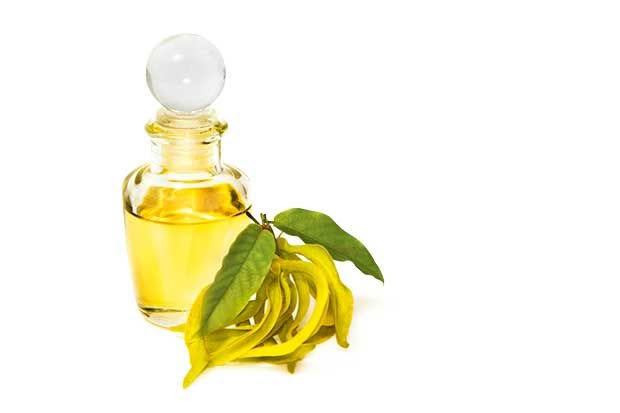
Ylang-ylang.
The best time to add essential oils to your finished liquid soap is when it is still a little warm. Use a rubber scraper and mix in 0.5oz (14g) of your preferred essential oil/s.
If you’re using a preservative, you don’t want a speck more than is necessary. Add 6g of Germall Plus, if you are using it. Mix it in thoroughly.
Your soap may turn a little cloudy when you add the preservative and/or the essential oil/s, but the cloudiness will dissipate quickly.
Liquid crothix is added after the soap has cooled to room temperature. If you add it to warm soap, you won’t see the thickening effect until the soap has cooled. If you add it to cooled soap, you will be able to tell how much is enough. For this recipe, 2oz of liquid crothix is adequate, but it takes 4oz to get it to the thickness I prefer.
Let the soap cool before you pour it into your storage container/s. Leave for 7-10 days before using. If you omit the preservative, store this shampoo in the fridge. Keep the soap covered and airtight.
Love this story? Subscribe now!
 This article first appeared in NZ Lifestyle Block Magazine.
