DIY: How to make a fruit and vegetable rack
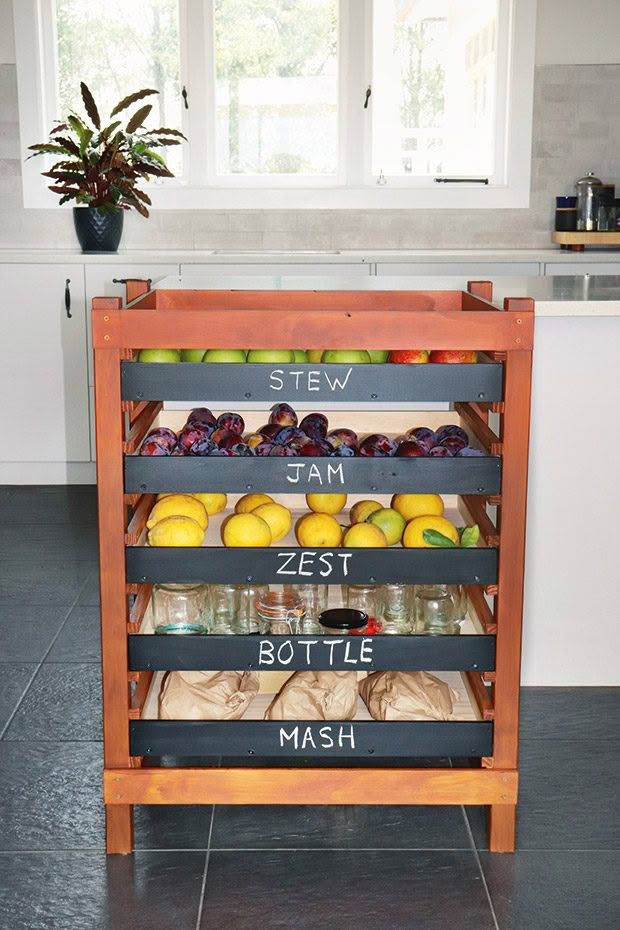
Build a storage rack for your autumn harvest and preserves.
Words & images: Julie & Jel Legg
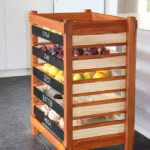
If you’re getting bountiful harvests of long-keeping fruit and vegetables this month, you’ll appreciate that it can be a storage struggle. This rack is a real space-saver.
You could adapt it to fit beneath a kitchen counter or tuck it away under a bench, in a cupboard, pantry, or garage. It has five trays with chalkboard paint on the front so you can label your crops.
Julie’s tips:
You could make the trays with a mesh base or drill holes in the plywood to allow more air circulation around long-keeping fruit and vegetables.
The rack can store vegetables such as tomatoes and stone fruit in the short term instead of in the fridge, which will give you better flavour. We also found it the perfect size to hold preserving jars.
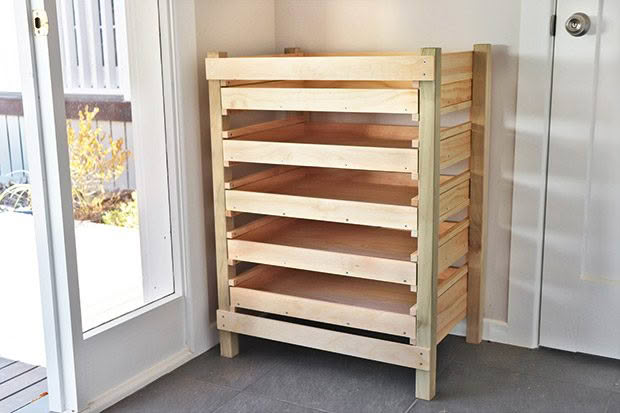
MATERIALS
30mm screws (for trays)
40mm screws (for frame)
4 x 42mm x 42mm x 930mm baluster, H3.2 pine timber
7 x 1.8m lengths of 18mm x 18mm clear pine timber
2 x 450 x 18mm x 1800mm laminate pine panels
8 x 2.4m lengths of 60mm x 10mm clear pine timber
Resene Colorwood natural stain, tinted to Resene Oregon
Resene Blackboard Paint
INSTRUCTIONS
1. Measure and cut the 18 x 18mm pine into 20 x 470mm lengths to make the rails for the shelves. Sand any burrs from cut edges. Drill pilot holes for the screws, 22mm from each end. Adjust the height and width measurements to fit your kitchen or pantry.
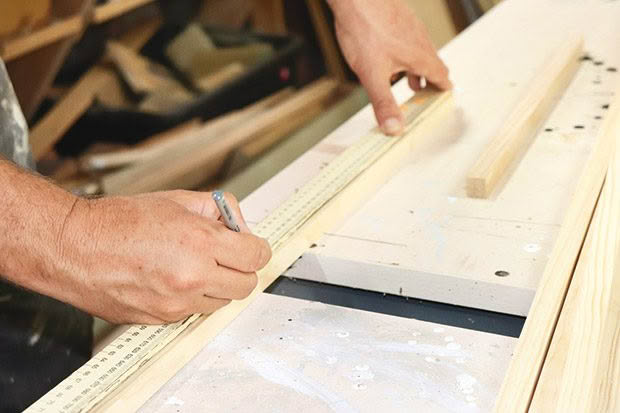
2. Position two of the 930mm balusters parallel on a flat surface. Mark with a pencil at 150mm, 300mm, 450mm, 600mm and 750mm on each length.
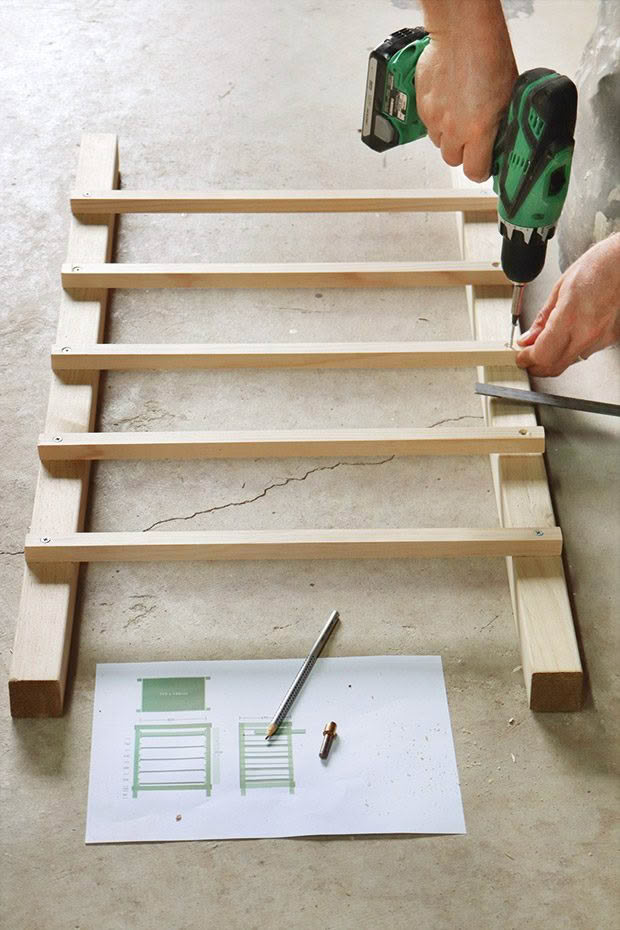
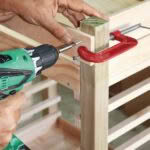
Screw five rails at these heights, so you join the two balusters like a ladder. These are the bottom rails that the trays will sit on.
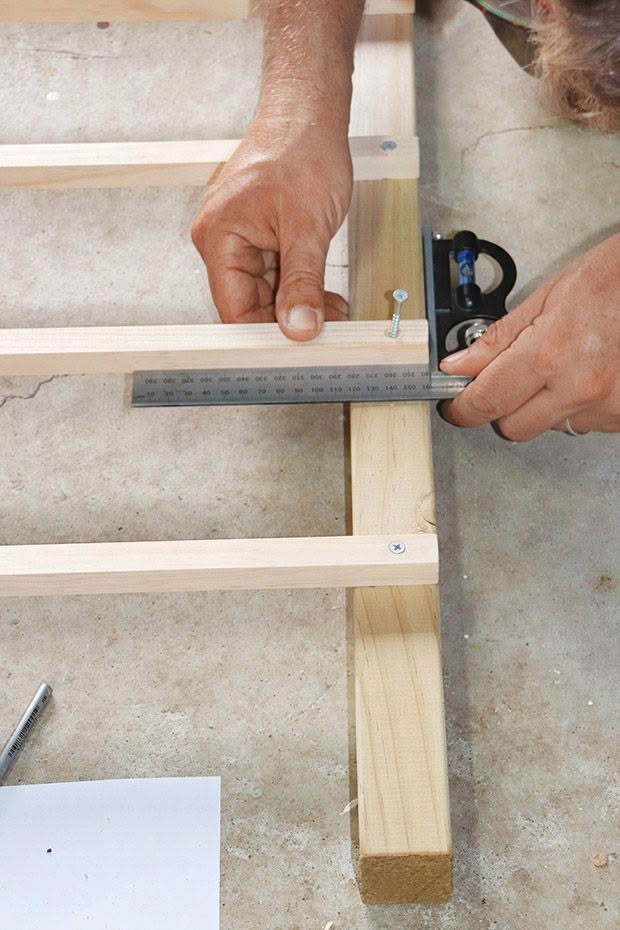
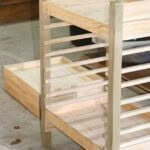
3. Measure 65mm above each bottom rail and screw on five more rails; these become the top rails so that the tray won’t tip up when partially pulled out.
We cut a 65mm block from spare wood to use as a gauge, so there was no need for constant measuring and marking.
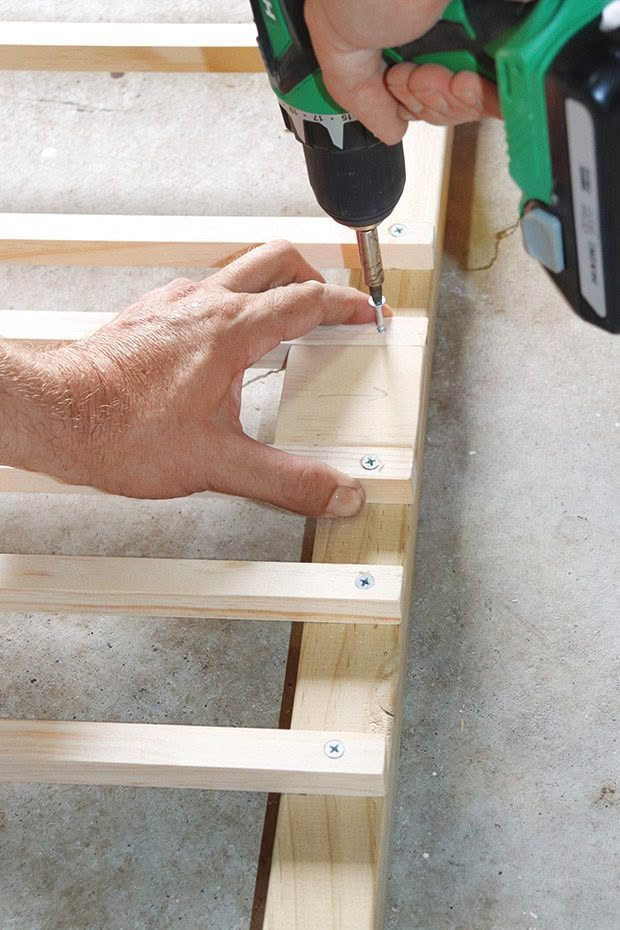
65mm gauge made out of spare wood.
4. Repeat Steps 2-3 to create a second identical piece. These will be the sides of the rack.
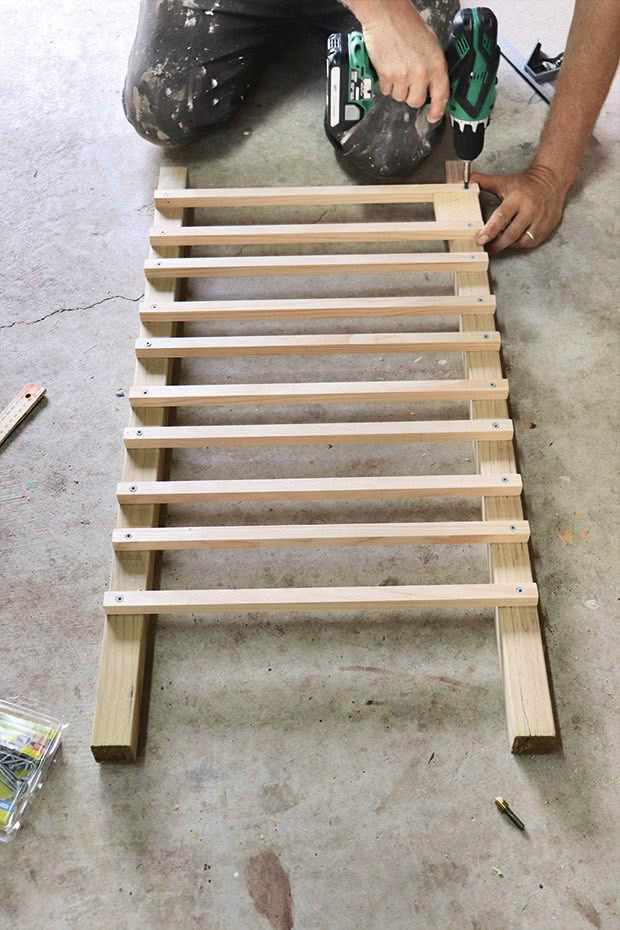
5. Measure and cut two 470mm long lengths of the 60mm x 10mm pine. These are stabilisers that help strengthen the sides.
Attach one snuggly above the top rail, and one snuggly beneath the bottom rail on both sides.
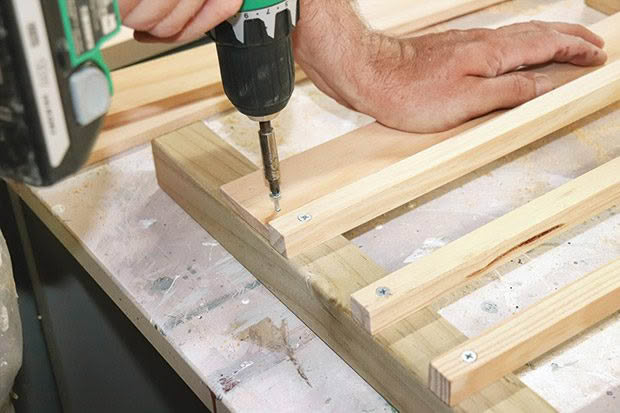
6. To make the tray bases, measure and cut the 18mm x 450mm x 1800mm pine into five, 580mm lengths.
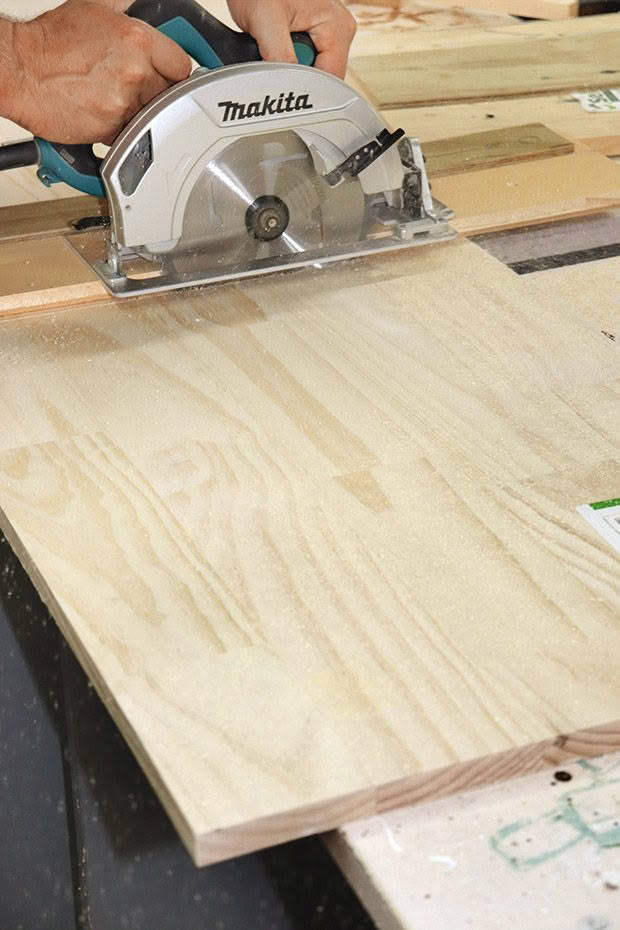
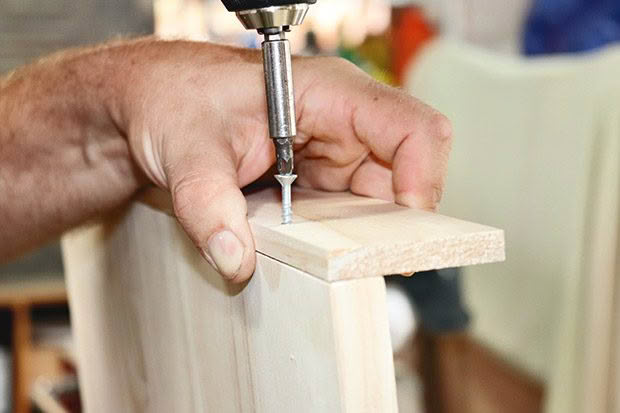
7. To make the tray sides, measure and cut the 60mm x 10mm pine into 10 x 450mm and 10 x 600mm lengths. Screw to the sides of the bases for each tray.
8. Insert completed trays into the top and bottom tracks so the rack can stand up without falling apart.
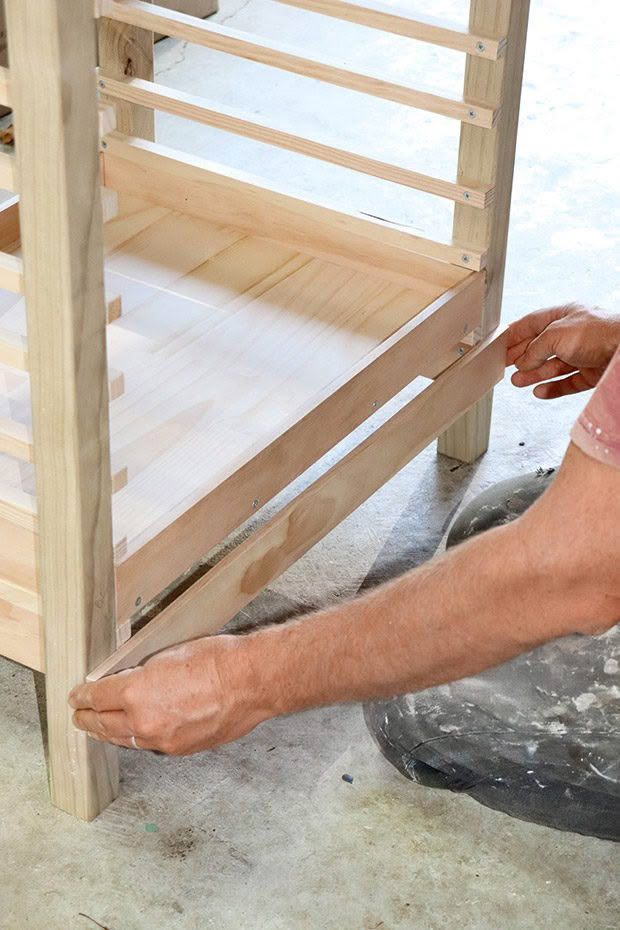
Measure the overall width (allow a few extra millimetres spare) and cut four lengths of the 60mm x 10mm timber – these will be braces to hold the rack together at the front and back of the structure, below the bottom tray and above the top tray. In our case, they were 690mm long – screw in place.
- Slot the top and bottom drawers in place, which will hold the rack together.
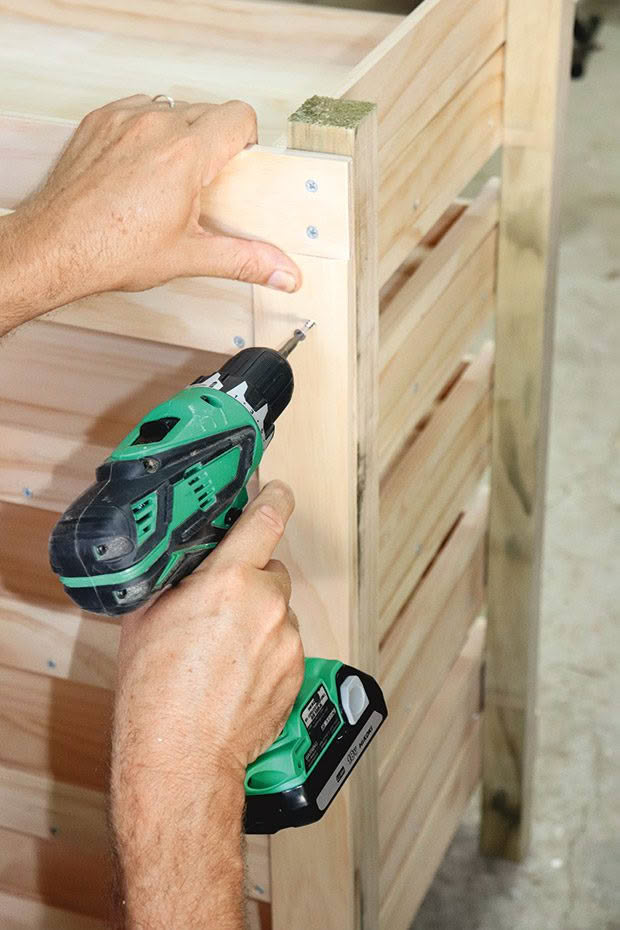
9. Cut two 700mm-long lengths of the 60mm x10mm timber. Position vertically on the back, so they overlap on the inside, which will stop the trays from being accidentally pushed out the back.
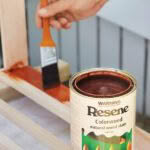
10. Stain the rack structure (excluding trays) with two coats of Resene Colorwood natural wood stain interior tinted to Resene Oregon for a rich finish. We used two coats of Resene Blackboard Paint on the front-facing surface of the trays.
Choose a food-grade oil such as walnut for the tray bottoms or cover with a cotton tea towel. You could use baking racks to assist with air circulation.
MORE HERE
DIY Project: A climbing frame for plants with an artistic twist
Love this story? Subscribe now!
 This article first appeared in NZ Lifestyle Block Magazine.
