DIY: How to make a chic wooden planter box
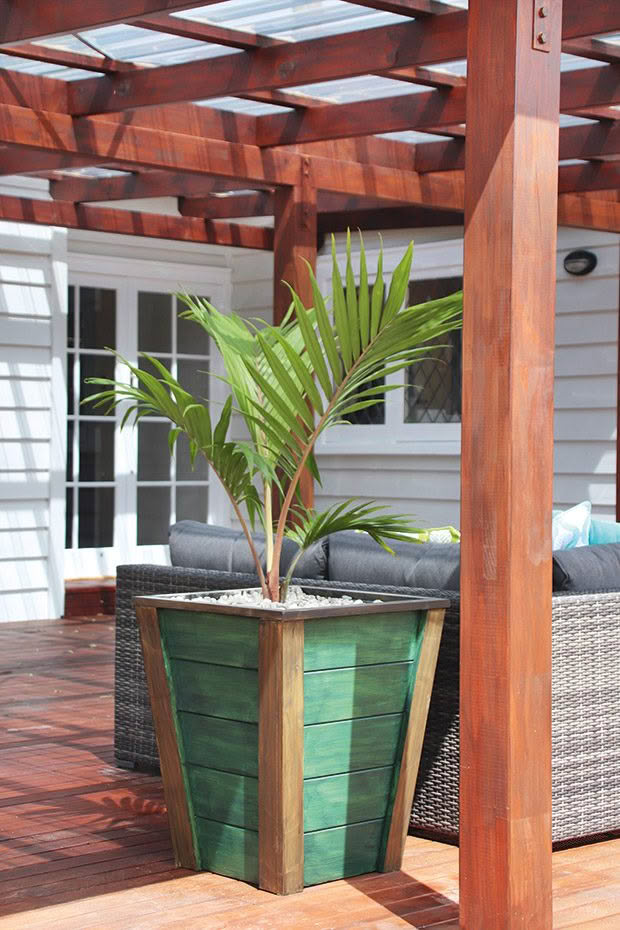
An easy way to create a bespoke planter box for your backyard.
Words & images: Julie & Jel Legg
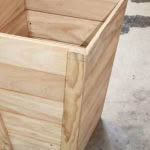
A wooden planter box can look like it costs the earth, but this DIY project is easy and cheap to build. You can customise it to suit your home, using rough-sawn fence palings, smooth decking, shiplap panels, or tongue-and-groove flooring timber like we’ve used.
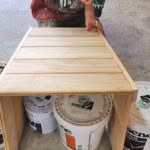
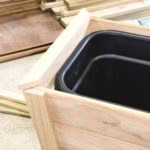
Rather than fill the planter with potting mix – expensive, heavy, unnecessary – we’ve used it as a facade and made it big enough to hold a plastic pot.
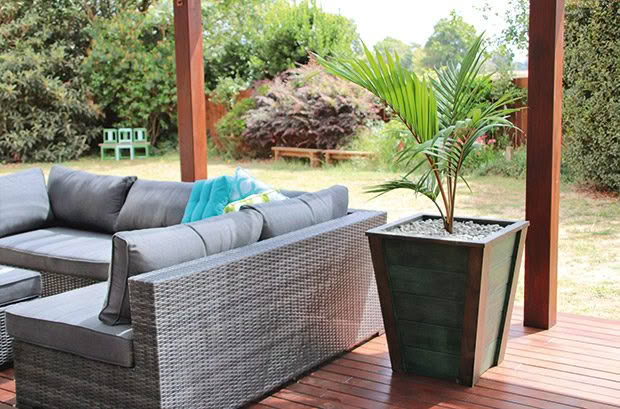
The pot retains the moisture and nutrients for the plant roots, helps prevent rot in the wood, and you can easily swap the plant out. It also makes the planter a manageable weight when you want to move it.
Julie’s tip: We designed our box around a 44-litre square plastic tub, but you can adjust the dimensions to suit any pot size.
MATERIALS
15m x 135mm x 18mm TG&V pine flooring *tongue and groove with a V joint
5.5m x 65mm x 18mm pine trim
2 lengths x 1.2mm x 45mm x 19mm pine trim
30mm screws & pin nails
Resene Woodsman penetrating oil stain (exterior)
INSTRUCTIONS
Step 1: Slot the tongue-and-groove (TG&V) flooring together until you’ve created a ‘sheet’ that is five lengths high and 3m long.
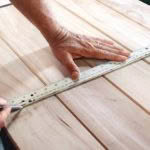
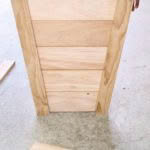
Step 2: At one end, measure in 500mm along the top. Mark the centre (250mm), then make the same mark at the bottom – measure 175mm on either side (350mm total) to create a wide funnel shape.
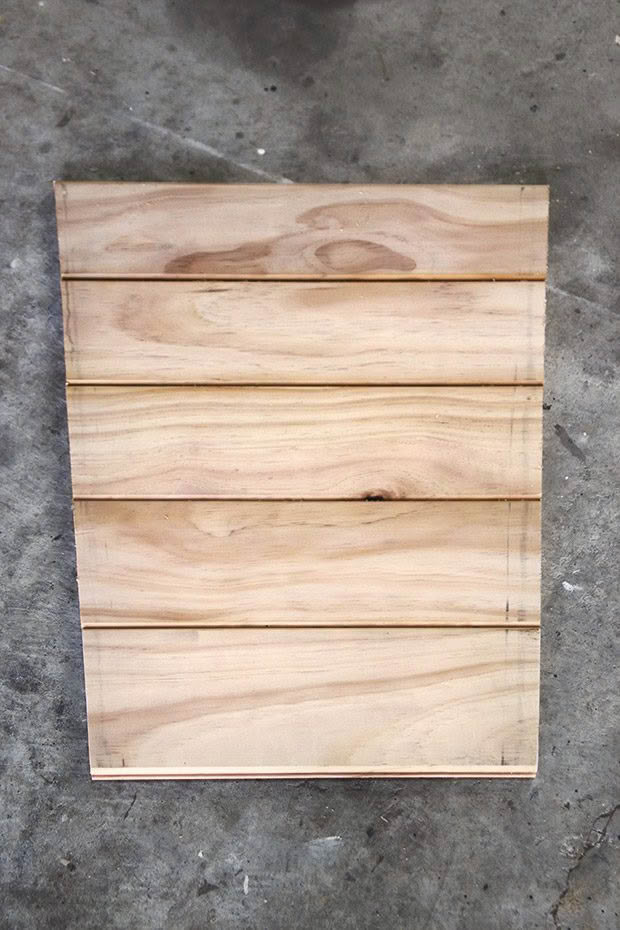
Cut, then use it as a template to create an identical piece.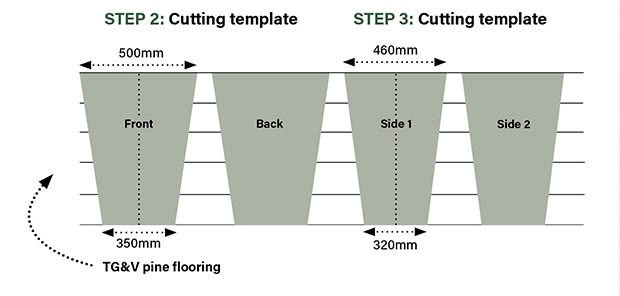
Step 3: To create the sides of the planter, measure in 460mm at the top of the remaining panels. Mark the centre (230mm), then make the same mark at the bottom – measure 160mm on either side to create a funnel shape. Cut, then use it as a template to create an identical piece.
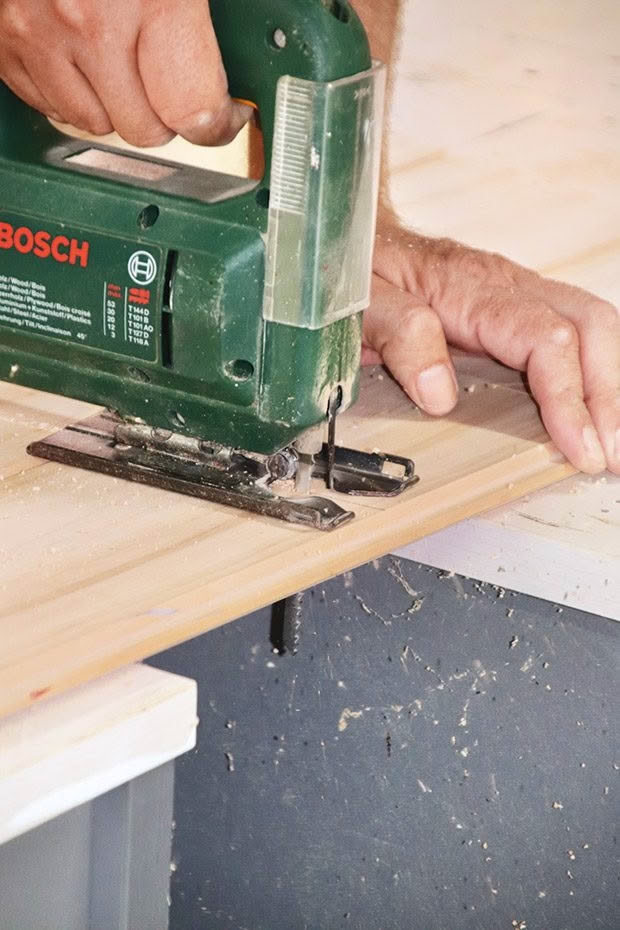
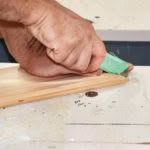
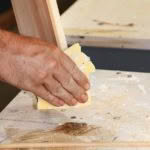
Step 4: Use a Stanley knife to remove the ‘tongue’ from the exposed ends (there’ll be one on each of the four funnel shapes you’ve created). Sand to remove any burrs.
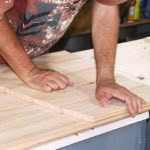
Step 5: Place one of the 500mm-wide completed sides on a flat surface with the wider width at the top. Lay two lengths of 65mm x 18mm pine trim along both angled vertical edges with an overhang of 18mm – this overhang will be important in Steps 7 and 8. Mark the pieces of pine trim with a pencil, so the bottom edges are flush with the bottom of the TG&V and cut to length.
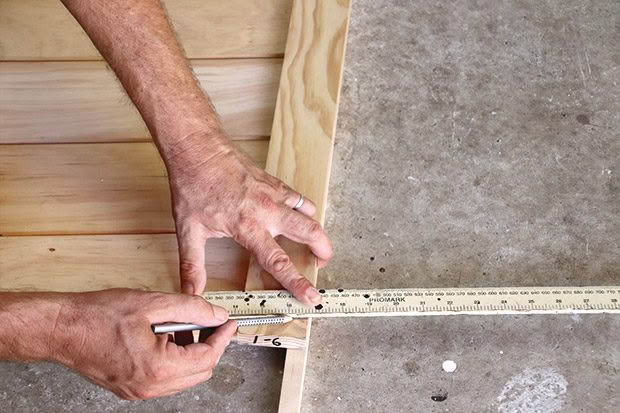
Julie’s tip: use a piece of the 18mm trim as a guide, which saves constant measuring.
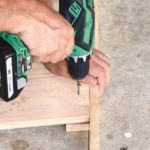
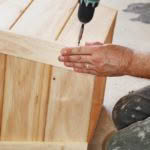
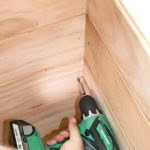
Step 6: Drill pilot holes, then secure the TG&V paneling to the trim with 30mm screws. Repeat steps 5 and 6 with the other 500mm-wide side. If you want a ‘blind screw finish’ (where you don’t see any fixings) screw from the TG&V side as this face will be inwards once the planter is assembled.
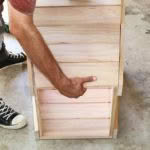
Step 7: Prop the 500mm sides on their edge with the trim facing outwards, screw heads facing inwards. Nestle one of the 460mm sides in the 18mm gap created on each side of the trim. Screw in place.
Step 8: Flip the three-sided structure over and repeat with the remaining 460mm side to complete the fourth side.
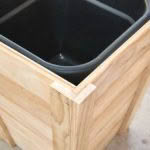
Step 9: Measure and cut the remaining lengths of 65mm x 18mm pine to create the L-shaped external corners of the planter. Again, if you want a ‘blind screw finish’, fix screws from the inside.
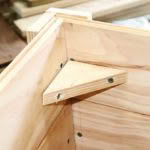
Step 10: Reinforce the lip of the tub with offcuts of 65x18mm pine trim cut into small triangles and secure inside the structure in each corner with screws. We placed ours so they are hidden under the lip of the plastic tub.
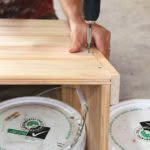
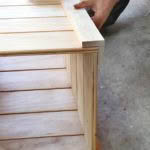
Step 11: Measure and cut 45mm x 19mm pine trim with 45° angles at each end to fit the upper edges of the planter. Secure with pin nails.
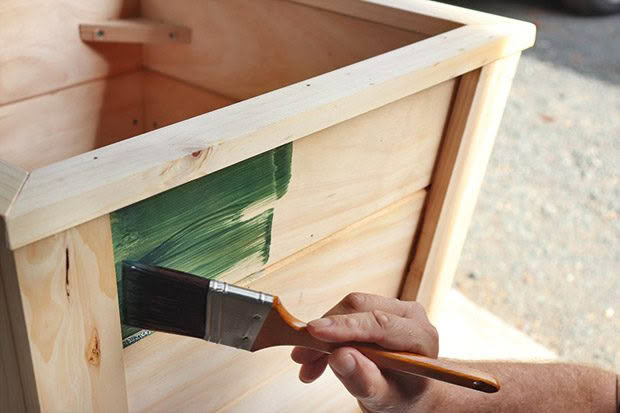
Step 12: Stain. We used three coats of Resene Woodsman penetrating oil stain (exterior) tinted to Resene Earthsong and Resene Banjul.
Love this story? Subscribe now!
 This article first appeared in NZ Lifestyle Block Magazine.
