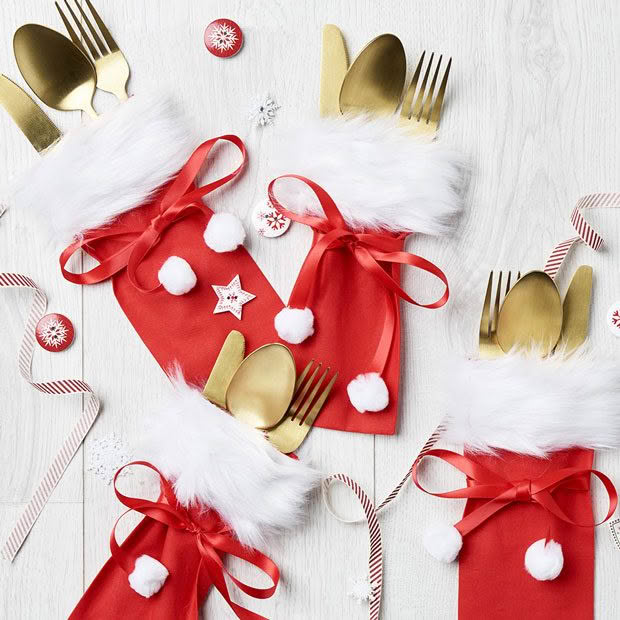
DIY Christmas table settings: How to make Santa sack cutlery holders

Deck out your dining table for Christmas dinner with these easy-to-make Santa sack cutlery decorations.
Project by Spotlight
WHAT YOU’LL NEED:
• 20cm wide by 23cm high piece of Prima red cotton fabric
• 20cm of white Faux Fur trim
• 70cm of 9/10mm wide of red satin ribbon
• 2x white pom poms
• Scissors, Pins, Tape measure/ruler
• Matching sewing threads
• Sewing machine
• Iron
• Craft glue/hot glue gun
METHOD
Step 1:
Make a double hem across the top of the red cotton fabric by pressing under 1cm then another 1cm, stitch hem in place using red thread, press.
On right side of fabric, pin fur trim to the top of the red fabric piece aligning the top trim edge with the top pressed hemmed edge of fabric. Keeping the red thread on the bobbin, change the top thread on sewing machine to white. Sew trim to the fabric 5mm in from each long edge of the trim, separating the fur pile as you sew. Once sewn, with a pin pull out any fur pile caught up in the stitching, then ruffle up fur to cover stitching.
Step 2:
Cut ribbon into two equal lengths. Measure down 7cm from the top edge and pin one end of each of the ribbon lengths to one of the side edges. Baste in place. With right sides facing fold fabric in half across the width, aligning side edges. Change the top thread back to red and with a 1cm seam allowance, sew the side edges together, press seam open.
Open out fabric so the side seam is in the middle of the width of the sewn fabric, press flat. Sew the base edges together. Clip corners and turn fabric right way out. The side seam should be at the center back of the fabric holder with ribbon lengths coming from this seam.
Step 3:
Glue the end of each of the ribbon lengths to the center of a pom pom. Allow the glue to dry before use.

