Angela Clifford’s secret to the best dried fruit
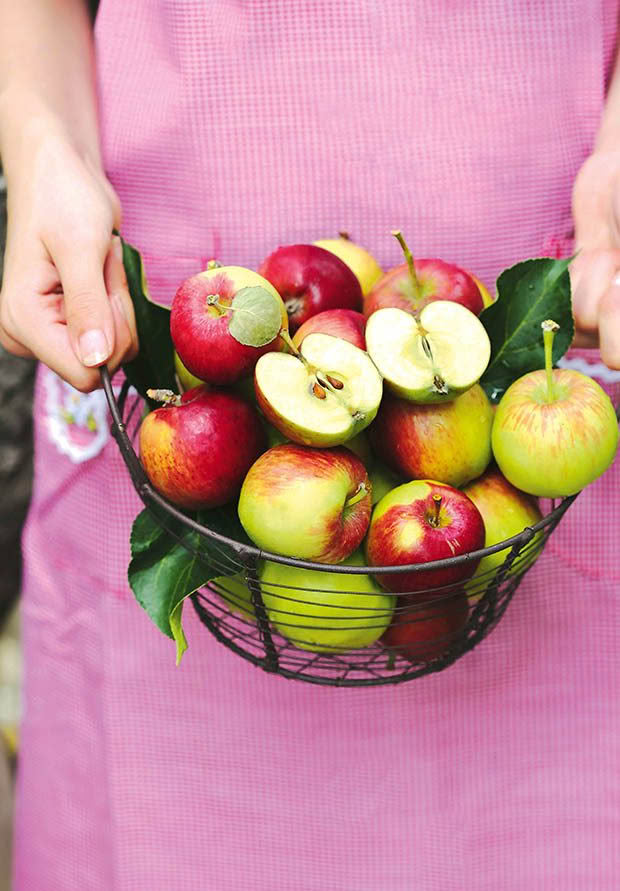
When the harvest is big, but you’re not a fan of making jam or chomping fruit leathers, try this method for the perfect bite.
Words and photos: Angela Clifford
Who: Angela Clifford, Nick Gill, Ruby, Flynn & Matilda
What: The Food Farm
Land: 6.5ha (16 acres)
Where: Amberley, 50km north of Christchurch
Social Media: @thefoodfarmnz / thefoodfarm.nz
The best (and worst) thing about fruit trees is that they’re often quite prolific.
That’s when many hours of research, careful planting, staking, watering, and pruning pay off. You’ve probably fretted over pests and diseases, and netted the tree or shrub to stop the birds. Chances are you’ve worked out how to get most of the fruit off the plant using all sorts of props or excessive stretching (or check out our handy tool at right).
Finally, there it is, sitting in boxes and buckets at your feet. This is the moment we always underestimate. Even after 18 years of growing fruit on The Food Farm, every autumn I have a moment of overwhelm when I see the bounty waiting for us.
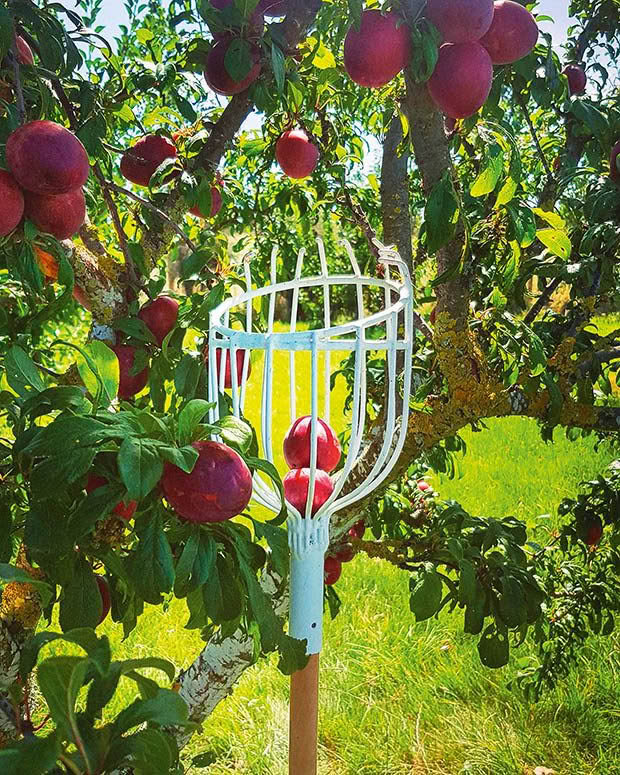
Our trees are now too tall for us to reach the fruit while standing on the ground. We had nothing well-suited for picking them on a domestic scale. This tool was a local school project prototype that we had made by a local engineering firm. The solid steel baskets are attached to a stick cut to a length suited to the tree’s height.
I say ‘almost’ because in 2020, a late spring freeze wiped out just about everything in our garden. It nuked blossoms and buds at a critical moment, leaving us with beautiful leafy growth and very little fruit.
Not so this year. Sensing the need to make up for lost time, the fruit trees have doubled down and I’ve never seen a fruit set like it. Spring winds and hail invariably took some victims, but there was so much to start with, we couldn’t lose.
So here I am, contemplating the abundance. I have some experience and tactics to draw on in this moment. We have a chiller that gives me breathing space for most things, except soft fruit like berries. There’s an extended network that will gladly swap fruit for other things. I like to think of this as kaihaukai, the ability to provide abundance for the purpose
of trade.
But even then, March is so fruitful for everyone, it’s necessary to have several ways to preserve the harvests for the leaner months ahead.
THE FOOD FARM’S FAVOURITE WAY TO PRESERVE FRUIT
There’s no point in making a vast array of whole fruit preserved in jars if you’re not the type of person who eats it this way.
We enjoy some preserves from August to October when we don’t have fresh fruit from the farm, but that’s not a huge hole to plug.
The times we’re most likely to eat processed fruit is for breakfast, snacks or dessert.
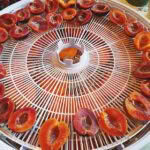
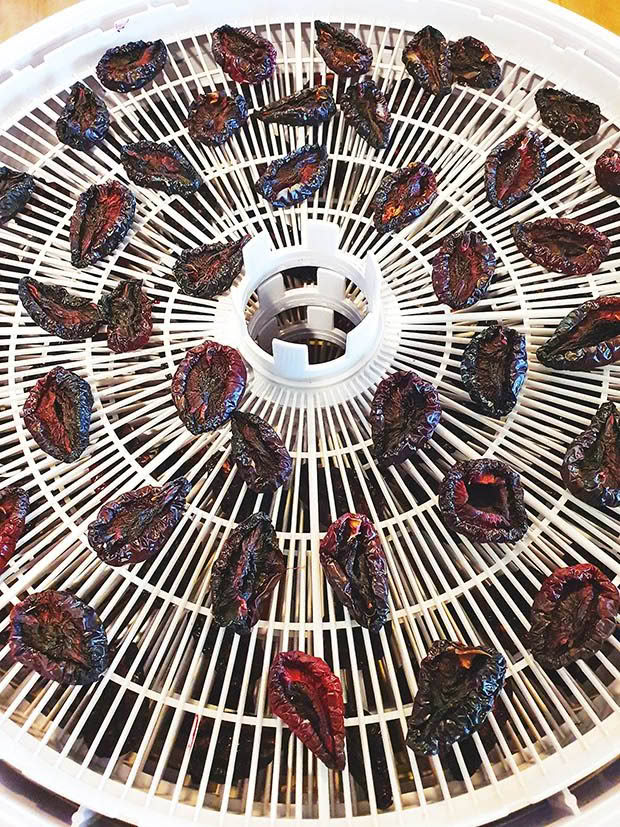
Our favourite is dried fruit. We have an Ezidri Ultra FD1000 dehydrator which has more than proven itself over the years. It’s possibly the most useful piece of preserving kit on The Food Farm as it dries everything from herbs to seaweed, vegetables such as wild mushrooms and chillies, and a huge range of fruit.
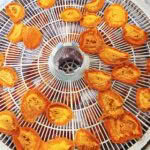
However, we’ve learned that not everyone enjoys a super chewy, leathery piece of dried fruit, so we’ve adapted our methods to incorporate a texture closer to what you find when you buy packaged dried fruit.
THE FOOD FARM GUIDE TO SOFT, CHEWY DRIED FRUIT
Our time in the Barossa Valley in South Australia gave us the confidence to try the following recipe. There, on sunny days, you’ll see hillsides covered in racks of drying apricots.
Aotearoa has more humidity and a lot more rainfall, so a dehydrator is a safer alternative to a sunny hillside or verandah, but the basic principle and recipe are the same.
But the key to the soft dried fruit we produce is potassium metabisulphite (PMS). It’s a sulphur-based preserving agent found in homebrew outlets or bulk food stores.
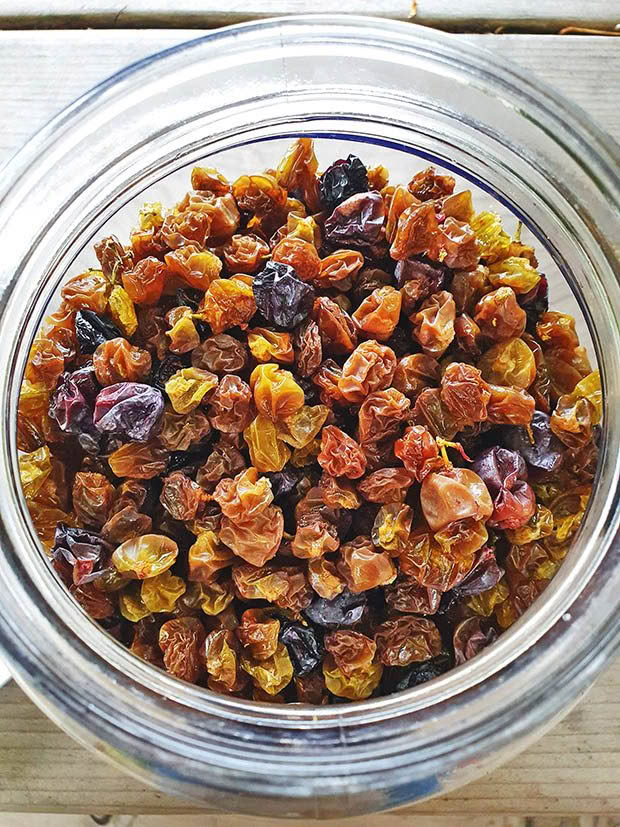
Its preserving ability means you don’t have to dry the fruit to the same degree as you normally would using dehydration, which results in softer, more delicious fruit. Our favourites using this method are grapes (which become raisins) and apricots.
Warning: PMS is a safe, edible preservative used in many everyday foods. However, don’t use it if you have a serious asthma condition.
Sulphur Dried Fruit
INGREDIENTS
5 litres water
50g potassium metabisulphite (PMS)
750g sugar
fruit
METHOD
Add the water, PMS and sugar to a 10 litre bucket and stir to dissolve.
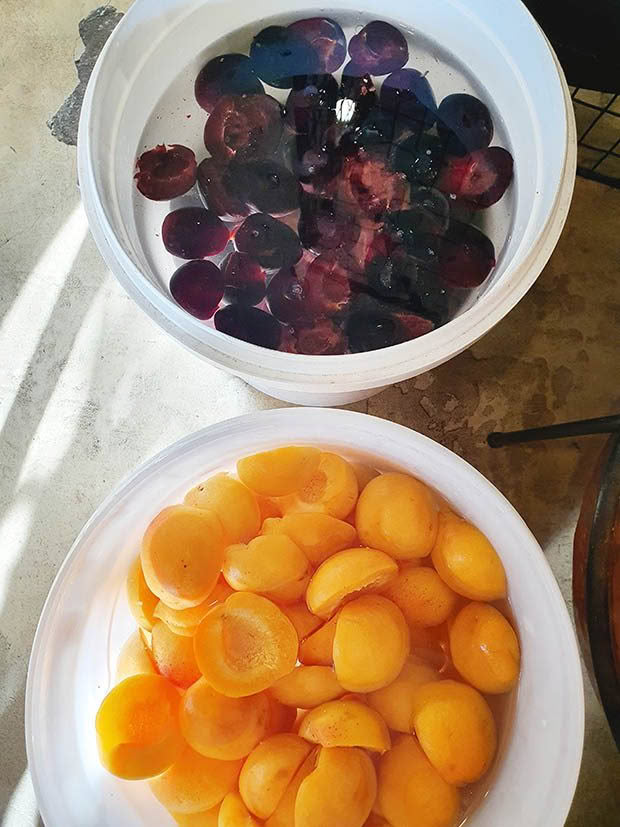
Add the fruit – the time to soak depends on the fruit.
• Apple slices, grapes: 10-12 hours
• Halved apricot, figs, plums: 12-15 hours
• Halved nectarines: 15-20 hours
• Halved peaches: 20-24 hours
• Halved pears: 24-30 hours
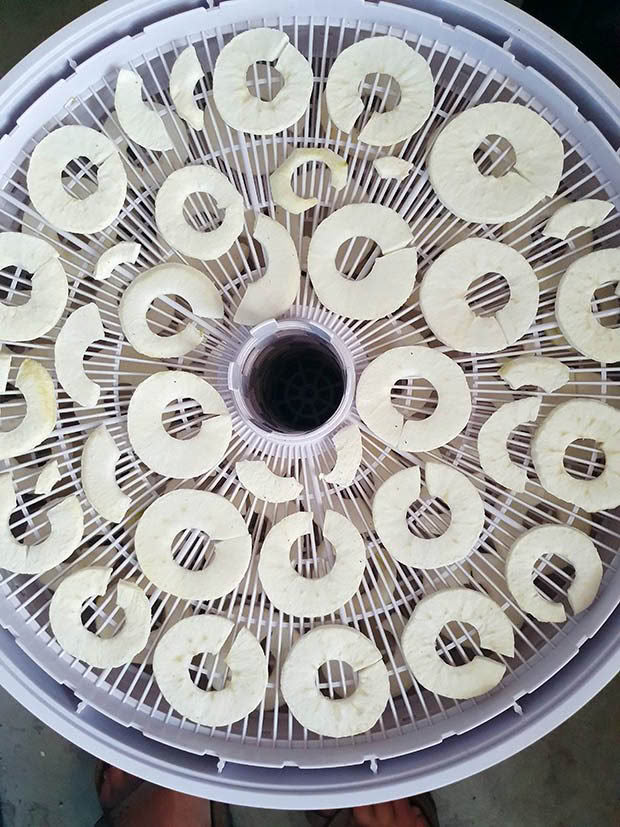
Rinse in fresh water, then lay out to dry on dehydrator trays, cut side facing up. Drain the trays before putting them on the dehydrator base.
ANGELA’S TIPS
• If the fruit is large, ‘pop’ a halved piece so it’s almost inside out to flatten it.
• The best drying time will depend on your climate and dehydrator. You don’t want a rock-hard, leathery fruit, rather something wrinkly and pliable like store-bought dried fruit.
The Food Farm Muesli
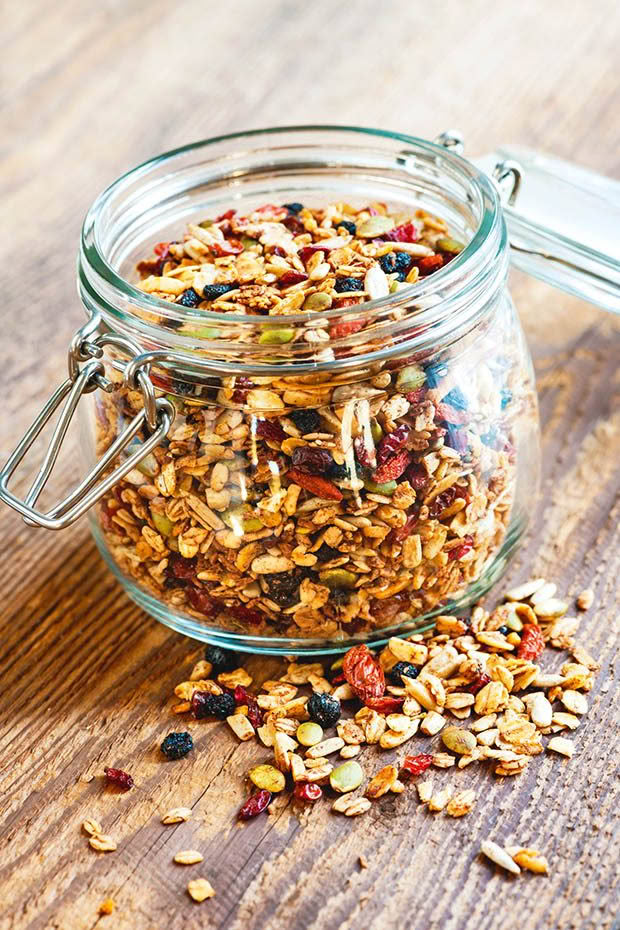
One of the recipes we use our dried fruit in is this delicious homemade staple. It’s breakfast for us and our wwoofers throughout the year, and sometimes an after-school snack too. In the colder months we heat it with milk to make porridge, but mostly it’s served with yoghurt and fresh or stewed fruit.
As part of my role with Eat New Zealand, we’re working on a Local Grain Economy, raising awareness about NZ-grown grains. As such, I try to use these where I can. While the base is always rolled oats (I like chopped rather than whole), you could add any puffed or flaked grain such as buckwheat, quinoa, barley, spelt, wheat, rye, or millet. They’re all seasonally available and grown by NZ farmers.
Since we eat this muesli most days, we also try to use organic ingredients wherever we can.
We buy (or grow) whole nuts as they don’t go rancid as fast and chop them ourselves. You can also store fresh nuts in the freezer.
INGREDIENTS
500g rolled oats
300g puffed or flaked grains of your choice (optional)
1 handful each of the following:
• shredded coconut
• pumpkin seeds
• sunflower seeds
• chopped almonds
• chopped walnuts
• chopped hazelnuts
2 handfuls of dried fruit
1-2 cups softened honey
METHOD
Pre-heat the oven to 160°C.
Line a large roasting pan with baking paper and add all the dry ingredients. Chop up bigger fruit pieces, such as figs, apricots, and apples.
Mix it together with your hands and ask yourself, would I feel like this for breakfast? Add more of what pleases you at 7am (or thereabouts).
To soften the honey (if needed), add a chunk to a jar or bowl and sit it in a bigger bowl of hot water. Once runny, pour the honey over the top of the dry ingredients.
Put the roasting pan on the bottom of the oven and bake it for 30-50 minutes. Stir it every 5-10 minutes to mix the honey – watch it carefully as you don’t want to cook it too fast or for too long or the fruit will blister or burn. We usually turn the oven off and let the muesli dry inside. You can also freeze some if you want to make a big batch.
Love this story? Subscribe now!
 This article first appeared in NZ Lifestyle Block Magazine.
