How to make a Colourful Corkboard with Resene
We know Resene paints are great for transforming our walls, but their testpots are also perfect for craft projects. Penny Newton from Crafty Girl Life Hacks (and latitude’s own digital marketing guru) shows us how to give a corkboard a new lease of life and transform it into a colourful edition to your home.

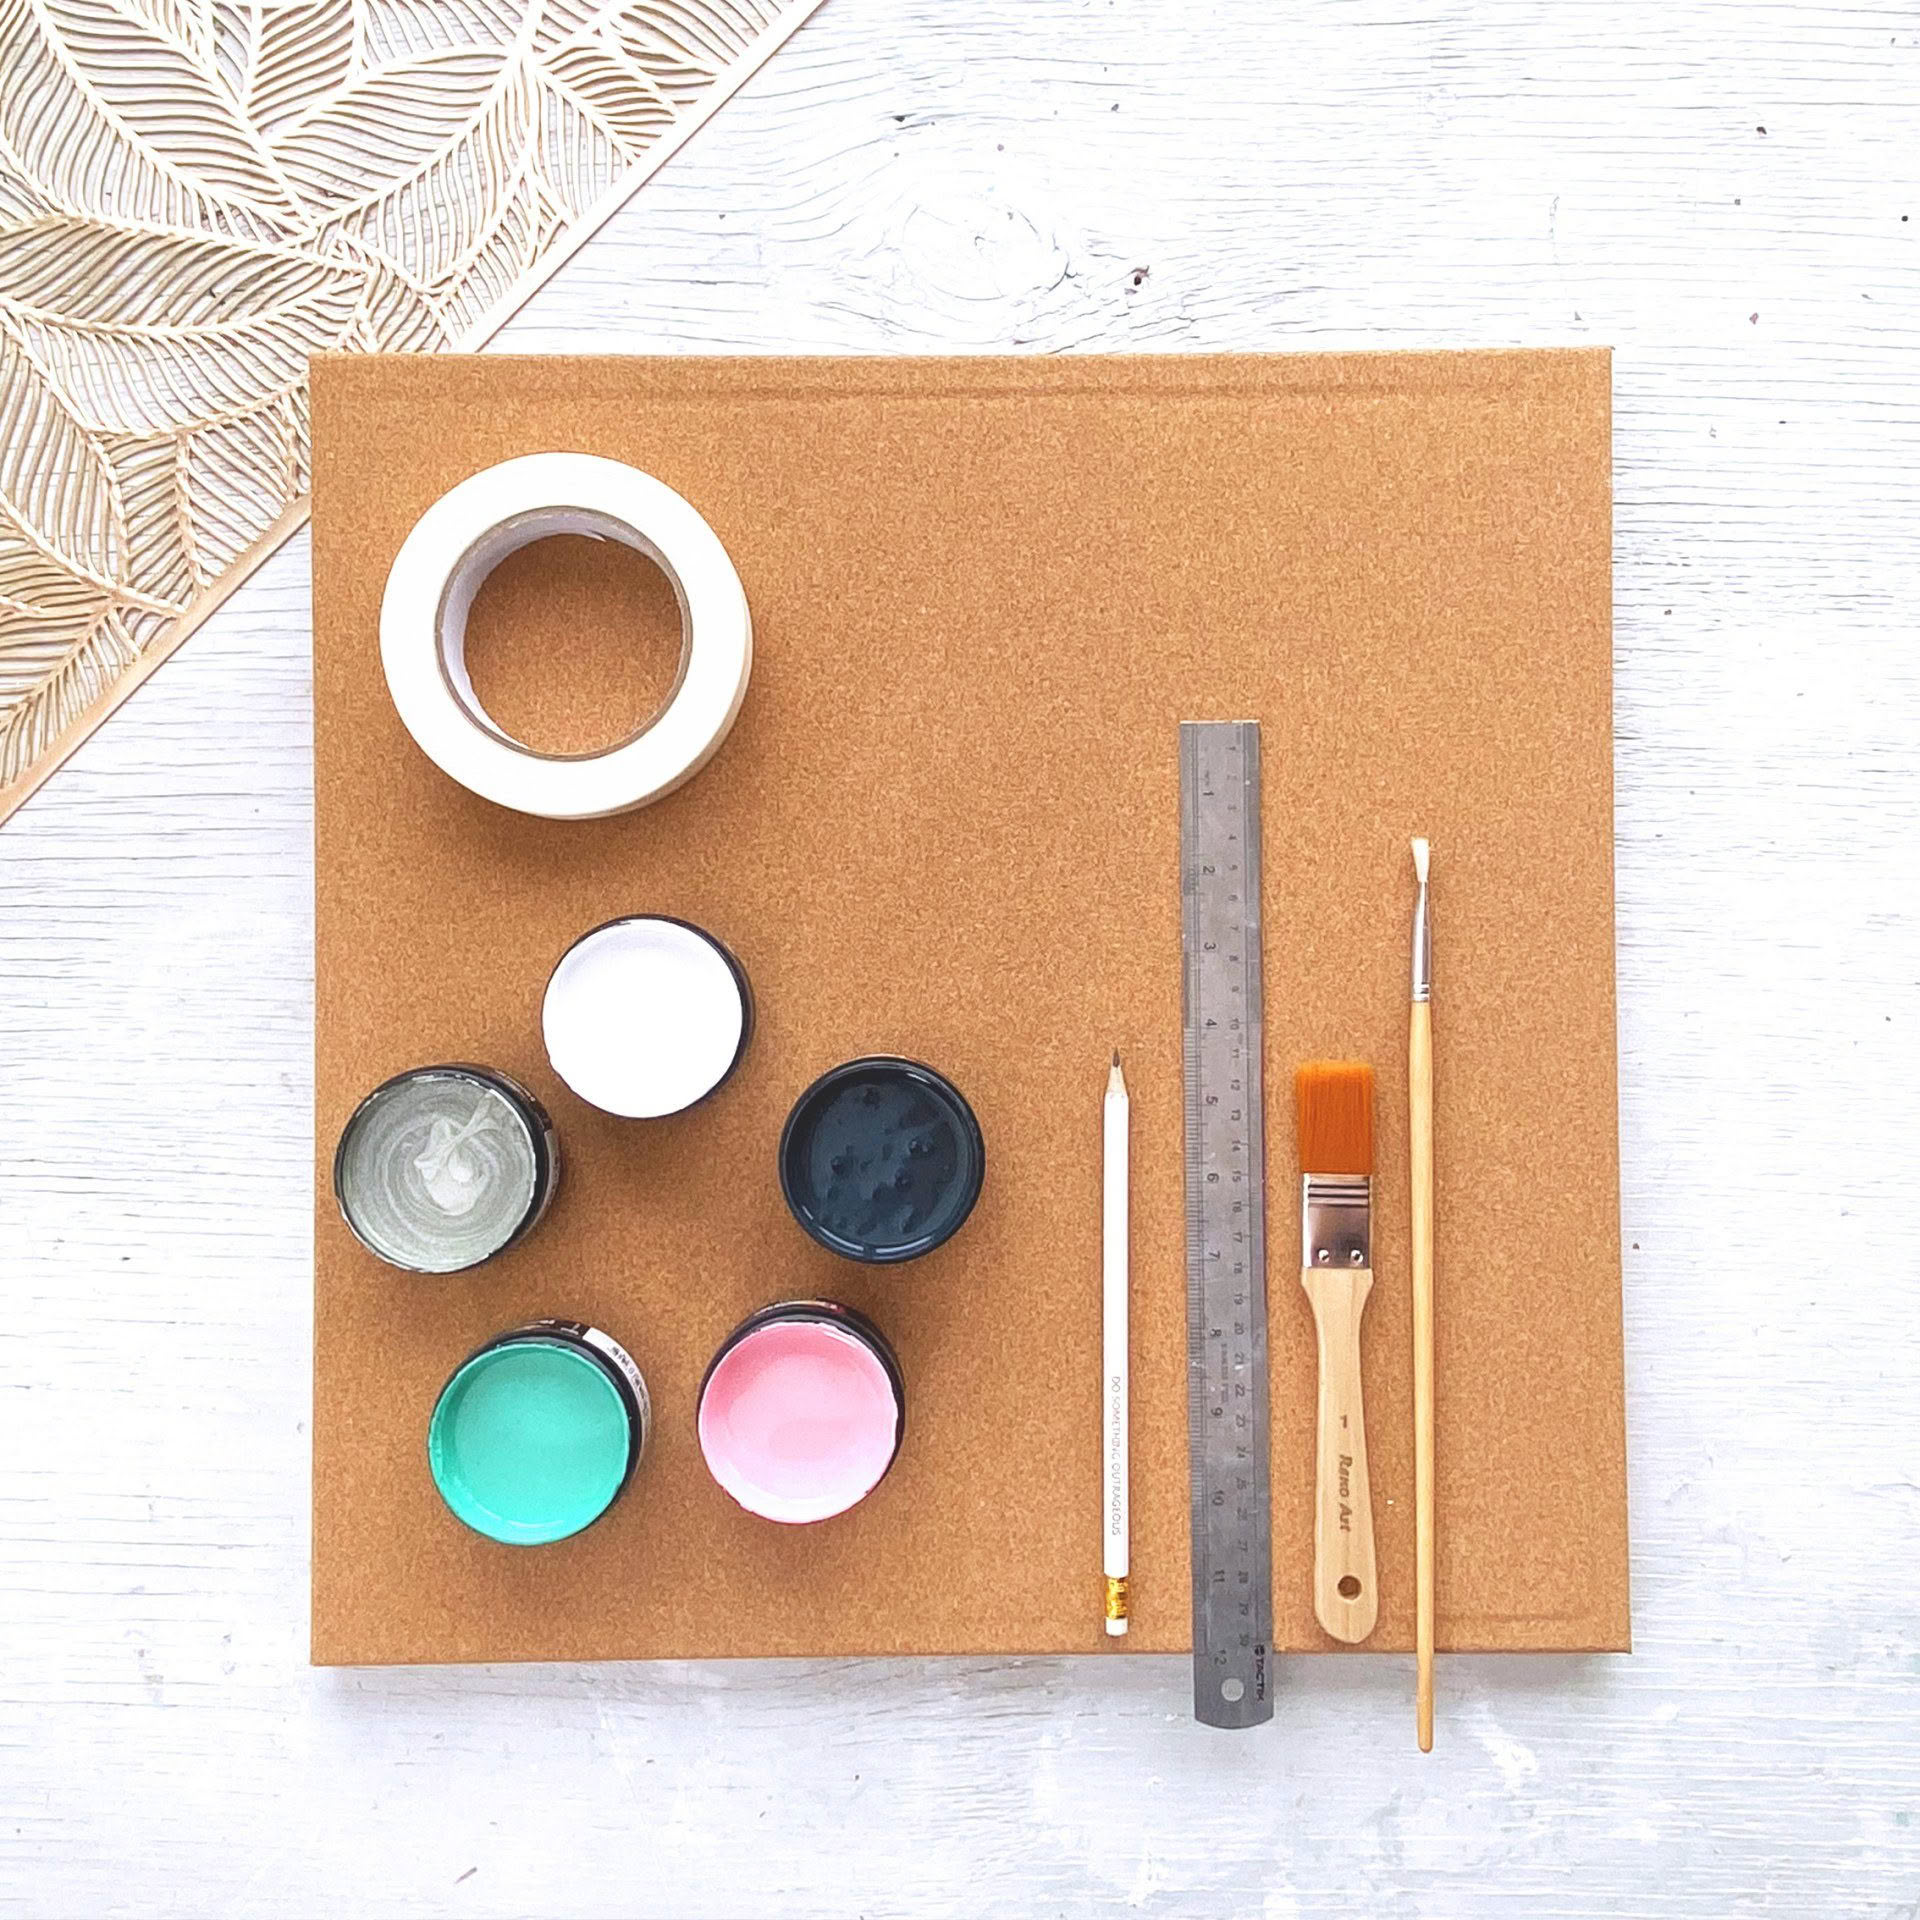
Here’s what you’ll need:
* Resene Testpots (we used Resene Boundless, Resene Carpe Noctem, Resene Coconut Ice, Resene Proton (metallic)
* Corkboard
* Painter’s Tape
* Scissors
* Pencil
* Ruler
* Paintbrush
Start by dividing your cork board into squares using a ruler and pencil to create geometric patterns. Using the painter’s tape, mask around the shapes for your first colour, which for us was Resene Boundless.
It is important to press down the edge of the painter’s tape to make sure it is seamlessly bonded to the corkboard.
Apply a light first coat of paint and allow to dry completely. Be patient! Painting over semi-dry paint can lead to an uneven finish. You can use a hairdryer to speed things up if you need to.
Once dry, apply a second coat of paint, this time a bit thicker to give an opaque finish. Allow to dry completely and remove the tape.
Repeat these steps, painting shapes in different Resene colours.
When it comes to adding the metallic paint, I used Resene Copyrite for the first layer of paint, then two coats of Resene Proton metallic – this way you’ll get the full shimmery effect.
Once dry, peel off the rest of the tape, and use a smaller paintbrush to fix any irregularities or paint that may have smudged underneath the tape.
For more ideas and inspiration, see your local Resene ColorShop, resene.co.nz/colorshops .

