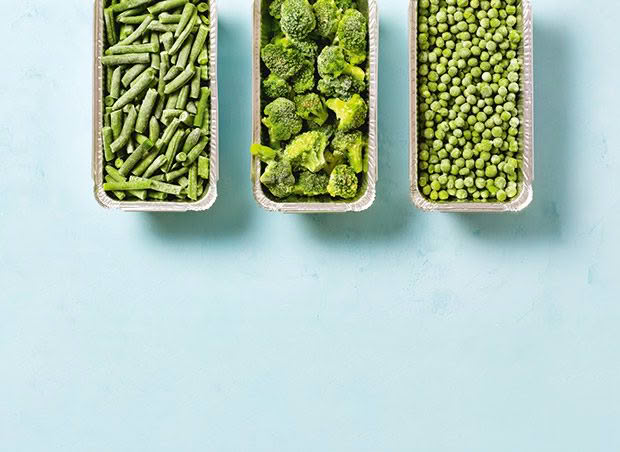
The ultimate guide to prepping, processing and freezing fresh produce
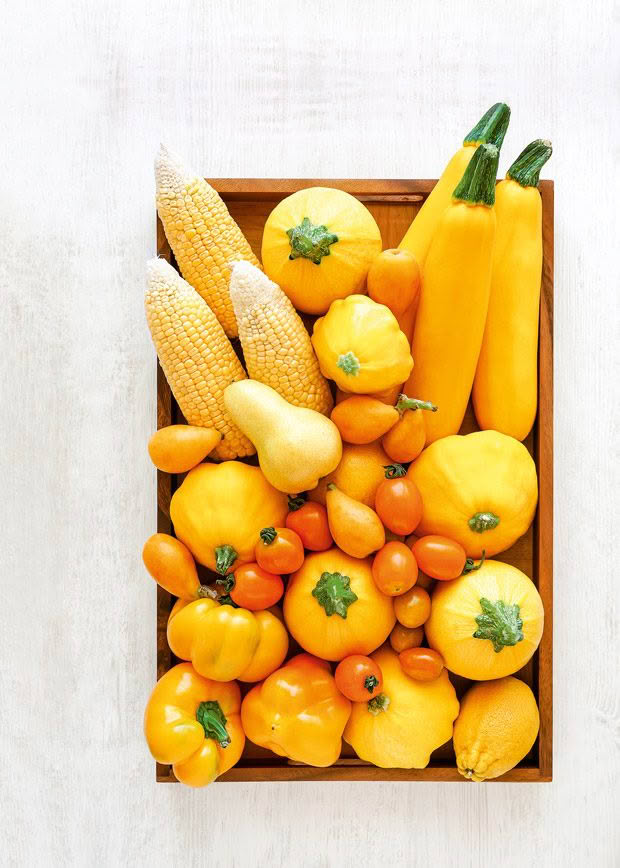
Freezing your favourite summer produce is a simple, fast, and economical way (if you do it right) to preserve the best in your crops.
Words: Nadene Hall
If you’re a dedicated preserver, there’s probably row after row of gleaming jars in your pantry by this time of year, filled with delicious jams, jellies, chutneys, and pickles.
If you’re not a dedicated preserver and want a low fuss way to store your harvest, freezing is a simple method that maintains maximum nutrients.
THE BASICS TO FREEZING VEGETABLES
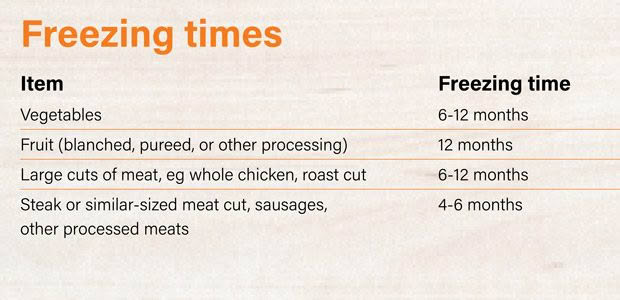
If you freeze fresh vegetables straight from the garden, most quickly deteriorate, lasting about a month or so before they become inedible. Vegetables need blanching before freezing to retain their colour, texture, flavour, and nutrients when defrosted.
This involves briefly immersing them in boiling water, immediately followed by rapid cooling in icy water to stop the cooking process.
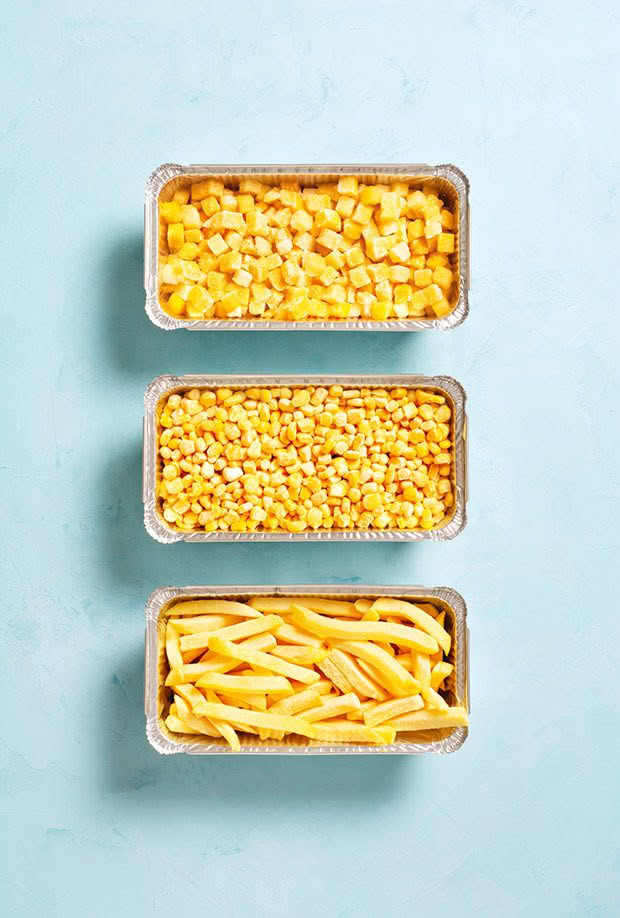
Blanching, followed by fast freezing, has multiple benefits. It destroys unwanted micro-organisms, stops the chemical processes inside the vegetable that cause ripening, and minimises cell damage.
When defrosted, the colour, texture, flavour, and nutrients will be very close to what they were on the day they were blanched.
TIMING IS KEY
It depends on the vegetable. Blanching isn’t the same as cooking, more half-cooking, the outside soft, the inside still crisp.
Time in boiling water too short – you don’t stop the chemical deterioration process within the vegetable.
Time in boiling water too long – the vegetables cook through and won’t store well.
Freeze too slowly – large ice crystals form, bursting cell walls, turning vegetables into watery mush when defrosted.
PREPARATION
Choose young, tender vegetables as these will taste best after freezing. They’re best harvested early in the day and preserved within an hour or two.
Wash thoroughly to remove dirt, then peel and/or chop. It’s crucial to keep pieces a similar size so they blanch evenly. Smaller pieces freeze fastest, which is critical to maintaining the best texture.
PROCESSING
Put a large pot of water on the stove, and bring it to a rolling boil. Prepare a bowl or sink of cold water and ice cubes.
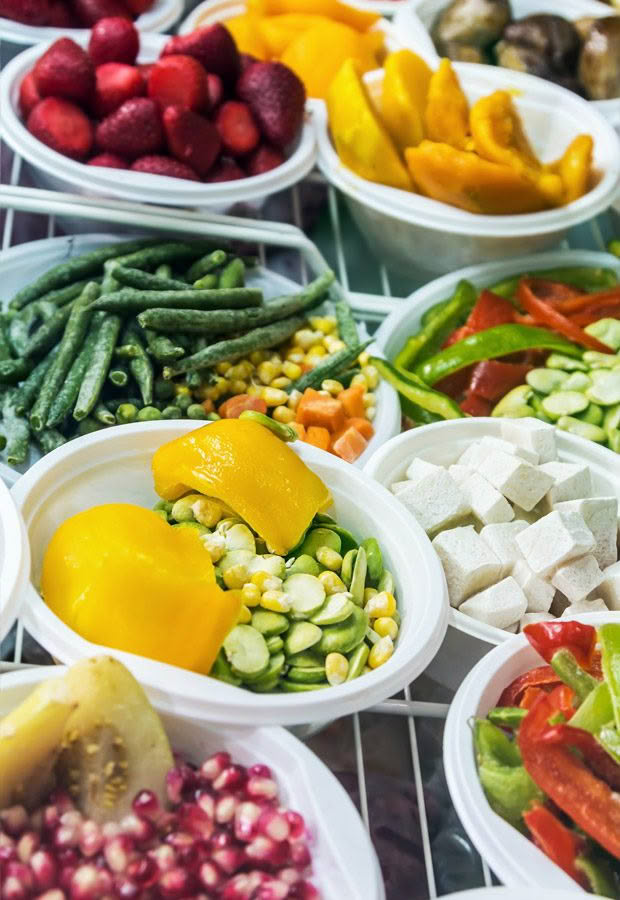
Add vegetables, but not too many at a time – to successfully blanch, the water needs to get back to a rolling boil within a minute (or less) after adding them. Start the timing of the blanching process as soon as the water starts boiling again.
2 pot systems
SYSTEM 1
Have two pots on the stove, both with water heated to a rolling boil. Place prepared vegetables in a strainer and dunk them for a few seconds in the first pot to pre-heat them.
Remove, then immediately tip them into the second pot – the pre-heating results in the second pot of water getting back to a rolling boil much faster.
SYSTEM 2
Have two pots on hot elements, one filled with boiling water, the other with a small amount in the bottom. Boil one lot of vegetables, then strain the water into the second pot. The reused water will quickly get back up to boiling point for the next batch.
Once the vegetables are done, tip immediately into a prepared ice bath, with cold water running into it. Chill for the same amount of time as you boiled them, then drain.
Pat dry or use a small fan to dry them quickly. Spread out on a tray and freeze overnight, so they don’t clump together, then transfer to a storage container.
FREZING TIPS
1. If you’re worried about bugs hiding in broccoli and cauliflower, soak the heads in salt and water (4 tsp of salt to 4 litres of water) for half an hour, then rinse well under running water and drain before blanching.
2. Freeze small button mushrooms whole, direct from the garden. Alternatively, or for other types, slice evenly, sauté small amounts in butter for 3 minutes, then freeze. However, most mushroom fans prefer drying to maintain better flavour and texture.
3. To freeze avocado, puree it. Remove the flesh and place in a blender with 1 tbsp of lemon or lime juice per avocado. Don’t mash it by hand as you need the acid to be perfectly mixed through or you’ll get brown lumps. Leave 1-2cm of room at the top of the container.
Blanching by microwave
You’ll need to experiment with this method as success relies on quantity, timing, and the wattage of your machine.
METHOD
Cut vegetables into small, evenly sized pieces. Add 2 cups of vegetables to 75-125ml of water, but no more, to a microwave-safe casserole dish.
Microwave on high for half the time suggested for that vegetable (see the blanching time chart below).
Check the veggies – they should be an even, bright colour all the way through. If not, continue heating for the maximum time suggested.
Chill in icy water for the same amount of time as the heating process, then freeze.
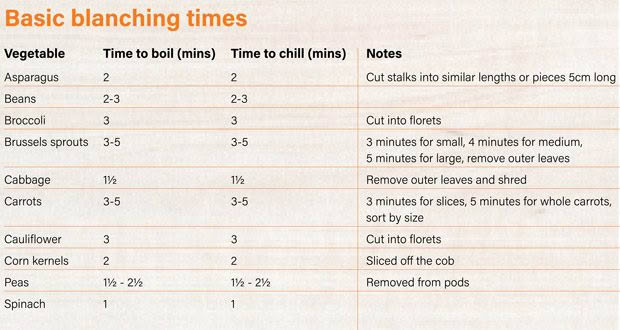
US food scientists wanted to know if using a microwave for blanching caused food to be less nutritious. They placed 2-3 servings of freshly picked asparagus in a covered casserole dish with about 2 tbsp of water.
Then, they cooked it for 4 minutes on high in a 700-watt machine, and chilled it for 4 minutes. Testing showed the asparagus kept its nutritional value, taste, and texture.
WHAT CAN YOU FREEZE DIRECT?
Some produce can be frozen without any processing, including:
– Chillies and red/green peppers – cut in half, stem and seeds removed.
– Super sweet corn varieties, still in the husk (for kernels, see below).
– Tomatoes, whole – for use in casseroles.
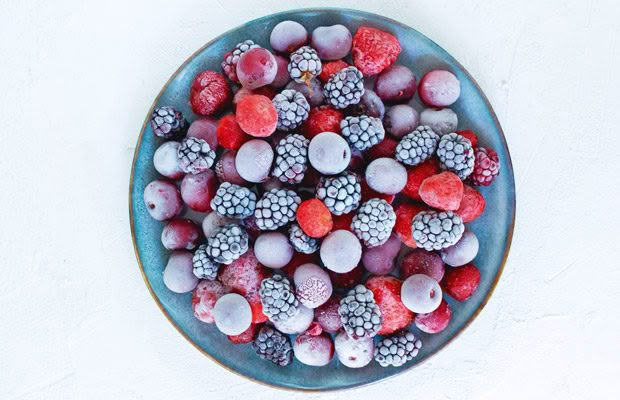
– Berries – freeze on a tray, then transfer to a container to avoid frozen clumps.
You can freeze eggs, but not whole. You can either separate an egg. Whisk the white, then tip into one slot of an ice cube tray. Repeat with the yolk, OR;
Whisk a whole egg, and tip into a muffin tray. This method makes it easy to remember portions if a recipe calls for just the whites, just the yolks or a whole egg.
WHAT ARE THE BEST WAYS TO STORE FROZEN PRODUCE?
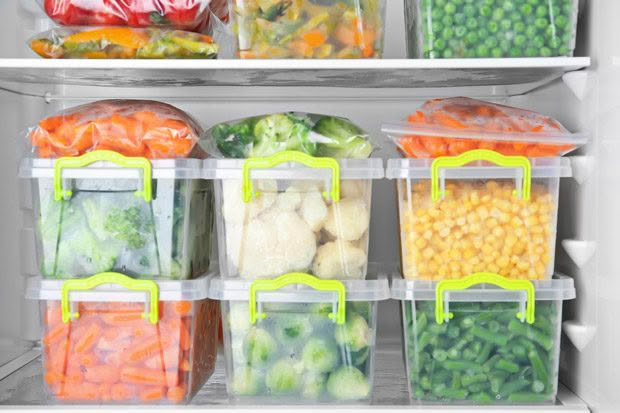
Many people aren’t sure about freezing glass containers or jars, but they’re easily the cheapest option and easy to stack. The best ones have glass, bamboo, or flexible silicone lids – plastic lids tend to crack after repeated use.
More expensive but unbreakable are stainless steel containers. Whatever the containers, use a labelling system that identifies the contents and the date they were frozen.
4 IMPORTANT THINGS TO KNOW ABOUT FREEZING VEGGIES
1. If you use freezer-safe resealable plastic bags, remove as much air as possible to avoid freezer burn. It’s caused when water in produce freezes into ice crystals, then turns into gas and migrates out of the food.
2. If using containers, either fill to the top to avoid trapping air or place waxed paper over the top to prevent freezer burn. Have a system so you’re always eating the oldest produce first.
3. Fast freezing is critical for maintaining flavour and texture. But don’t add too many bags of vegetables (or any food) to a freezer all at once.
Don’t place a lot of containers in one place – spread them around the freezer space. Leave clear space around containers so cold air can circulate. Re-organise the freezer once frozen.
4. If you have a power cut, don’t open the freezer, even for a few seconds – contents should stay frozen for 12-24 hours.
MORE HERE
Preserves 101: How to sterilize jars and preserve fruit for long-lasting jams, chutneys and sauces
How to create a preserver’s paradise – a pantry for year-round food storage
Love this story? Subscribe now!
 This article first appeared in NZ Lifestyle Block Magazine.
