DIY Project: Upcycle old tools into a garden gate
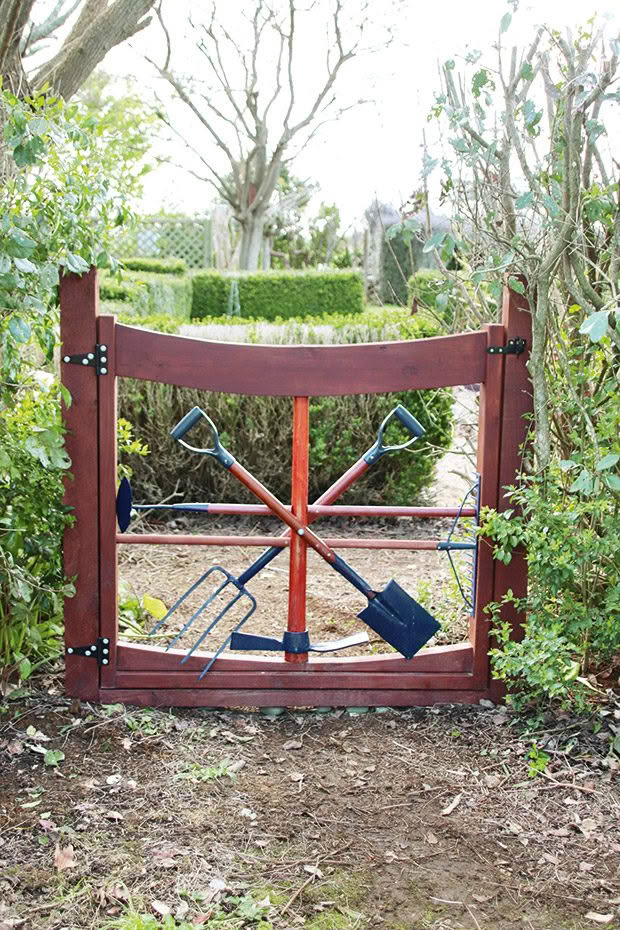
Turn your old tools into a decorative garden gate.
Words and Images: Julie & Jel Legg
Most steel garden tools are made from strong, rust-resistant carbon or manganese steel, perfect for upcycling.
The garden tools you use for this project must have wooden handles as you’ll be using them to secure the tools to the frame and each other. For this project, we used an old pickaxe as the central supporting upright.
If the metal parts of the tools are rusty, you can paint them with a metal primer, then a waterborne exterior paint. Alternatively, you could leave them untouched for a rustic effect.
Materials you will need
6m lengths of 90x45mm radiata SG8 H3.2 framing timber
290x45mm radiata SG8 H3.2 framing timber, optional
An assortment of 10g x 75mm, 14g x 100mm, and larger screws as required
M8 threaded rod and 2 x nuts
Old garden tools
Resene Waterborne Woodsman tinted to Resene Cedar
INSTRUCTIONS:
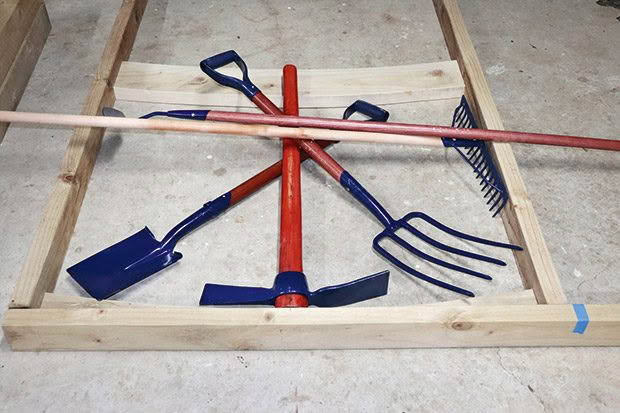
Step 1: We measured a space in the garden where we wanted a gate. We laid out lengths of 90x45mm framing timber on a flat surface to form a rectangular frame to fit the space. We then laid out our old tools, using a pickaxe as the central supporting upright as it was the right height for a gate. Lay the tools in a pattern so that the wooden handles cross over each other. This way, you can easily fix them to one another in later steps.
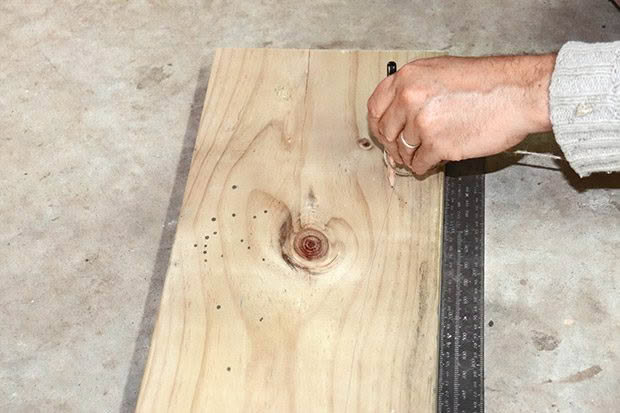
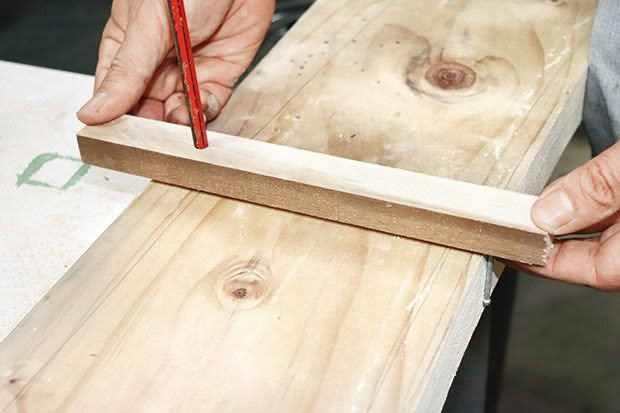
Step 2: To make the curving top rail, use a pencil and string to mark a shallow curve into the 290x45mm framing timber.
Cut to shape.
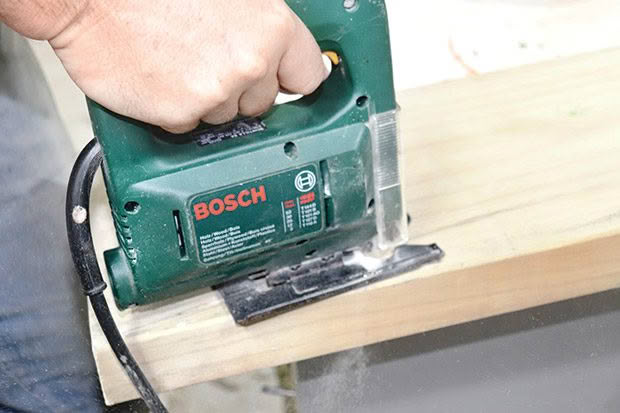
You could leave the top rail straight if you don’t have a jigsaw to cut the wood
Step 3: For the curving rail that sits inside the bottom rail, cut a curve that’s parallel to the one from Step 2 onto another length of the framing timber.
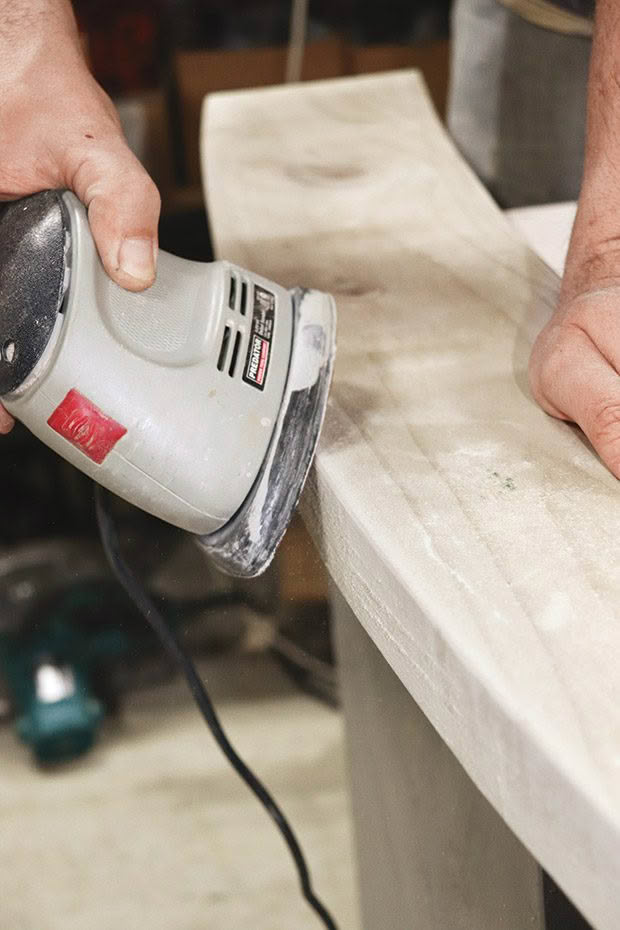
Sand edges to a smooth finish. You could use the curving offcuts leftover from these two steps within the gate’s design, although we chose not to.
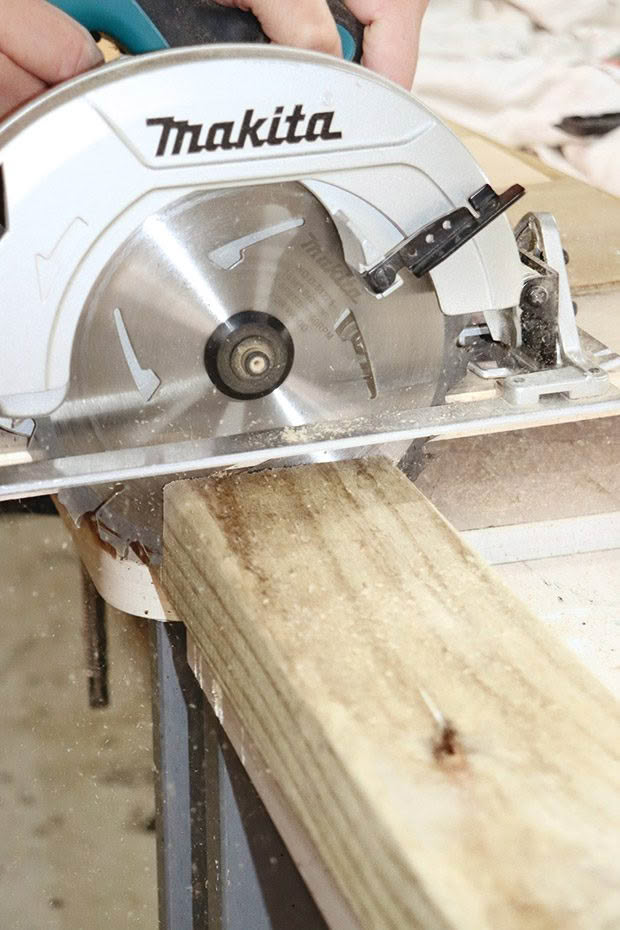
Step 4: Cut 90x45mm framing timber to size for the gate’s sides and bottom rail. Clamp together.
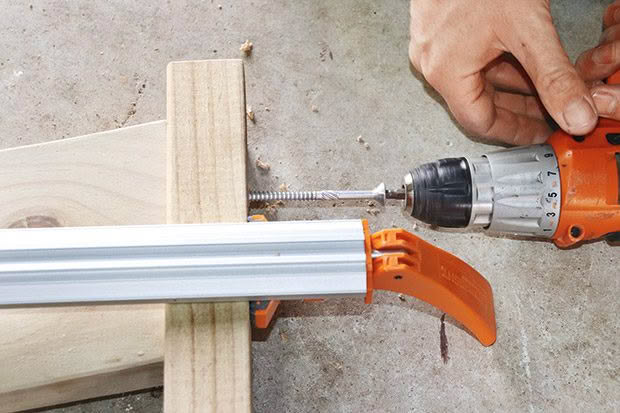
Drill pilot holes, then secure with 100mm screws.
Include decorative framing inserts at this point, if you want them.
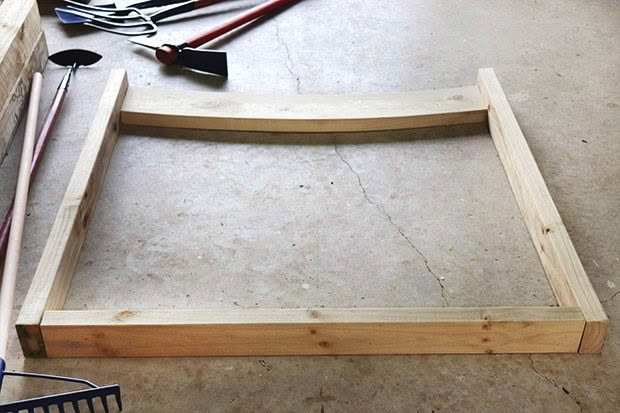
Step 5: Cut down the handle of the tool you’ve chosen to be the central supporting upright, so it fits snuggly between the upper and lower gate frame.
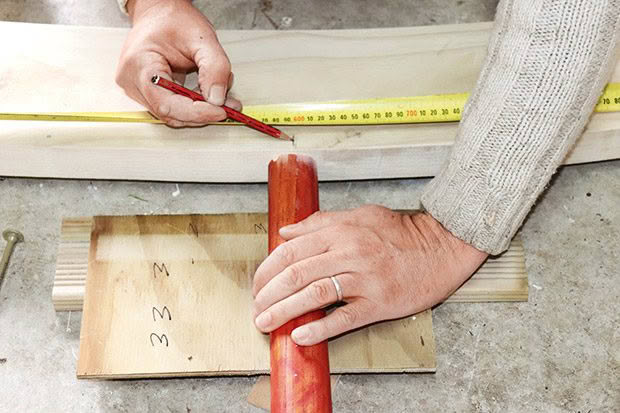
Choose the best-sized screws, which will depend on the thickness of the framing wood. For example, our top curve is quite a thick rail, and it required a long screw to go through it and into the top of the pick.
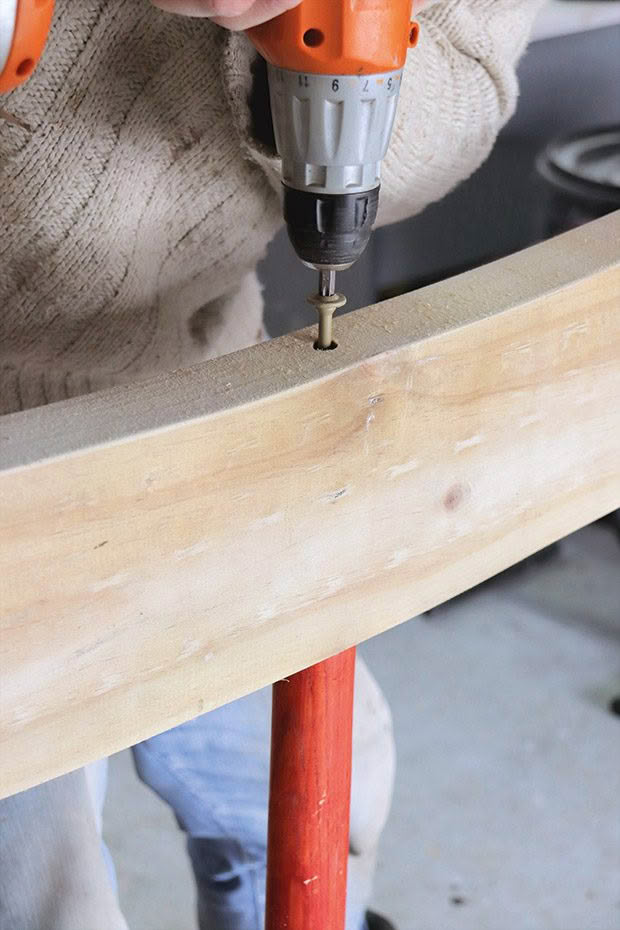
Drill a pilot hole through both the frame and handle, top and bottom, then secure.
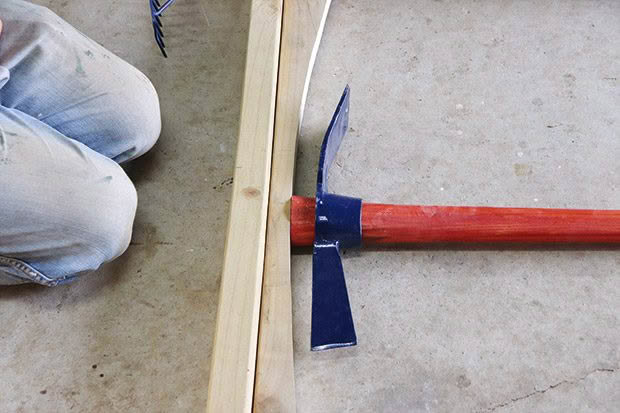
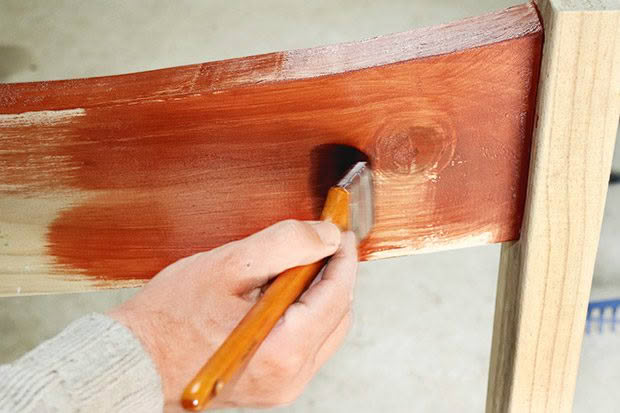
Step 6: Stain the structure. We used two coats of Resene Woodsman Waterbourne penetrating oil stain exterior tinted to Resene Cedar.

Step 7: Arrange two tools of equal length on either side of the central supporting upright, crossing to form a spoke pattern.
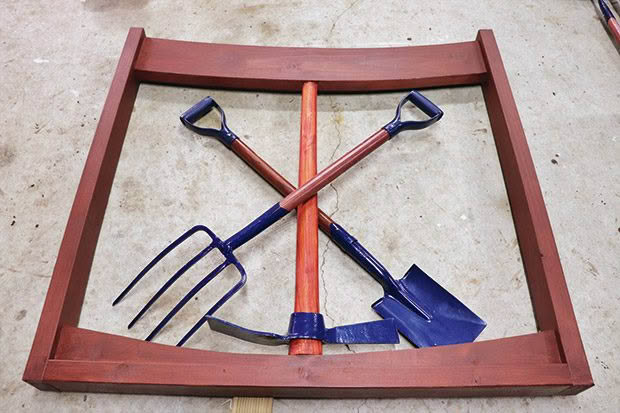
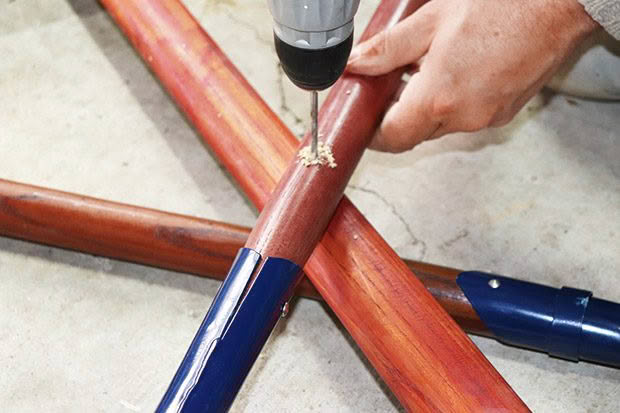
Make sure that wood touches wood so it can be secured (as it won’t be possible to drill/screw through the steel). Drill a pilot hole through all layers as they cross in the centre.
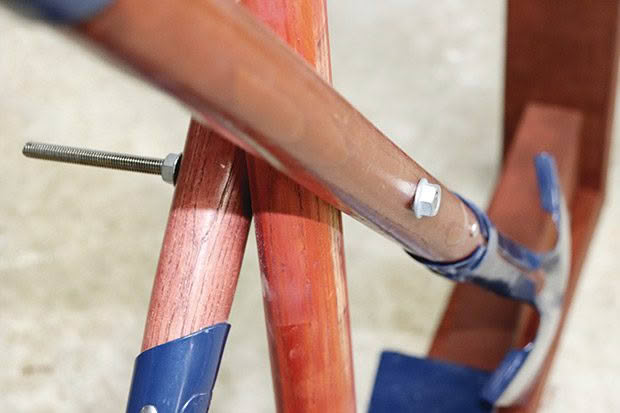
Secure layers with a bolt.
Step 8: Continue to arrange tools to form a balanced pattern. Mark and cut down wooden handles as required for a snug fit between the central supporting upright and sides.
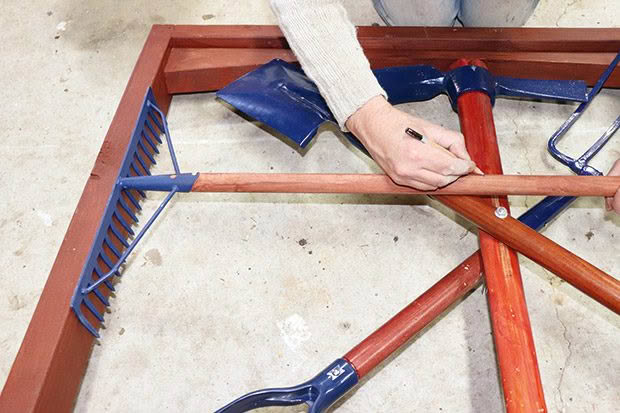
All the tools should have a screw going through them into the central supporting upright and, where possible, through all other touching wooden surfaces for stability.
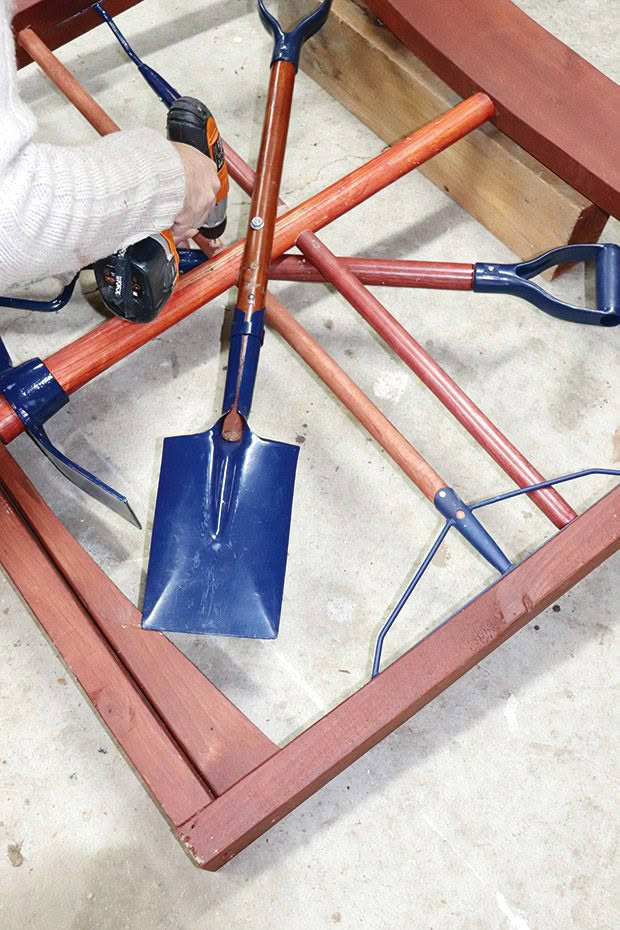
Step 9: Add hinges, and hang the gate to a secure post.

Resene’s tip: Paint the tool heads and handles in your favourite bold Resene colour to make your gate even more of a feature.
MORE HERE
DIY Project: Upcycle old pallets into a mobile outdoor table
Love this story? Subscribe now!
 This article first appeared in NZ Lifestyle Block Magazine.
