How to grow mushrooms at home using a fungi spawn kit
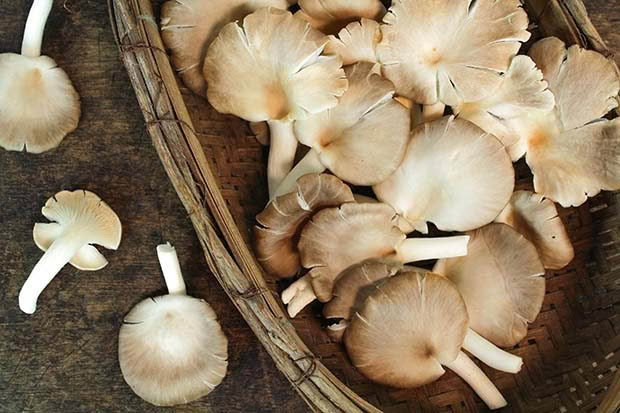
Growing kits are an excellent way to get started with your first crop of home-grown mushrooms.
Words: Nadene Hall
Given the right conditions, growing mushrooms is easy. Not a vegetable, mushrooms are the fruit of a fungus that grows underground. They prefer to grow in cool, dark, humid environments, such as a basement, a crawlspace under a bench or in a woodshed. To supplement a home-grown crop, try foraging for other varieties.
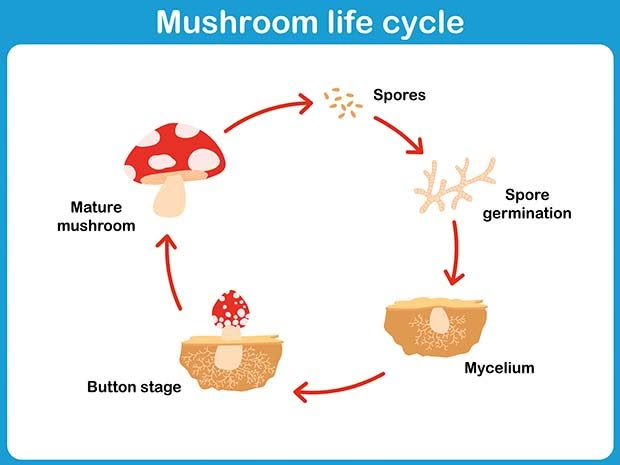
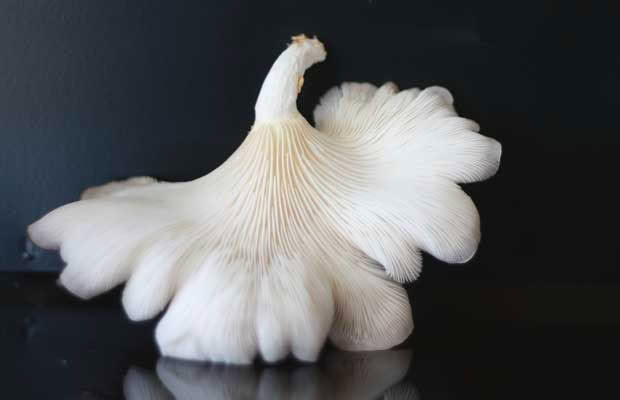
Mushrooms grow from spores released into the air from the gills and rely on substances such as sawdust, grain, straw, wood chips, or liquid for nourishment. A blend of the spores and these nutrients is called spawn, which supports the growth of mushrooms’ tiny, thread-like roots, called mycelium.
The type of growing substrate differs for mushroom varieties. For example, shiitakes grow on logs such as oak, poplar, birch, beech and maple. To start a shiitake colony, drill a hole in the side of a log and hammer a wooden dowel inoculated with shiitake spawn (which can be bought online) into the hole. The shiitakes will colonise the entire log, which can take several months.
The easiest way to start a mushroom farm is to buy spawn from specialists such as Mushroom Gourmet Founder Tim Thornewell says the oyster mushroom kit is an easy option for beginners. However, there are a few things to know before you get started:
– only use the kit to grow the specified mushroom;
– be aware that some people are allergic to mushrooms and spores – don’t grow them in a living area and, to test for allergies, eat a small piece of cooked mushroom.
HOW TO: NADENE GETS GROWING
I used a Mushroom Gourmet starter box kit for oyster mushrooms, which includes a growing bag of chopped mushroom food inoculated with spawn, a large mesh protective cloth and bag.
The kit includes a ‘growing bag’ of mushroom food and spawn, to which you add water, leaving a good volume of air inside. The bag is left inside its box for a few days. I kept mine on the kitchen shelf out of direct sunlight.
After 14 days, remove the growing bag from the box and drain water from the bag. It will contain white thumb-size patches – these are mycelia, little filaments that feed mushrooms as they grow. Jolt it up and down a few times to spread the mycelia around the bag. Return bag back to the box and leave it for another week.
When I removed the growing bag it was almost completely snow white. I then cut 8 evenly spaced, 2cm-long slits in the sides of the bag. I opened the top of the bag, twisted it to remove air, then closed it.
Lightly wet four sheets of newspaper, open up the bag and tuck them inside the growing bag. Wrap the protective cloth around the growing bag and secure, then place inside the protective bag. Seal but leave a small air gap. Leave the bag in an area that provides a stable temperature – I left mine in the bathroom.
Check the slits every day. When you see mushrooms starting to form, remove the cloth to encourage air to circulate. My mushrooms grew quickly – some went from quite small to almost as large as the palm of my hand overnight. When the largest mushroom in a group starts to flatten out, remove to eat.
Repeat the process and get a second flush (and possibly a third) within 7-24 days.
Mushroom Gourmet’s instructions tell you how to transfer culture onto your own mushroom food or a log. Tim also has grow kits for field, shiitake, poplar burgundy and shaggy ink-cap mushrooms.
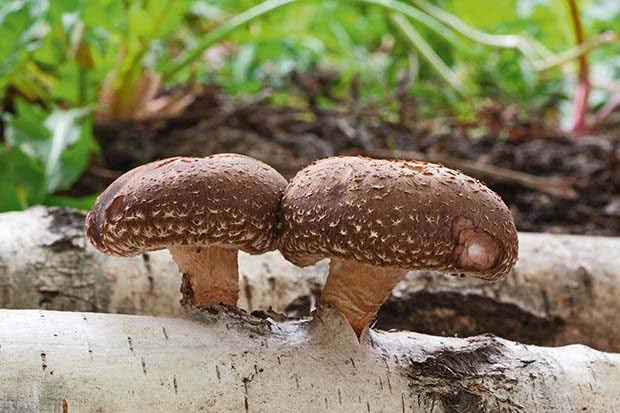
Shiitake mushrooms grow on a log.
ANTI-AGEING MUSHROOMS
New research reveals that mushrooms have very high amounts of two potential anti-ageing antioxidants, glutathione and ergothioneine. Levels vary depending on the variety of mushroom, but the star with the highest levels of both is porcini. The bonus is that these antioxidants survive the cooking process.
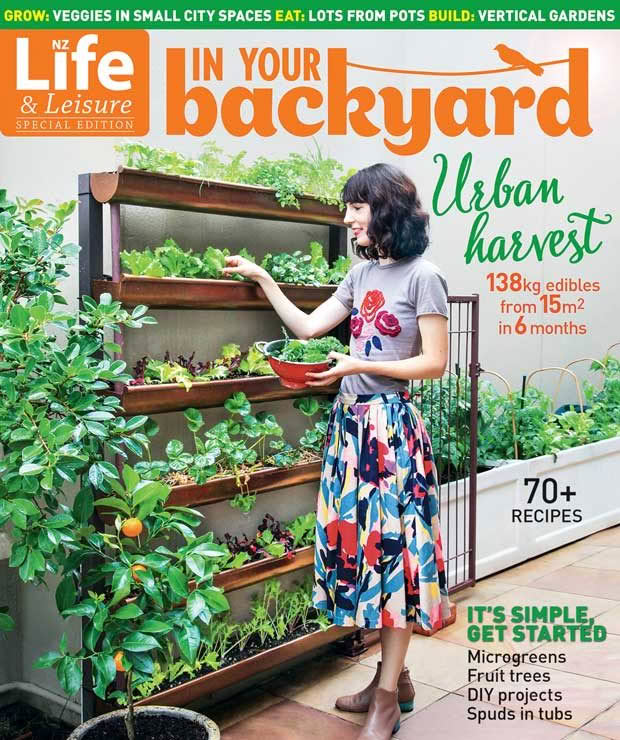
This is an extract from the Indoor Growing chapter of In Your Backyard: Urban Harvest, our new special edition, features everything New Zealanders need to know to grow food in the city. It is packed with expert advice on how to start a productive veggie garden, the best crops to grow and how to create awesome soil.
PLUS: space-saving ideas for vertical growing, container gardening, hydroponics, microgreens, espalier trees and edible hedges – even how to forage.

