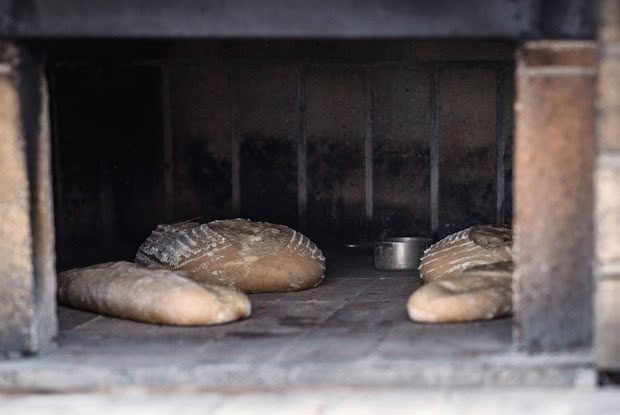
How to make the perfect sourdough bread
Pandoro co-founder turned viticulturist Richard Tollenaar shares a video on the secrets of baking a perfect sourdough loaf.
See Richard and his wife Kaye McGarva’s new painterly life in Hawke’s Bay in the latest issue of NZ Life & Leisure.
Making sourdough is not an exact science and so there is room for experimentation depending on what equipment people have and how they live (and eat bread). I have shared this recipe many times and each new person has adapted the process slightly so don’t be afraid to try things.
Step 1
Acquire or begin a sourdough starter. Available for purchase on TradeMe or make your own – there are many books, articles and web instructions. If you know someone with a starter, ask for some of theirs. It will take several days to get your starter going.
Step 2
Feed the starter. I keep 200g of starter in the fridge until a few days before I need it. After I take it out I feed it twice a day with 50g flour (rye, wholemeal, a blend… whatever) and 50g water. Leave it on the bench (or in the hot water cupboard in winter) to rise. Keep repeating this until it is bubbly and active. Depending on how long it’s been dormant in the fridge, this could take three to seven days. (You only need a total of 600g. Once you get more than that, you should discard 100g each time you feed it or you’ll end up with a bucket load of it!)
Step 3
Make the dough. Pay attention to temperature. The dough works best at around 25ºC – too cold and it won’t rise, too warm and it will rise too fast. Use warmer water in winter and cooler water in summer to achieve this. A thermometer is worth using.

INGREDIENTS
1400g strong white flour (I use Wallaby flour from Bin Inn)
850g water (temperature to suit environment)
35g salt
400g starter (8-12 hours after its last feed)
Weigh all ingredients into a mixing bowl. I use a KitchenAid mixer but this can be done by hand as well, it’s just messier. Mix only until the dough has all come together. Tip dough onto the bench and lightly oil the inside of the bowl. Give the dough a quick knead by hand to ensure the consistency is even all through (no lumpy bits). Return the dough to the bowl and cover for the first rise (shower caps are very useful for this, especially the complimentary ones in hotels).
Step 4 (follow video)
Fold the dough. After two hours rising, tip the dough out onto the bench, then stretch it and fold it (follow video for folding and stretching method). Return it to the bowl, cover and leave to rise for another four hours, repeat folding and stretching. Return it to the bowl, cover and leave to rise for another six hours.
Step 5 (follow video)
Cut the dough into the size you require. The dough is sticky, but don’t be tempted to use extra flour. Shape into rounds, and slap down the surface dough to prevent any blistery bubbles.
Step 6 (follow video)
Cover with a cloth for another 30 minutes, the dough will flatten slightly. To create a round loaf, shape into a round again, pull the skin tightly around the load, making sure not to tear it. Slap the surface of the dough again to prevent further bubbles. Place upside down in the proofing basket. Proof overnight.
Step 7
Slash the top of the loaves so gasses can escape, before baking at 210ºC for 30-40 minutes. The loaves might need to be turned around if they are colouring unevenly. Once nicely coloured, check they are baked by tapping the underside with your finger. Listen for a slightly hollow sound. Cool on a wire rack.
 This article first appeared in NZ Life & Leisure Magazine.
