3 easy plant-based oils to make at home
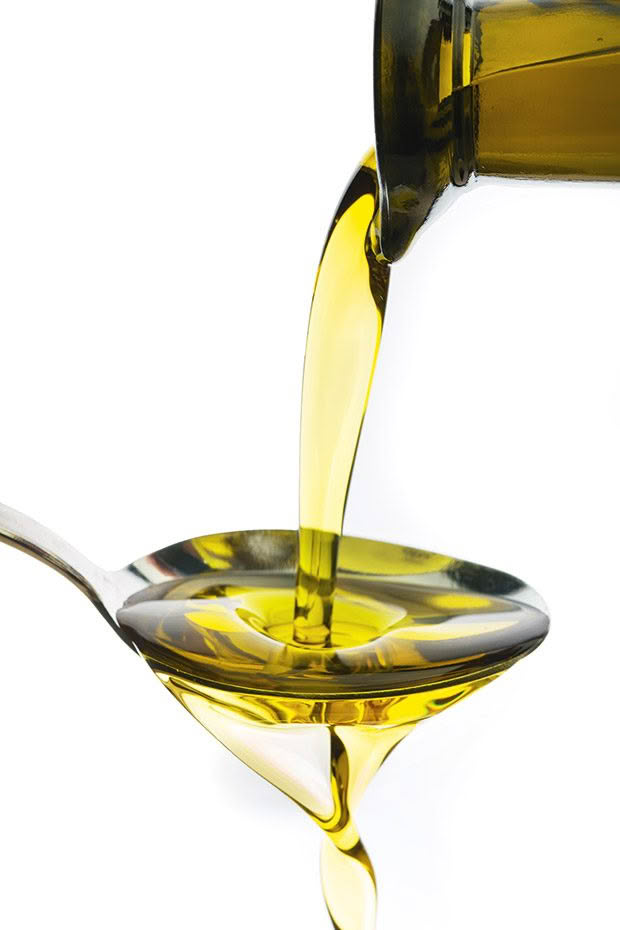
These plant-based oils can be used in cooking, beauty, and skincare products.
Words: Jane Wrigglesworth
Specialty oils are expensive to buy. Most people assume they’re difficult to make, but it’s possible to do it yourself.
1. Avocado Oil
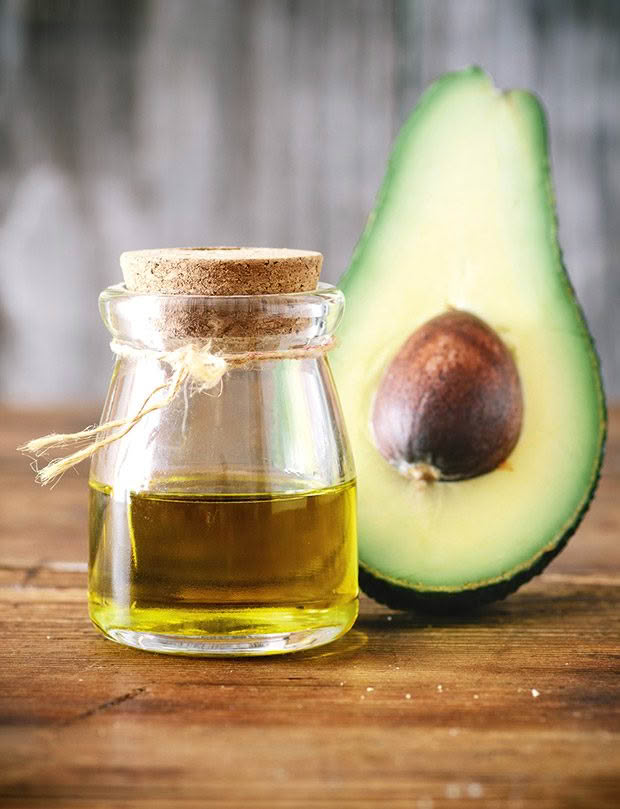
Avocado flesh is high in oil and people have been extracting it since the 1300s. It’s rich in vitamins, minerals, and monounsaturated fats, which make it a healthy option for cooking. It has a high smoke point (250°C+), and is used for frying, grilling, roasting, and baking.
For skincare, it has excellent penetration and is absorbed quickly. Commercially, avocado flesh is ground to a paste, then slowly churned for 40-60 minutes at 45-50°C. Even though there’s some heat, this method is still considered to be ‘cold-pressed’, as it doesn’t affect oil quality. After this, the flesh is placed into a centrifuge to separate the oil and water.
Unless you have a centrifuge lying around, there are three basic ways to extract the oil from avocado flesh for the hobbyist. Use late-season avocadoes, which are naturally higher in oil.
Option 1: Extraction through cooking the fruit
Tools needed: food processor or blender, medium-sized saucepan, mixing bowl, cheesecloth or muslin, glass jar for storing.
Makes: 100-120ml approximately
Ingredients: 8-10 ripe avocado
METHOD
1. Remove the flesh from ripe, but not overripe, avocados. Discard the skin and pit, or set the skin aside for another extraction method (see option 2).
2. Put the avocado in the food processor and purée until smooth.
3. Scoop avocado into a saucepan over a medium heat. Cook the avocado, stirring frequently until it bubbles. The oil will begin rising to the top. Continue cooking until the mixture turns very dark green or brown, and the water evaporates.
4. Line a bowl with cheesecloth and scoop the cooked avocado into the cloth. Allow to cool slightly.
5. Pull the cheesecloth together to form a pouch. Lightly squeeze the pouch to release the oil into the bowl. The oil will come out slowly, so be patient. When no more oil comes out, pour the oil into a small glass container for storage.
Option 2: Extraction through pressing the skins
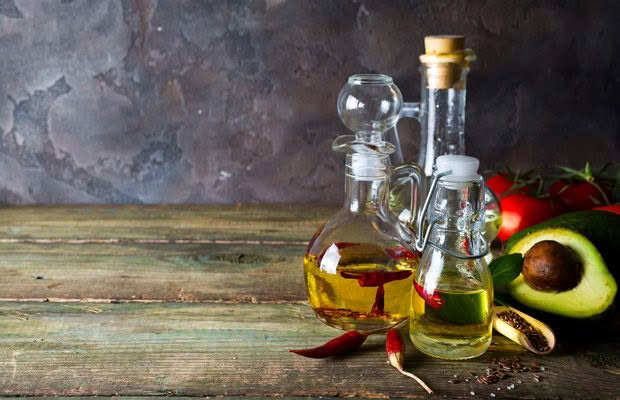
Avocado flesh contains up to 30% oil based on weight; skins have only 7%. However, you can extract the oil using this method.
Tools needed: Orange press, bowl, cheesecloth, jar for storage
Makes: 20ml approximately
Ingredients: 8-10 (or more) avocado skins
METHOD
1. Arrange avocado skins in a stack on an orange press. Place a bowl underneath the press to catch the oil. Use as much force as possible to pull the lever down on the press and squeeze out the oil. Repeat the pressing until all the oil is extracted. Move the skins around to maximise the extraction.
2. Strain the avocado oil through cheesecloth to remove any bits of skin or fruit. Pour the oil into a small glass jar for storage.
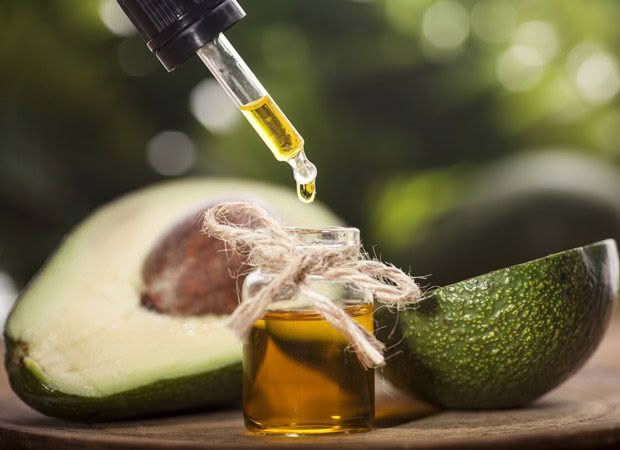
Option 3: Extraction through drying the fruit
Tools needed: oven or dehydrator, food processor or blender, baking tray or silicone mats, cheesecloth, glass jar.
Makes: 100-120ml approximately
Ingredients: 8-10 ripe avocado
METHOD
1. Scoop out the flesh and discard the pits and peel. Purée the flesh in a food processor or blender.
2. Oven instructions Preheat the oven to 60°C. Spread the avocado purée in a thin layer (1cm thick) on a baking tray and place in the oven. Prop the oven door open slightly. Let it dehydrate for 4-5 hours. Check often to make sure it’s not burning.
Dehydrator instructions: Spread the avocado purée on a silicone mat or sheet and set the dehydrator to 60-70°C. Run for 6-8 hours, checking often. The exact amount of time it takes will depend on your dehydrator. When the avocado purée is ready, it will be dark brownish-green and dry. If it starts to turn black, it’s about to burn and should be removed.
3. Place the avocado onto the cheesecloth, then pull up the sides. Squeeze out as much of the oil as possible into a glass jar.
2. Sunflower Oil
The key to making sunflower oil is choosing the correct seeds. Not all seeds produce good oil. You want the ‘black oil’ sunflower seeds, usually used in birdseed, as they have more oil than the striped varieties. The oil itself has high vitamin E content and a smoke point of around 230°C, excellent for cooking. It can be stored up to eight months in the refrigerator. Sunflower oil is a little more challenging to produce at home than avocado oil because it requires the use of a press. The alternative is hulling all the seeds by hand, which is tiresome.
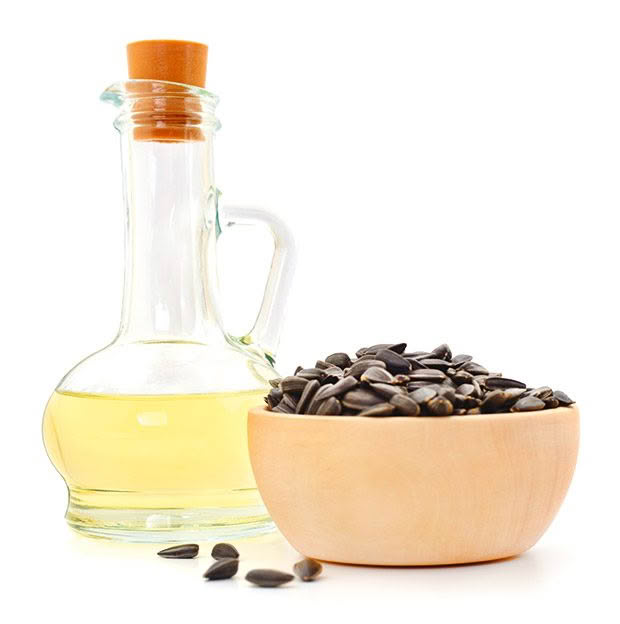
The upside is that it’s a quick and easy process with an oil press. It’s a hand-crank machine that squeezes the oil out of the seeds and separates the solid matter from the oil. An automated press can cost from $500+ into the thousands, but hand-crank machines can be $200-$300, including shipping.
If you plan to use it often, it’s well worth the investment. Look on overseas sites, like Amazon, eBay, Alibaba, or Fishpond, to find one. The oil is high in vitamin E and is excellent for cooking
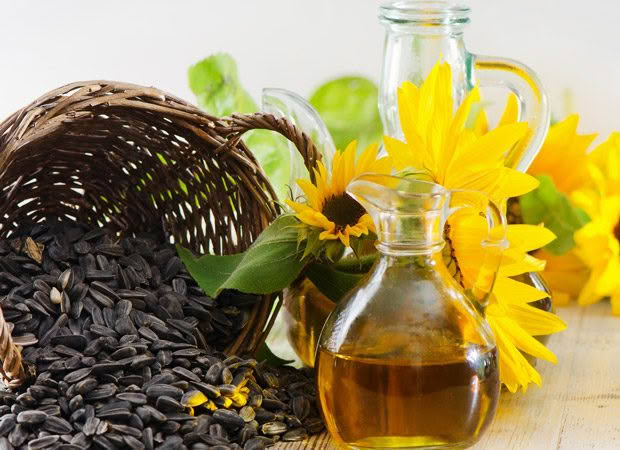
Tools needed: oil seed press, glass storage container
Makes: 80ml approximately
Ingredients: 250g sunflower seeds
METHOD
Put the glass storage container under the press’s drain spout. Fill the top of the press with seeds and hand-crank the machine until the oil is released. Continue adding seeds and cranking the press. Store oil in a cool, dry location.
3. Flaxseed Oil
Flaxseed oil can be extracted using a cold press or hot press. Hot press methods allow more extraction, but the heat kills some of the nutrients in the oil. Either way, the oil is excellent in salad dressings and skincare. It has a low smoke point, so it’s not great for cooking at high temperatures and is best used cold.
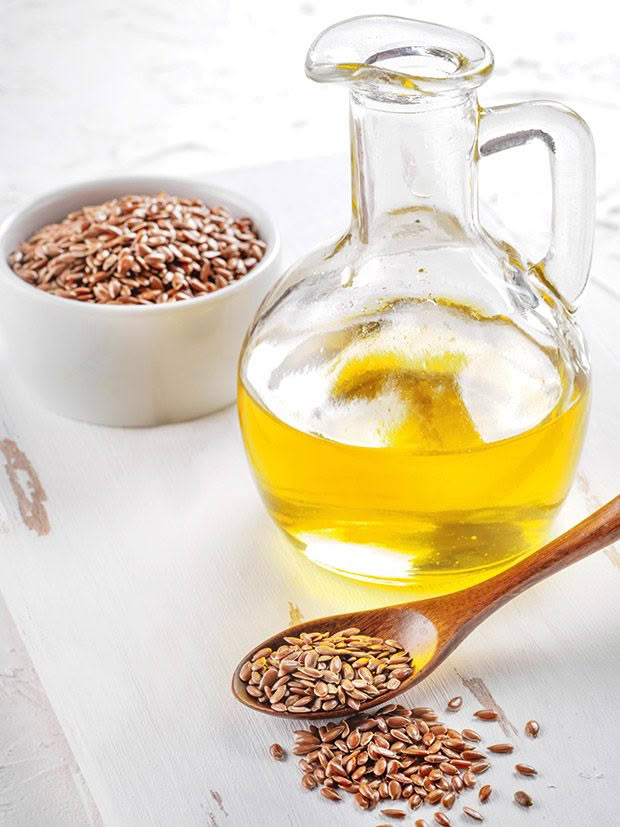
Flaxseed oil has a short shelf-life and must be used in 10-15 days, so only make as much as you need for a couple of weeks. Store flaxseed oil in the fridge or freezer, in a dark glass container as light causes it to spoil faster. It develops a strong, rancid odour when it goes bad – you won’t miss it – so always smell it before you use it.
Option 1: Cold press extraction
Tools needed: oil press, dark-coloured glass container
Makes: 30ml approximately
Ingredients: ½ cup raw flaxseeds
METHOD
Place the glass container underneath the spout of the press to catch the oil as it comes out. Feed the flaxseeds into the press. Use the finest press setting as flaxseeds are very small. Crank the handle to press the seeds and release the oil.
The oil can be used as it is, or it can be clarified further to get rid of impurities. Seal the jar and place it in a cool, dark location for a few days. The impurities will settle at the bottom. Pour the oil carefully into another jar, leaving the residue behind.
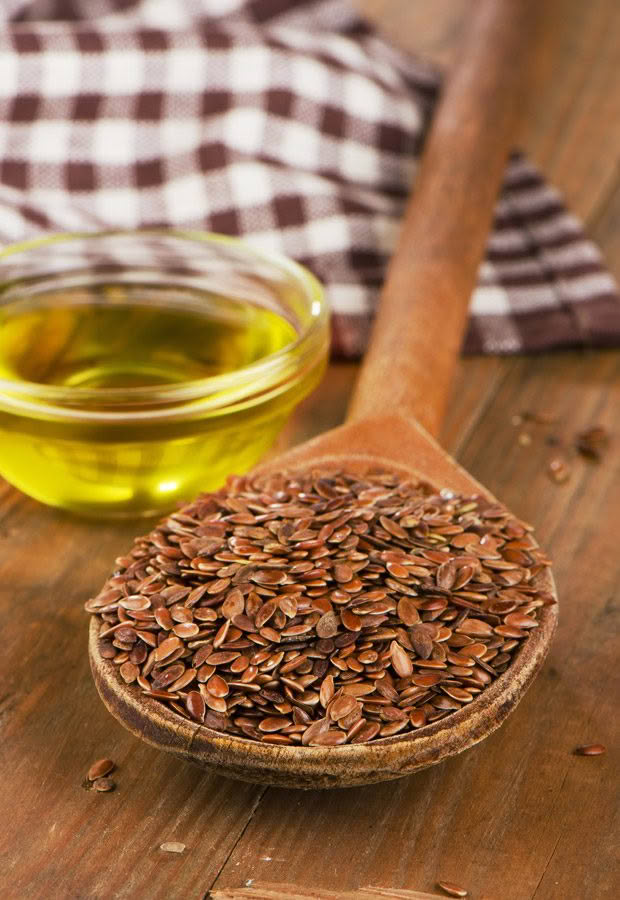
Option 2: Hot press extraction
Tools needed: medium saucepan, dark-coloured glass container
Makes: 30ml approximately
Ingredients: water, ½ cup raw flaxseeds
METHOD
Bring 2 cups of water to a boil in a medium saucepan. Add flaxseeds and lower the heat to medium-low. Let the seeds boil for about 8 minutes. The water will look glossy and have thick streaks that resemble egg whites when done. Leave to cool for 30-40 minutes. Drain the sediment and mostly dissolved flaxseeds through a strainer or leave it as is. Store in an airtight, dark-coloured glass container.
Love this story? Subscribe now!
 This article first appeared in NZ Lifestyle Block Magazine.
