8 lawn problems and how to solve them

A carpet of soft green grass does put the finishing touch to any landscape. Here, we look at 10 common problems standing in the way of the perfect turf.
Words: Nadene Hall
There are two simple tests to see if your lawn needs assistance. Buy a pH kit; the more expensive ones tend to be more accurate, plus you can use it out on your paddocks ñ and test the pH. Grasses tend to like the pH of soil to be about 6.3-6.8.
Second, dig out a sod of earth about 30cm by 30cm and about 20cm deep. You should find a good handful ñ at least ñ of earthworms. If you don’t, it indicates your soil needs aeration and organic matter such as compost, mulched grass clippings etc.
1. GRASS DYING OFF IN SUMMER?
New Zealand gardeners have an obsession with the height of their grass: short, short and shorter than that. The great majority prefers it to be just a couple of centimetres high and itís often experienced gardeners who have these requirements.
This makes it all the more puzzling because mowing (or scalping) grass varieties to this height leaves it more open to diseases and pests, it robs the soil of moisture, meaning dry, dead patches of lawn and often a beautiful garden is offset against a yellowing, wizened patch of what used to be lawn.
To get that soft, carpet-like look, mow high; let grass grow to 5-7cm in height, and only ever cut it back by a third. Longer grass means weeds donít get a chance to take hold and grass looks more lush and often darker in colour because it has enough leaf surface to produce chlorophyll. This also helps it to stay healthy, making it less prone to attack by disease or pest insects.
If you know what type of lawn grass you have, you should be able to find out what the minimum cut height is to keep it looking good.
2. TACKLING THE OVER-GROWN LAWN?
Like most people, youíll have this terrific need to whack off all the growth at once when a lawn hasn’t been trimmed for a few weeks. But this isn’t the best strategy for keeping your lawn looking, and it’s hard work! Cut off a third: no matter how high – then leave it for a week, then cut off another third, and continue until you’re back at the height you like. By doing this, you give the grass time to recover and you won’t end up with a messy, wet, stalky-looking lawn.
3. A MESSY LOOKING LAWN AFTER MOWING?
Whether you own a lawn mower or ride-on mower, the sharpness of the blades is vital. Blunt blades will rip and tear at grass, making the cut look messy and the grass open to disease. You can get a drill attachment that sharpens blades (and you donít have to remove them from the mower). Ride-on owners should talk to their dealer or refer to their machine’s manual for the correct blade angle and how to remove blades for sharpening. Blades must also be balanced, so if youíre not sure, have an experienced person show you how to do this so you don’t ruin your machine.

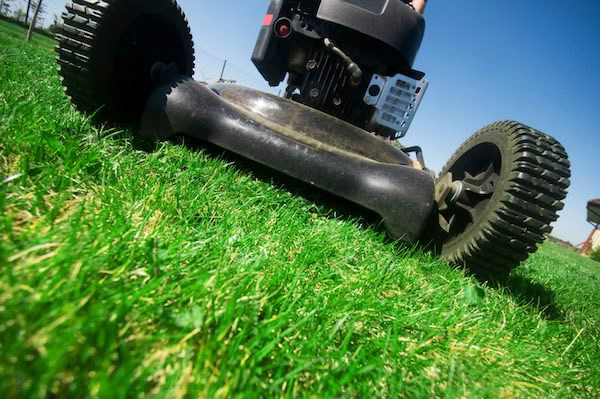
Clean out the underside of your mower (preferably after each useage). A build-up of grass will affect the cutting ability of your machine (and itís better for your machine). Tip it back, not over to its side as the oil in 4-stroke engines will fill the sump and muffler. Once clean, let it dry out thoroughly in an airy spot.
4. THATCH TAKING OVER?
This messy layer of old grass clippings, root stolons and rhizomes can build up to be quite thick: over about 1.5cm deep and it starts acting like a mulch, suppressing growth of your lawn and stopping water from getting through so dead patches begin to appear. Reasons for thatch include watering too much, too much fertiliser or soil that is too acidic. All lawns benefit from dethatching every couple of years, even those that look green and healthy. Dig a test core and have a look at the thickness of root matter. If it’s more than 1.5cm, your lawn would benefit from dethatching. You can use a rake but itís hard work; hire a dethatcher and do it the easy way. Do a pH test and check your soil; you may need to add lime if it is too acidic otherwise thatch will build up again quickly.
5. GROWING MOSS AND NOT GRASS?
Moss likes shady, wet areas, so is more prevalent in winter and in shadowy areas. Moss often builds up in the shadow of a feature tree, so pruning it to let more light in is one option. Another is to turn a moss-prone area of lawn into a garden and plant it with shade-loving plants.
Wet areas can be aerated (use your garden fork, or for large areas you can hire an aerator) but if the area continues to be wet, the moss will return when the grass goes dormant over winter. Is your soil well-draining? Clay? Adding organic matter like compost and grass clippings can help.
You can rake moss up, add lime if your soil is acidic, and fertilise the grass to keep it healthy and strong.
6. YOUR DOG LIKES PEEING ON THE LAWN?

Urine is actually a great addition to most growing plants. However, too much urine, all at once tends to mean a lot of nitrogen and salts concentrated in a very small area, and this will kill your lawn. What will happen is a dead, yellow patch will often appear, surrounded by very fast-growing lawn taking advantage of the right amount of nitrogen that has seeped away from the main area of urine.
There area a few ways to deal with this. One is to keep your dog off the lawn, but for dog-lovers, it isn’t practical. You can use a watering can or hose to wash down an area you see your dog pee on, diluting it so it covers a wider area but this may result in a spurt of unwanted growth. And you probably have better things to do than run around after your dog with a hose!
Taking your dog for a walk morning and night will see it spread its urine over a wider area, onto plants etc that you aren’t concerned about.
Finally, training your dog to urinate and defecate in one area is the best long-term strategy. You could just pick a spot in the garden, but making it only for the dog will clear up any confusion for the animal about where you want it to go. Create an area of fine gravel or mulch that you dog likes; some dog owners even provide a post so their dog can mark it ñ and train them to go there and only there. To encourage them to use this area, you will need to do some training. If you dog indicates it needs to go, put it on a leash and take it to this area; collect faeces and put it in the area ñ keep this up for 2-3 weeks at least. While it’s easier to train puppies, even older dogs will soon learn what you want.
Myth, busted:
Some people believe female dogs have more acidic urine than male dogs, and this is why their urine seems to do more damage to lawns. In fact, females are more likely to squat and pee in the one area, whereas males tend to pee for shorter periods of time in more places. Training your dog to pee in one area, and diluting any areas where a dog has peed are your best bet to stopping yellow marks on your lawn.
7. GRASS CLIPPING OVERLOAD

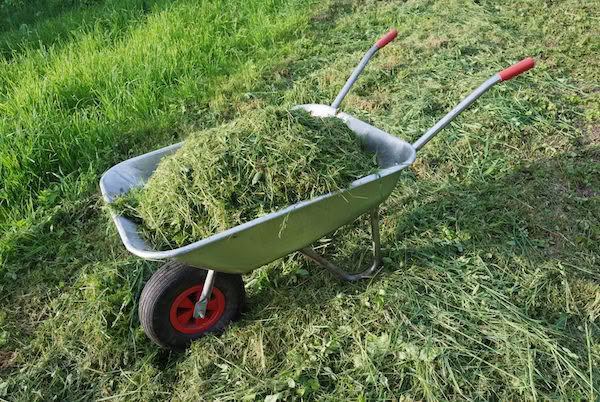
Grass is a completely recyclable product and you have several options on what to do with it. First option; donít collect it. Mulching grass back into itself feeds the lawn, helps retain moisture and doesn’t take up room in your garden.
If you do choose to pick it up, put it in your compost, along with some ìbrownî, carbon-rich rubbish or turn it often to keep it aerated. Another possibility is to dry it out before adding it to your compost bin, but this can be time consuming and a lot of effort.
Grass clippings can also be used as a mulch around plants (but not too close to roots and delicate leaves) or dug into the ground to form an on-site compost area for future plantings
8. WEEDS POPPING UP EVERYWHERE
Some of you may consider daisies to be a weed. Others look at dandelion or plantain as a problem. One way of tackling weeds is to mow more frequently. Most weeds don’t cope well with having their wide leaves cut off, whereas grass is somewhat more resilient in this regard.
You may have to dig out plants like dandelion that will have deeper roots, but these plants are really trying to help you; a dandelion likes to take advantage of grass that is in a weakened state, plantain does well in a compacted soil ñ these are clues to what is ailing your lawn, just as they would in pasture.
How to make a stripey lawn
If you’ve ever seen a rugby or league field with stripes, checkerboard or other effects, you may have wondered how the experts do this. Theories include different cutting heights for each stripe, or paint effects.
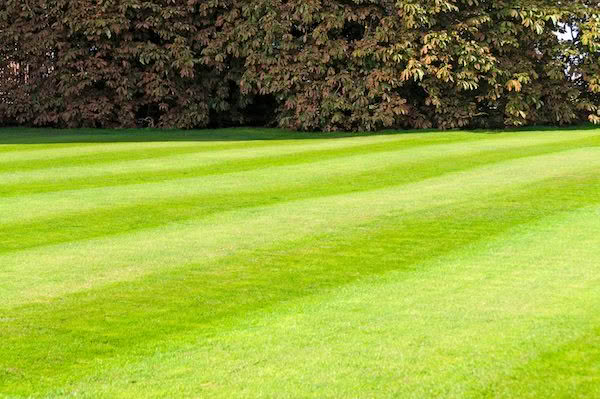
However the technique is simple; turf specialist use reel-mowers with rollers to cut, then bend the grass leaf over which reflects the light back. Different species of grass tend to stay bent once rolled, enhancing the effect more. For the record, many golf courses and big stadiums like Eden Park use a mix of ‘Legend Couch’ (a drought-tolerant summer grass from Australia) and ryegrass.
One tip: stripes look more effective when your lawn is longer; 5cm is good, 7-8cm is better. Anyone who believes in scalping their lawn to within an inch of its life will not get the same effect (and it’s healthier for your lawn if you let it grow longer!).
1. Basic stripes

You probably do this every week anyway; mow your lawn in neat, straight rows, using something in the distance (a tree, a building) to keep yourself on course. The lighter ìstripeî is grass leaf bending away from you, while grass bent towards you looks darker, so if you want to see the stripes from a certain vantage point, you need to have the stripes heading in that direction, rather than across it..
Professional turf specialists often use a roller to enhance the striping effect. However, if you have sharp blades and longer grass, you should get well-defined striping. In the US, you can actually buy roller attachments for your ride-on. Older hand mowers often had their own roller attached to the back and do almost as good a job.
Begin by mowing an edge around the area you want to stripe. Then mow in opposing directions, remembering to empty the catcher often so you donít end up with messy patches (mowing when grass is dry helps). Once finished, mow around the edges again so you neaten up the turning points.
2. The checkerboard
This is pretty easy you merely mow the area again but across the area at 90∞ to your first stripes. Again, running around the edge when your finished will keep it look tidy and hide turning marks.
3. The criss-cross
This is achieved by doing exactly the same as you did for the checkerboard, but the stripes are done at an angle to your viewing position.
These last two effects obviously look best when youíre looking down on them, so unless you have a lawn you look down on, youíre planning to climb a tree to get a better view or hiring a blimp camera (which you might do if youíre selling your property), basic stripes are probably the most effective pattern.
OBSTACLES?
If an area of lawn has a tree or garden bed in the way, ìruiningî the lines of your stripes, mow around it on the first pass. When you come back to do the next line of the stripe, instead of following the edge, just mow straight over it. This will give the illusion that your mower went straight ahead the whole time.
 This article first appeared in NZ Lifestyle Block Magazine.
